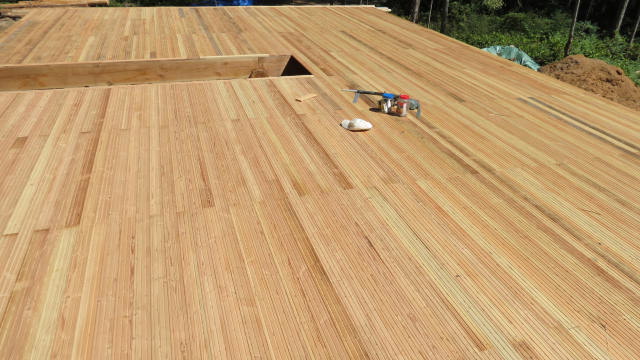
So after banging out the T&G for our main floor ceiling, we had a really epic deck for knocking back cold drinks in the sun. As an upper floor though it was far too flimsy with a mere ¾” of Douglas fir bridging 5 foot spans.
If this was going to support my many thousands of books in an upstairs library then it would need some serious beefing up.
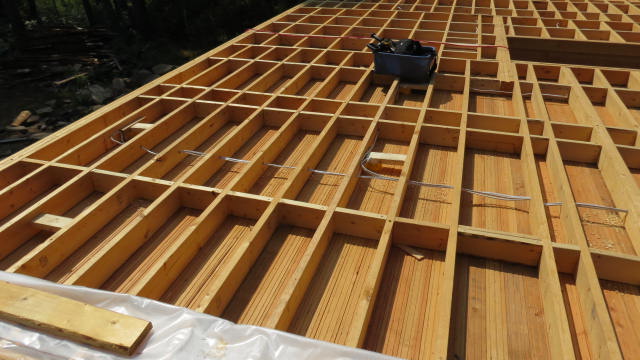
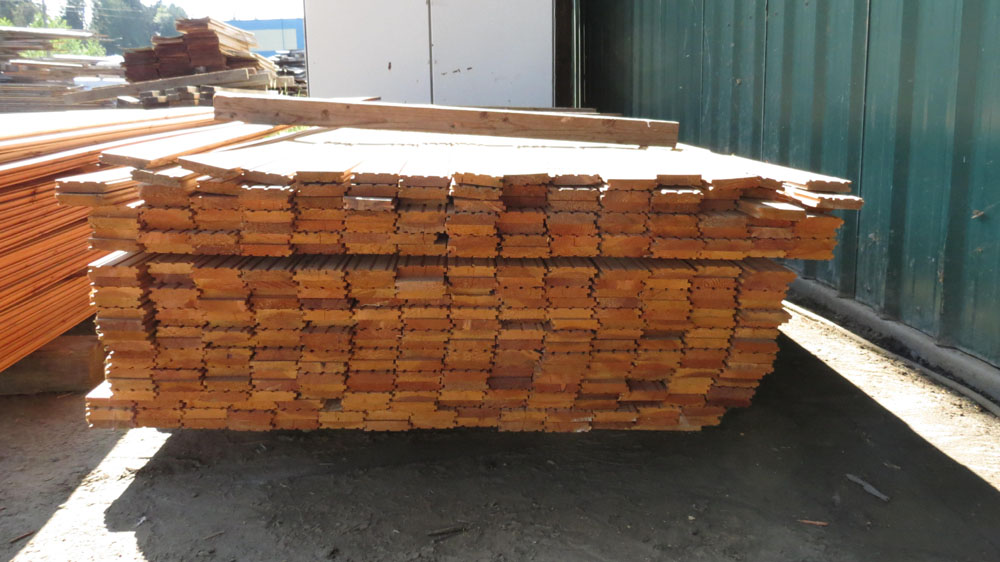
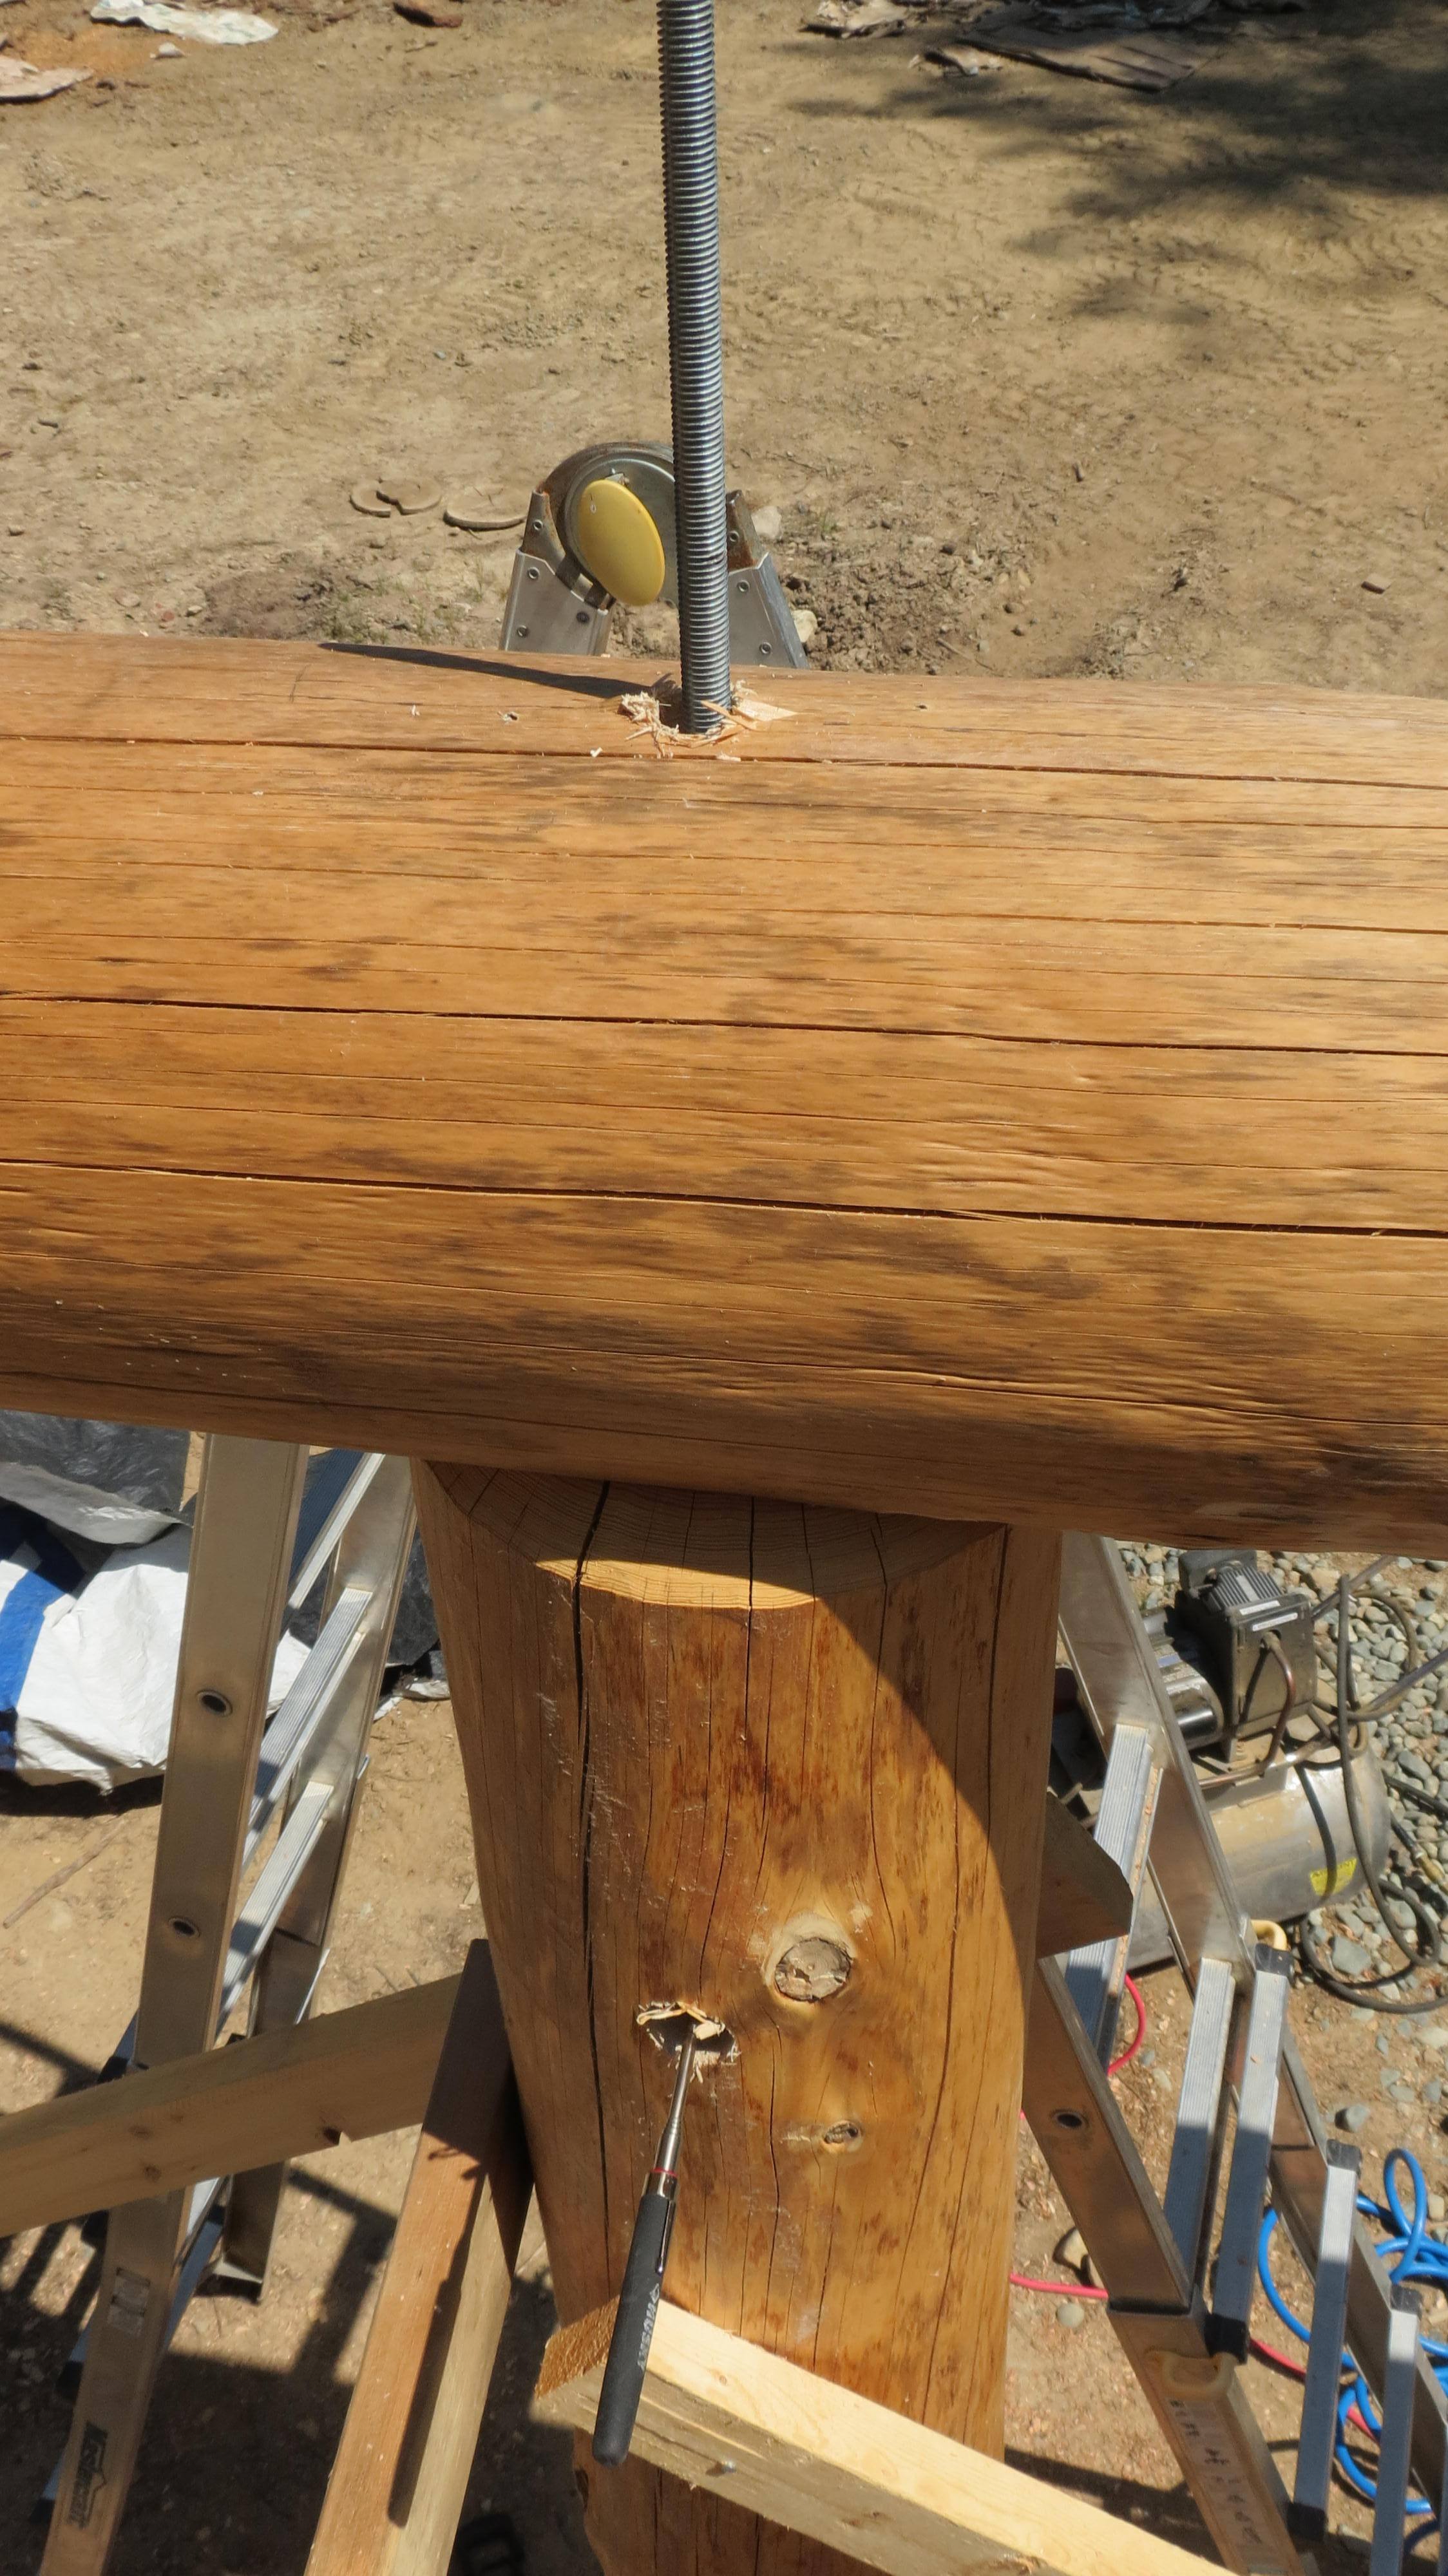
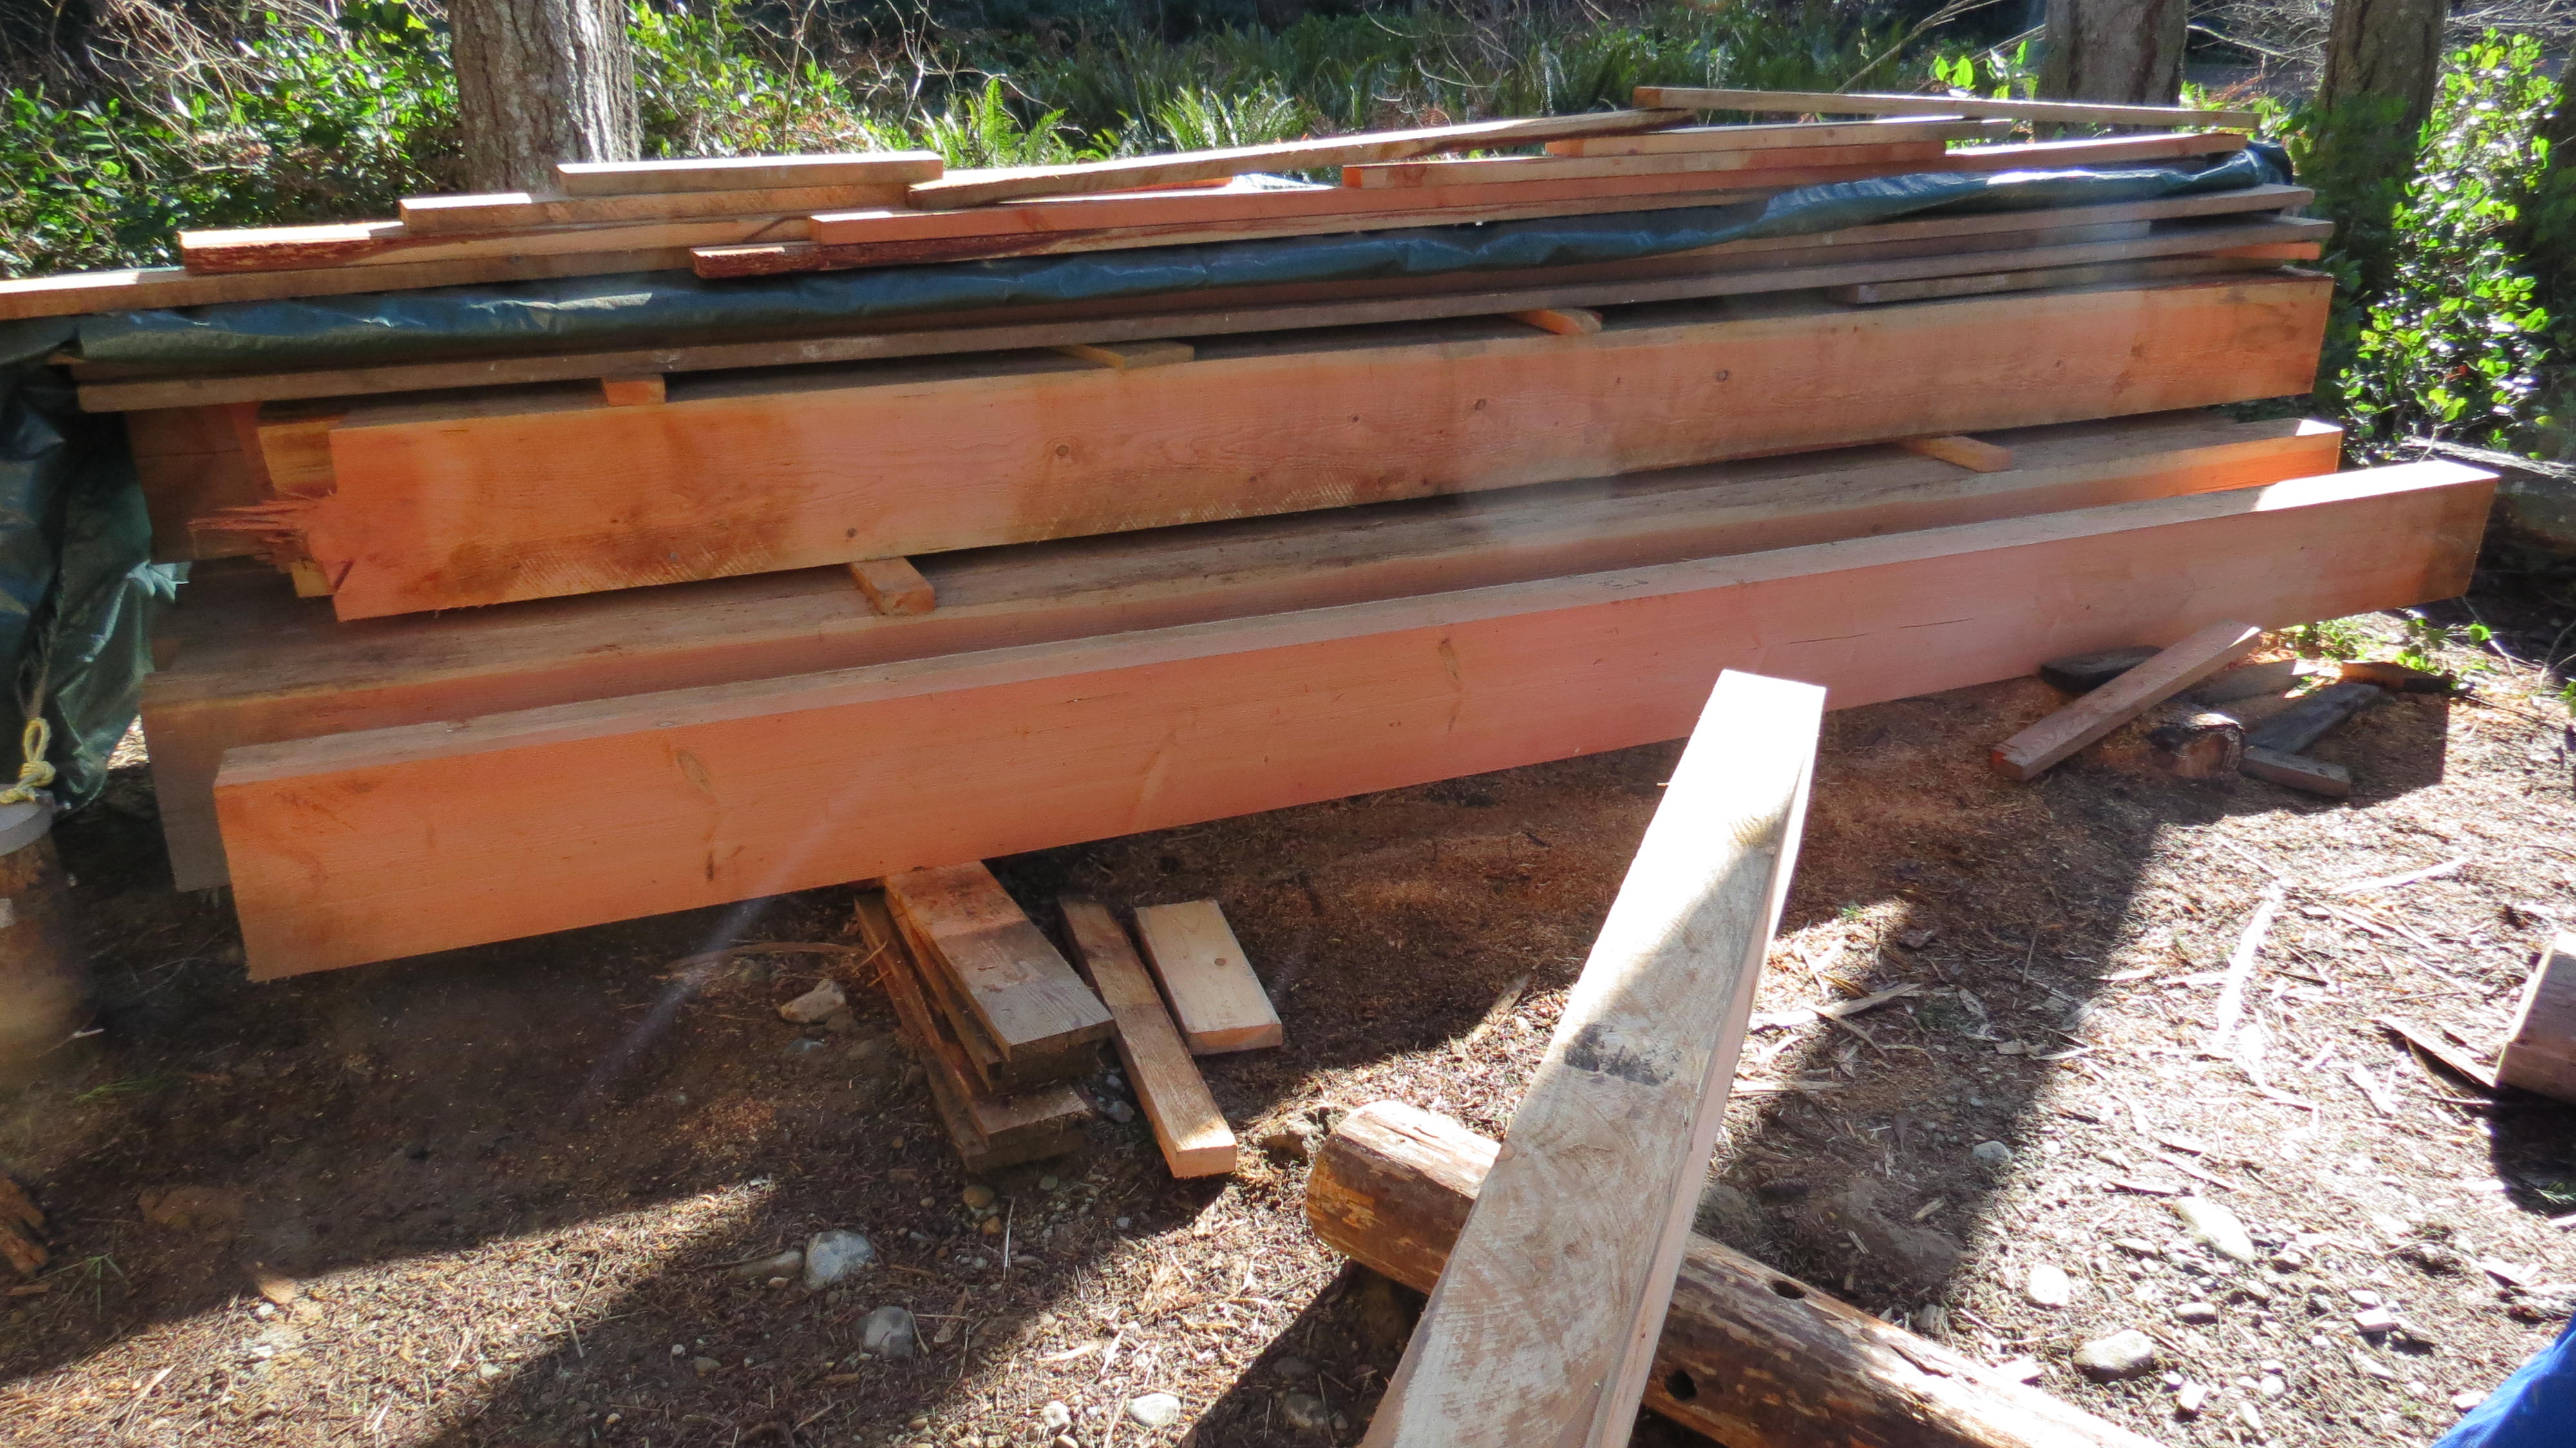
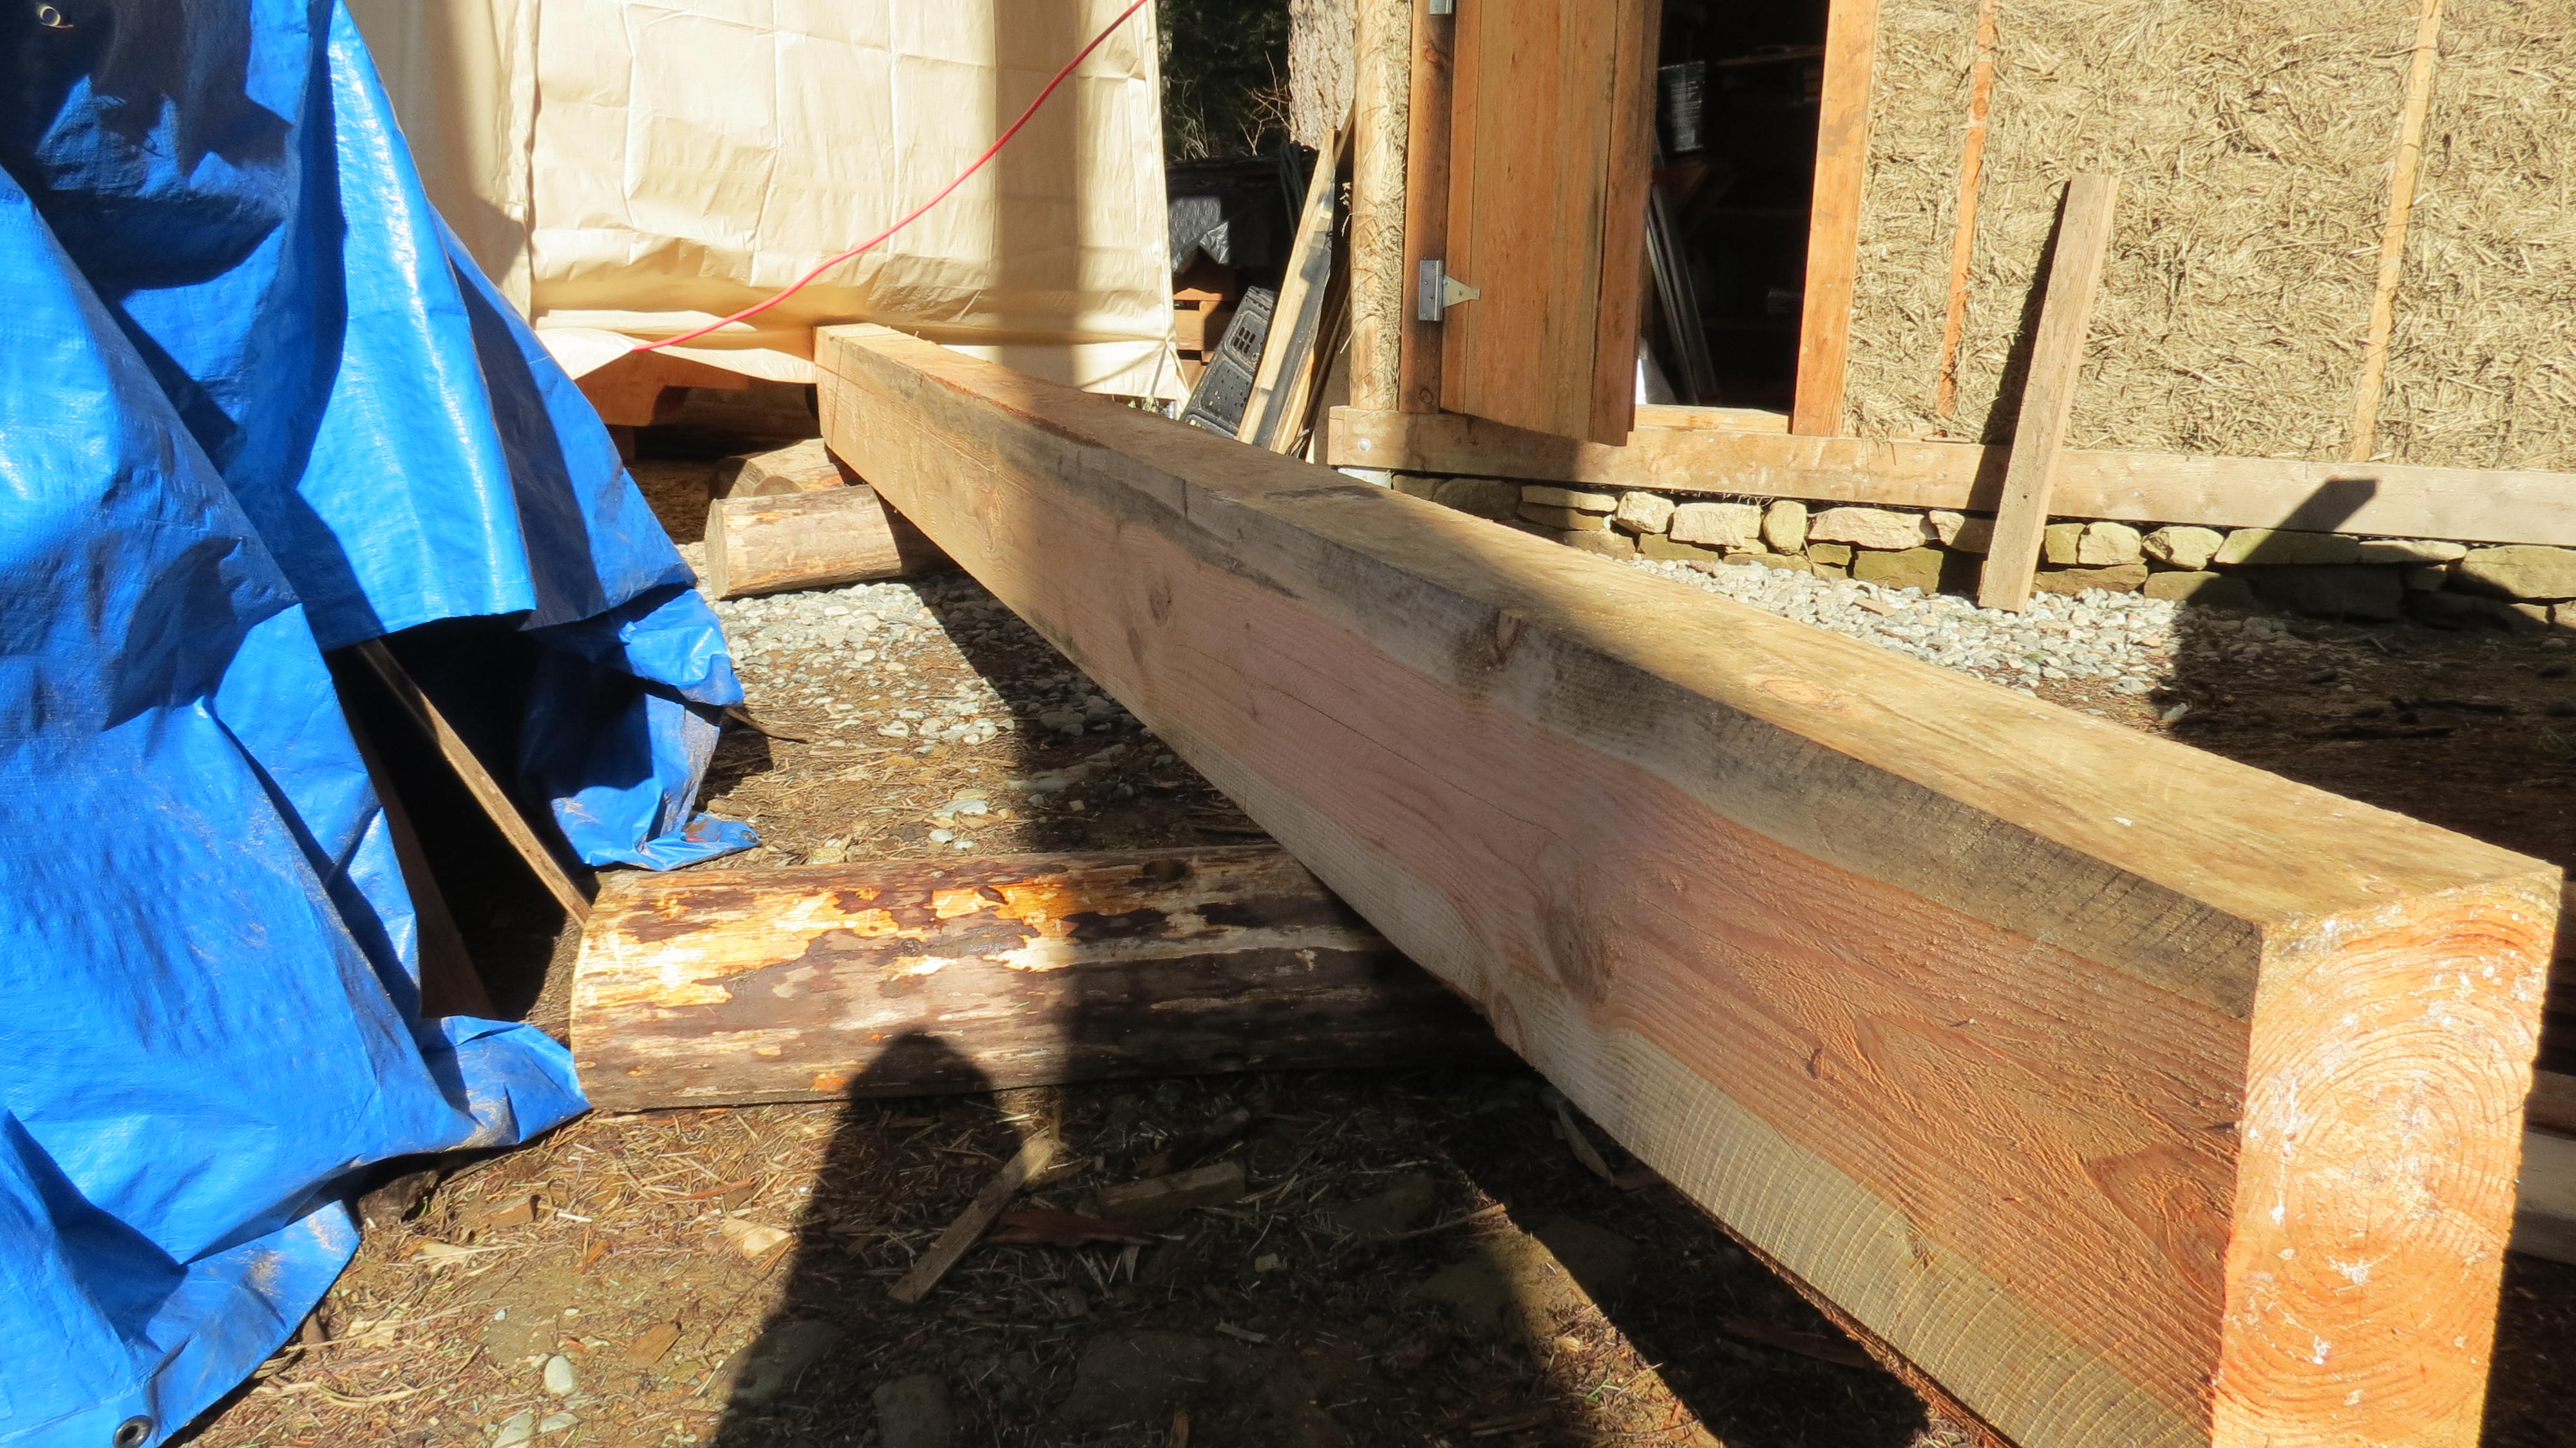
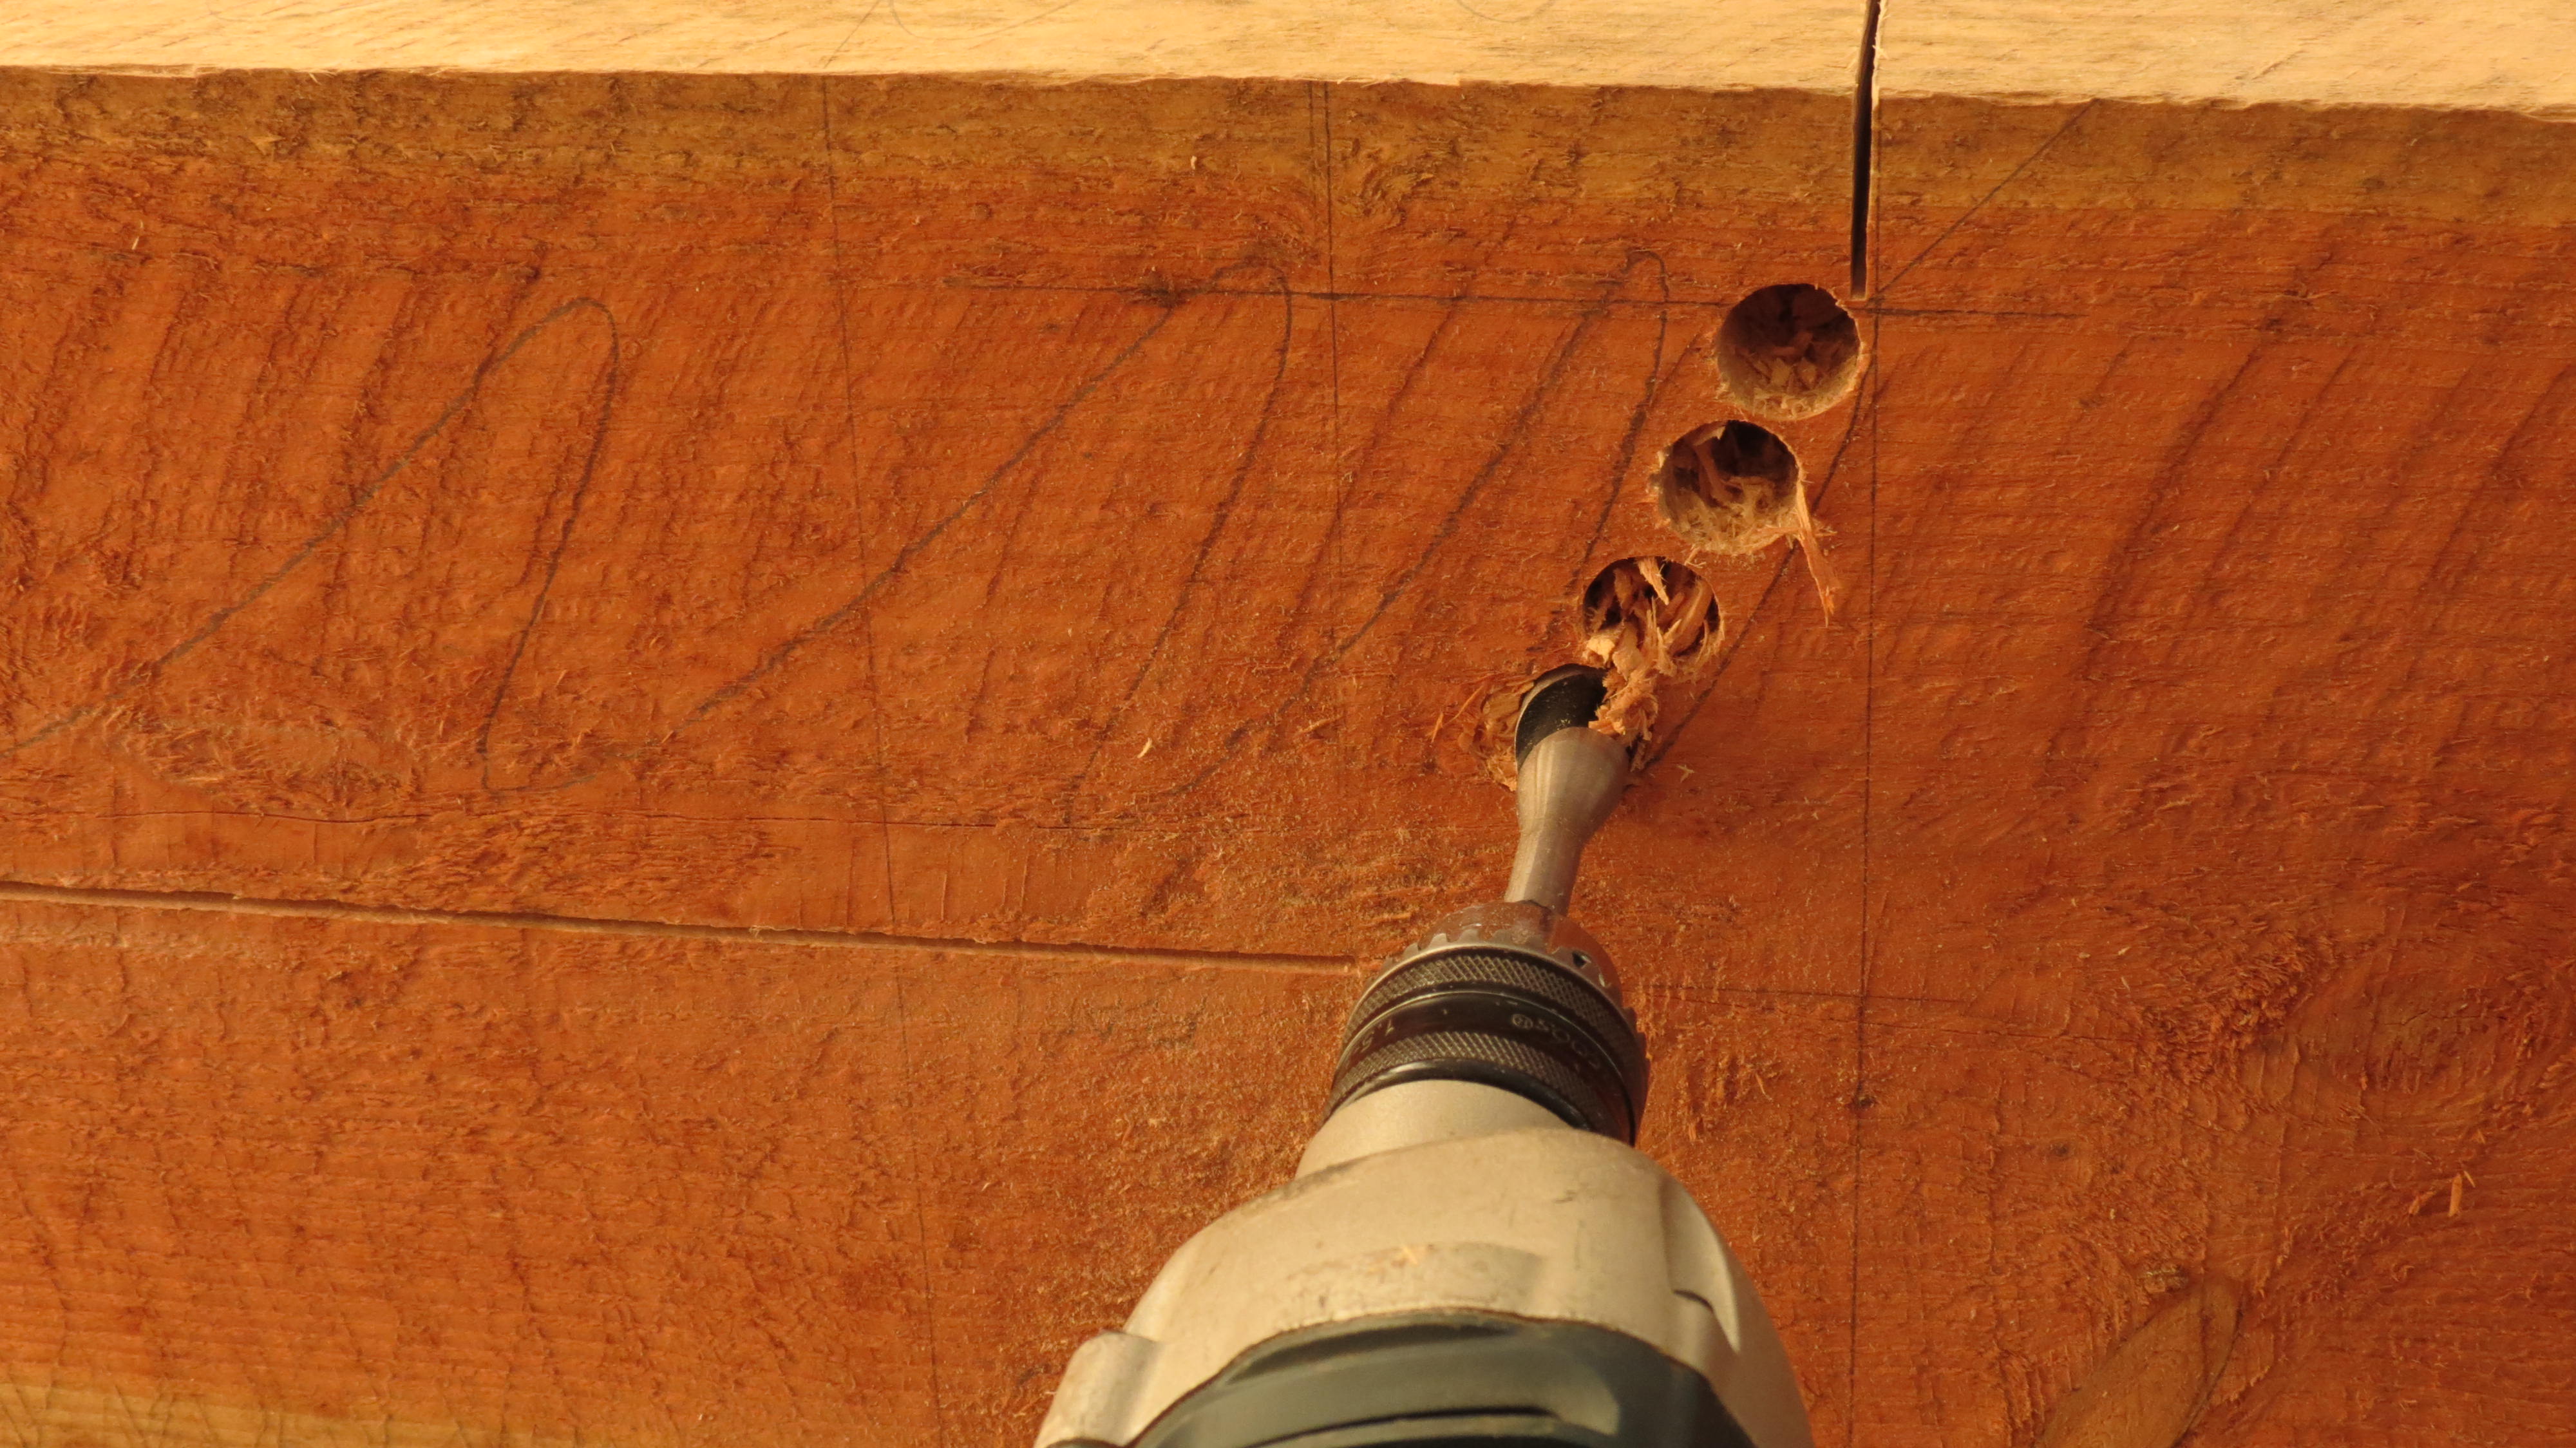
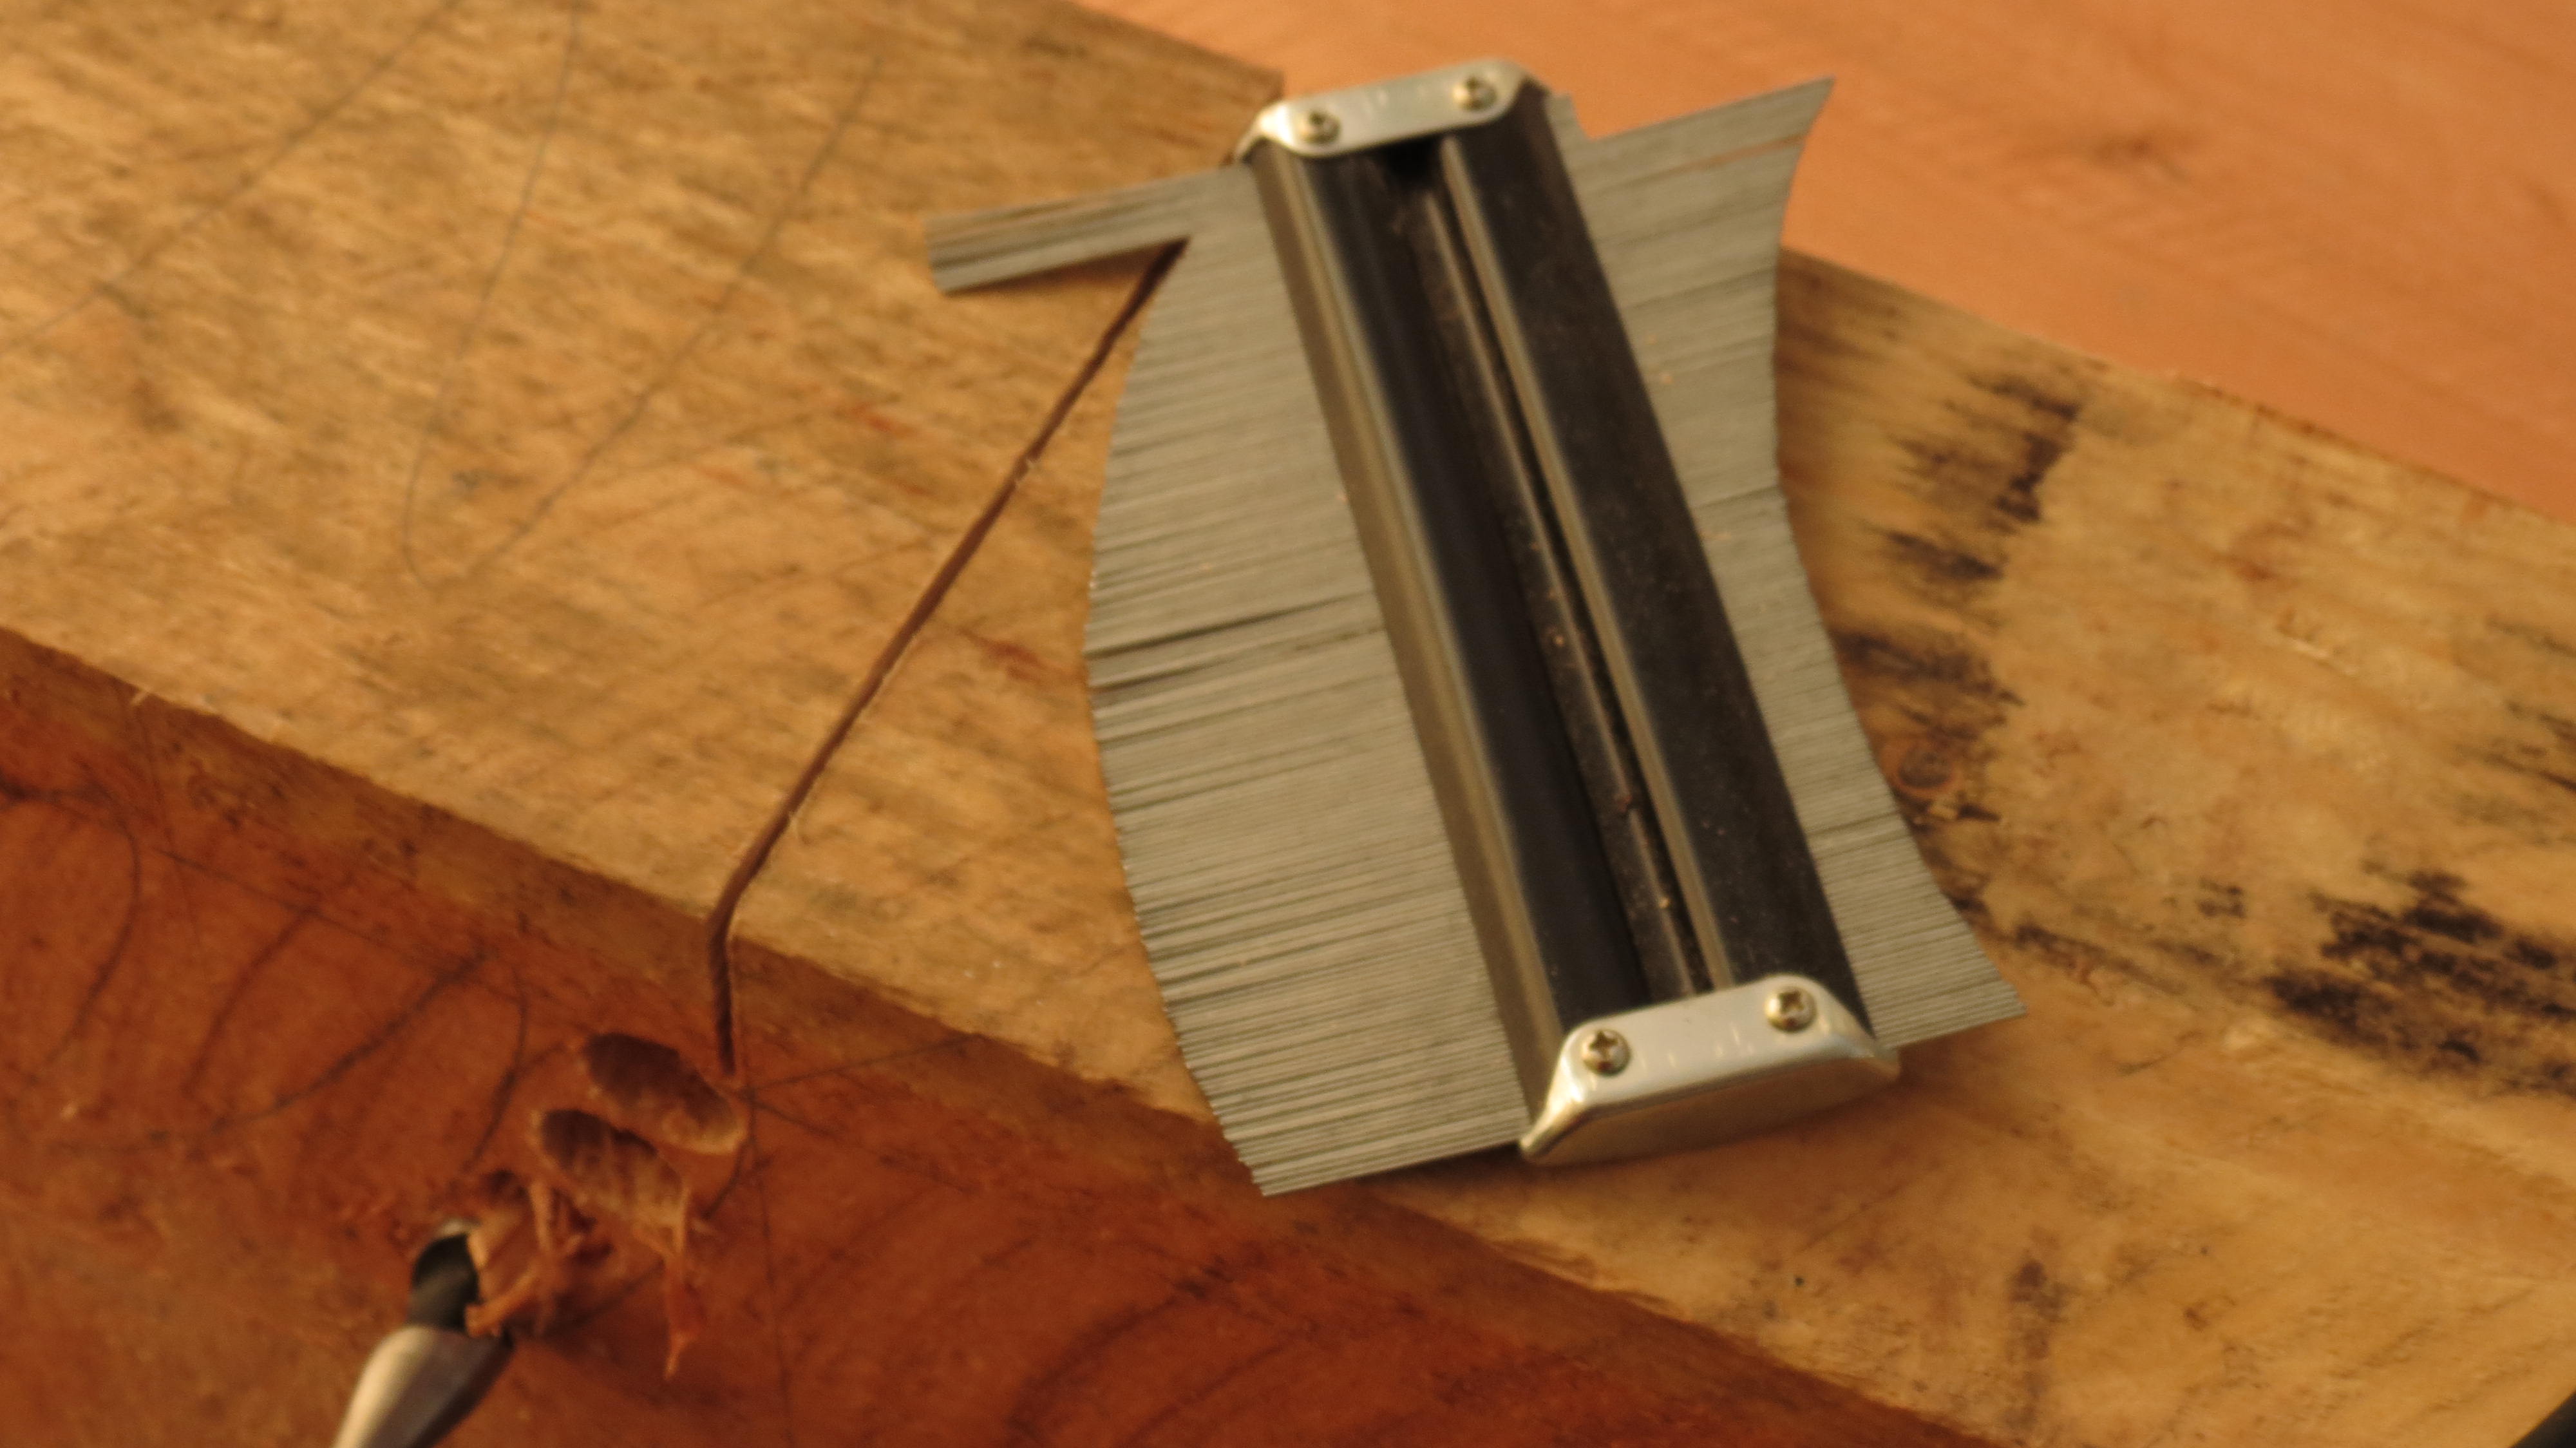
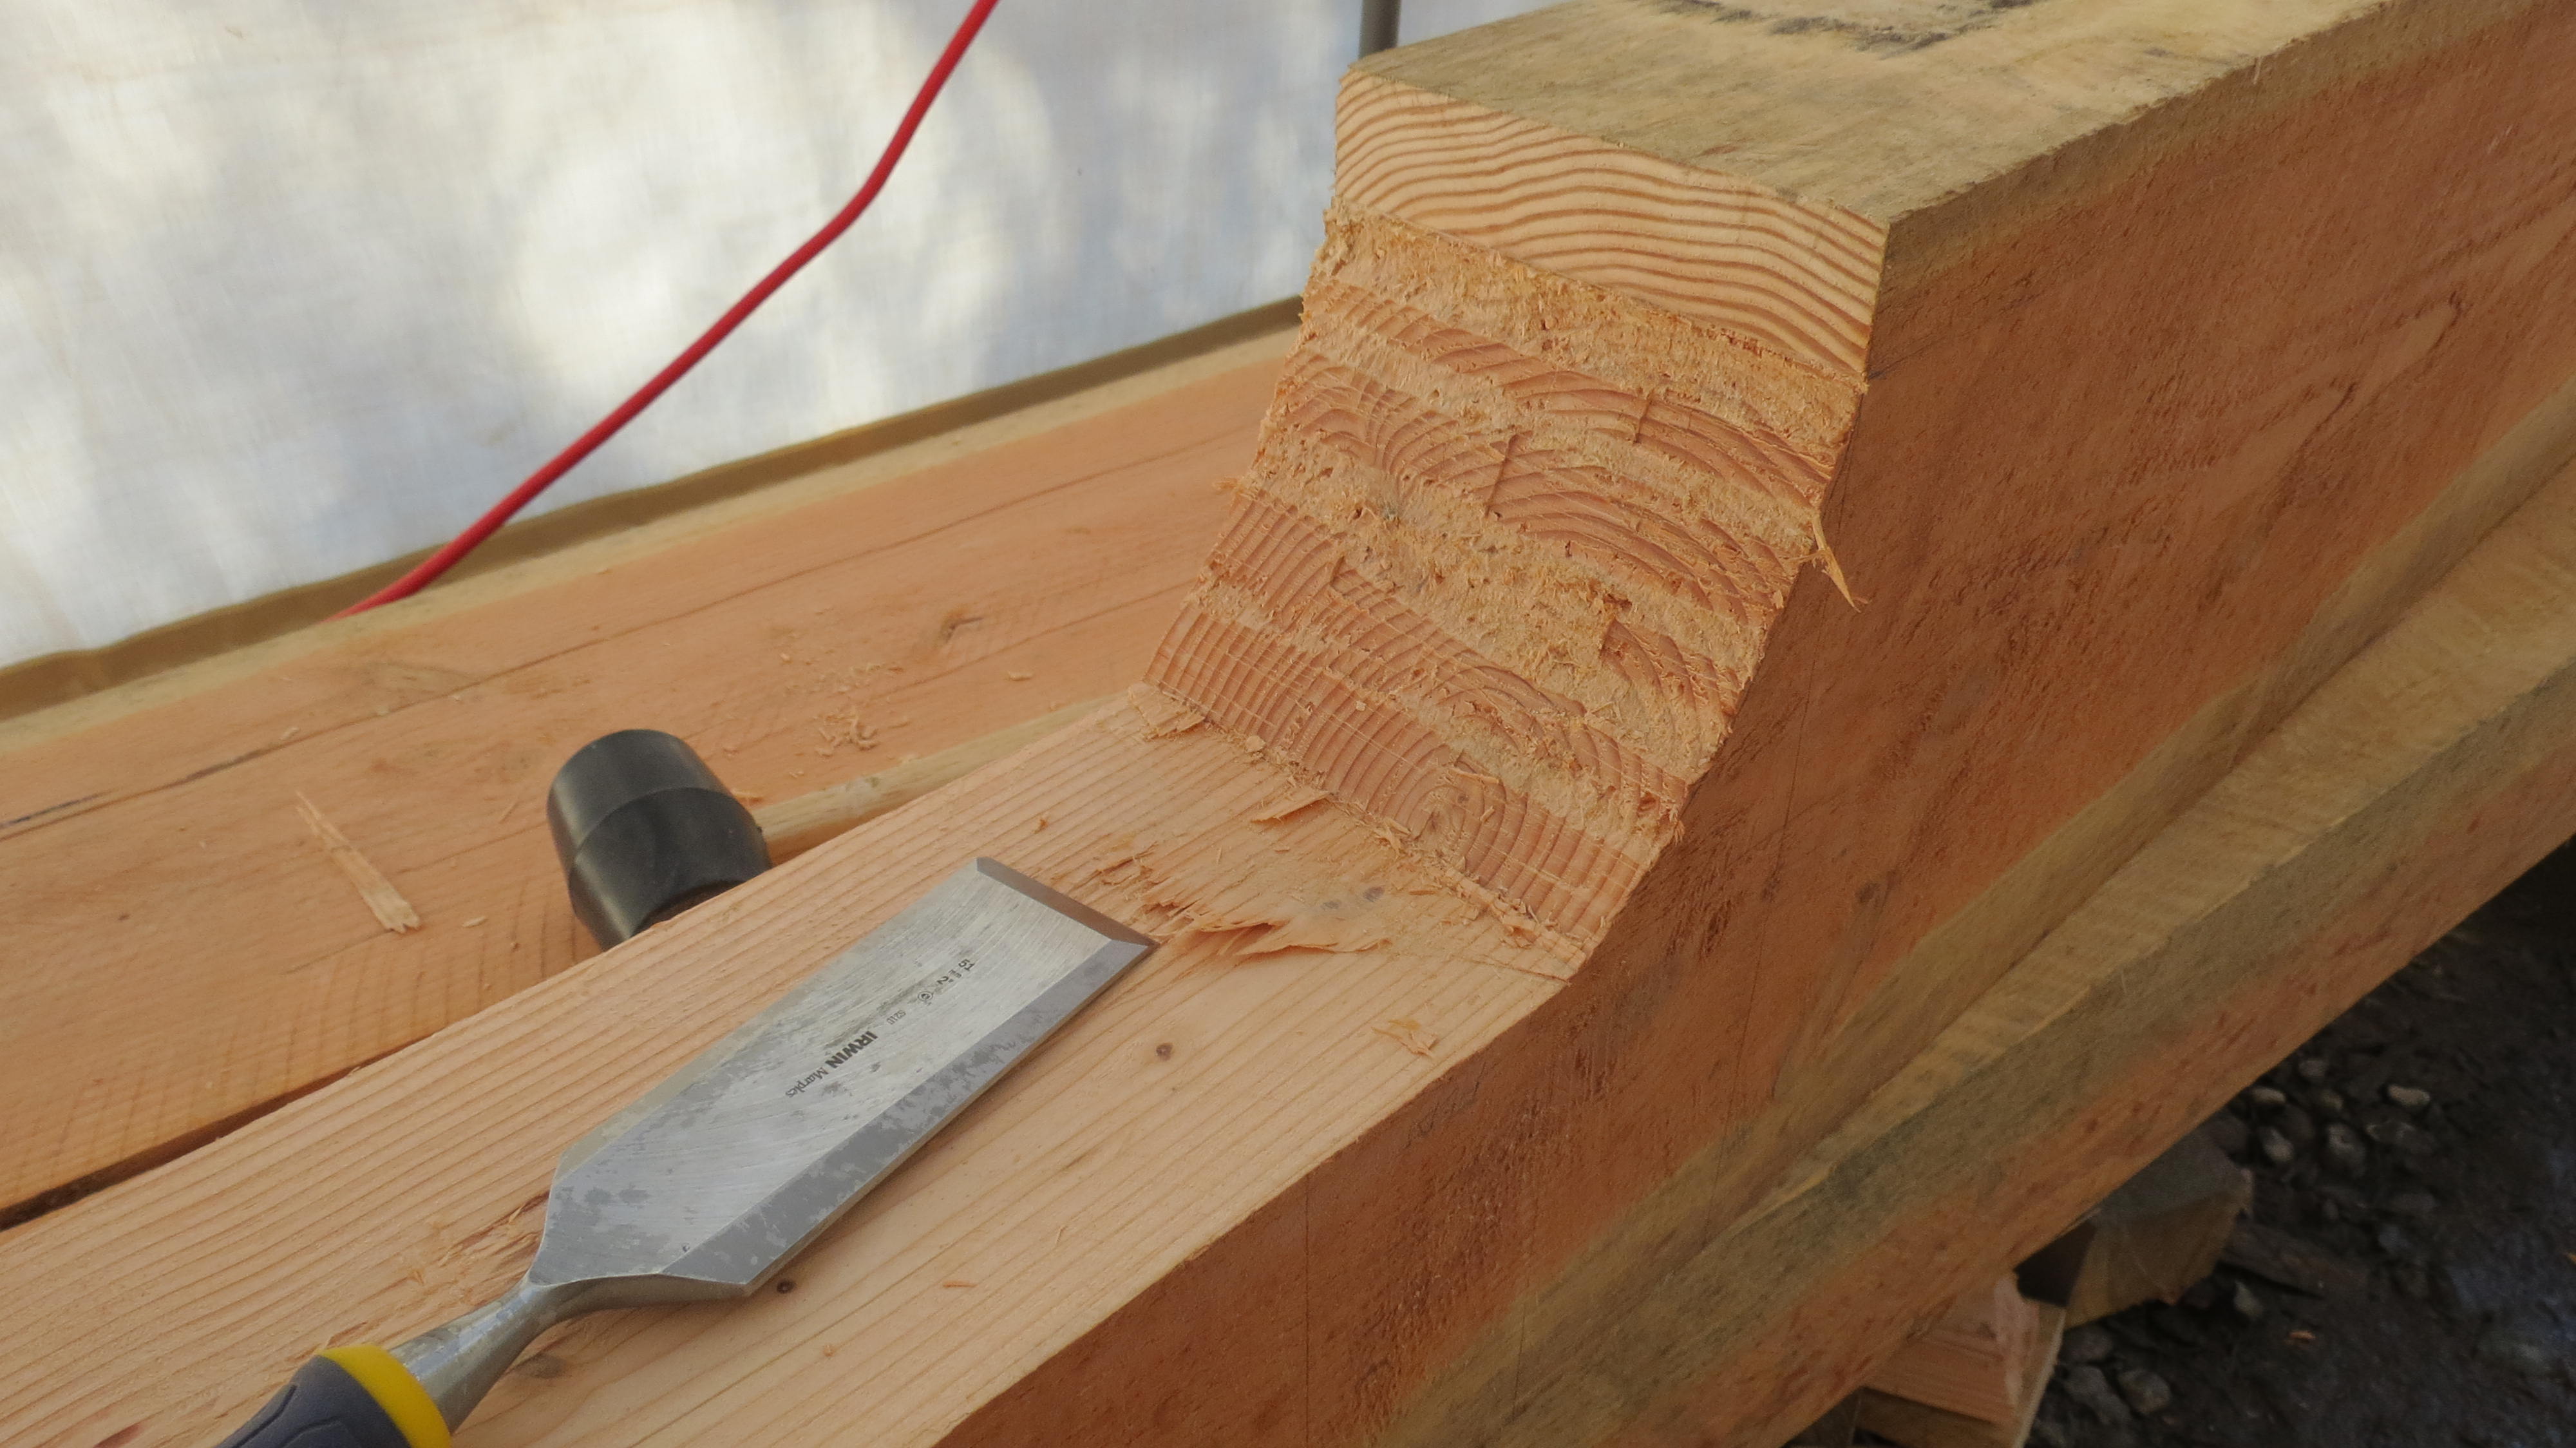
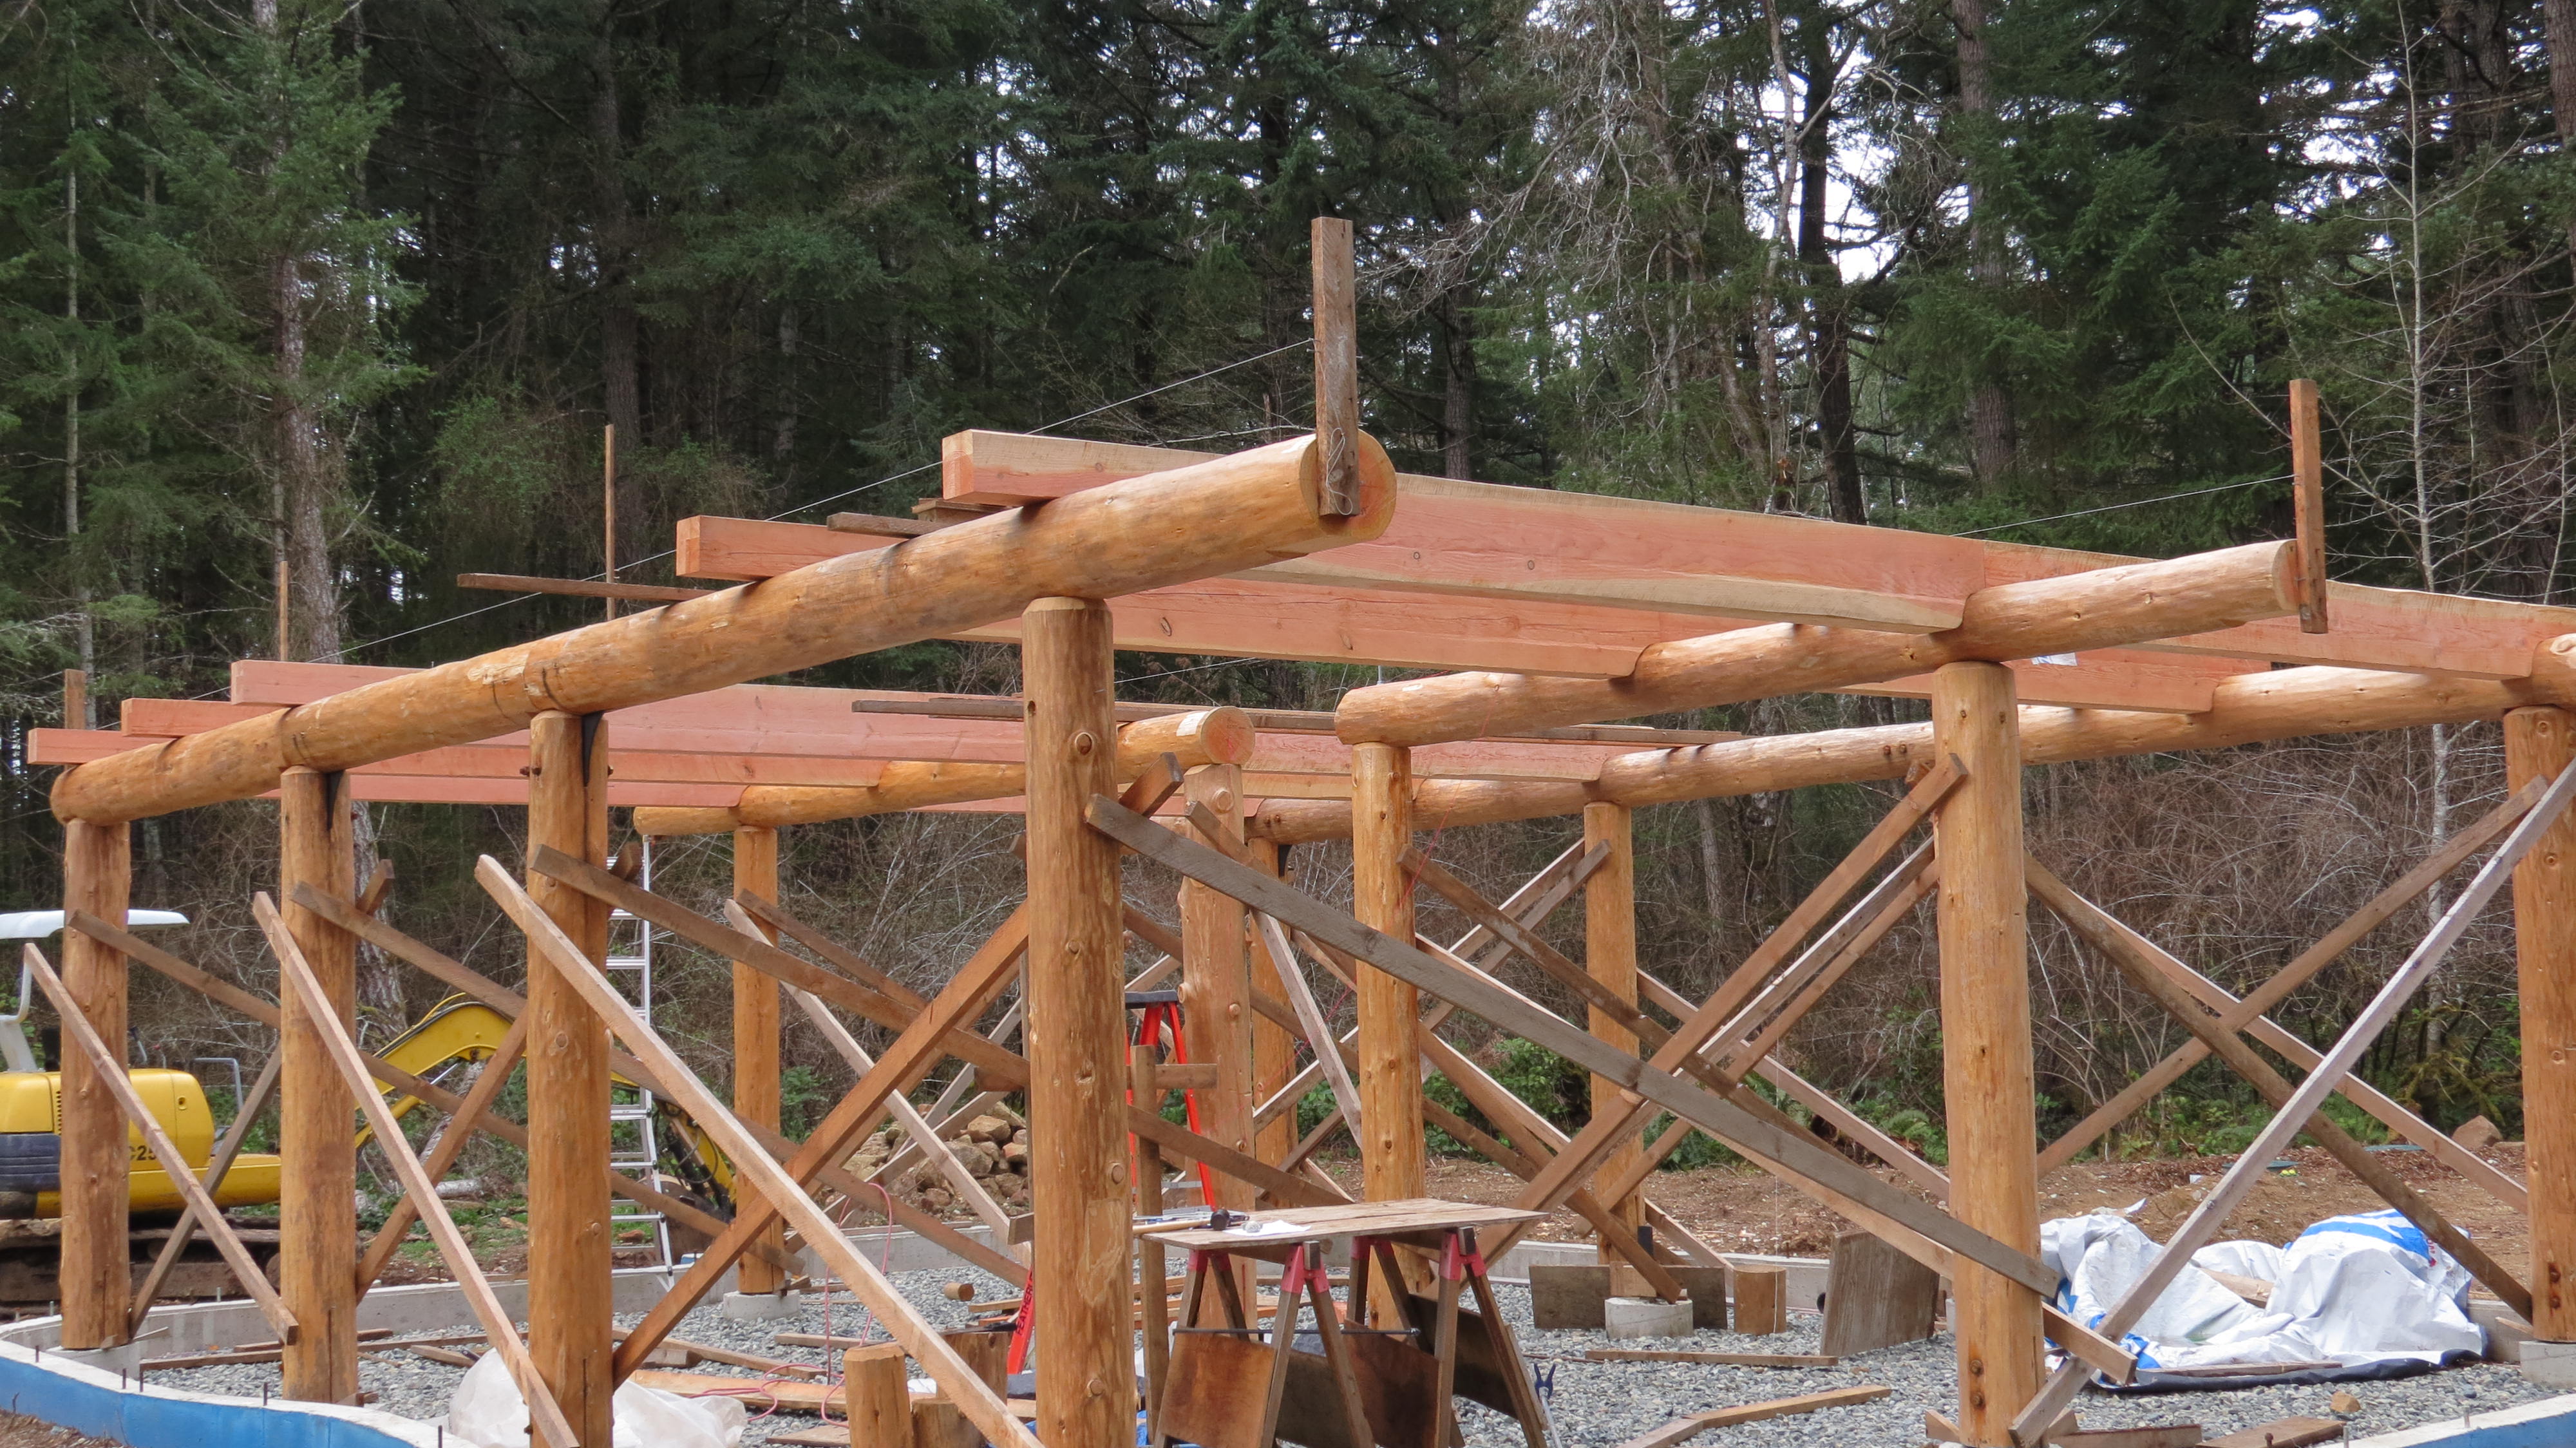
So I humped 130 fourteen foot 2X6s up onto the deck and began building a lattice of joists to carry the load. The engineer specified 16” centres for the joists but since he’s never seen my Earthscan book collection and probably doesn’t own multiple sets of Das Kapital, never mind Janson’s 3.7 kg, 1168 page History of Art, I decided to go with 12” centres in most places to add even more meat.
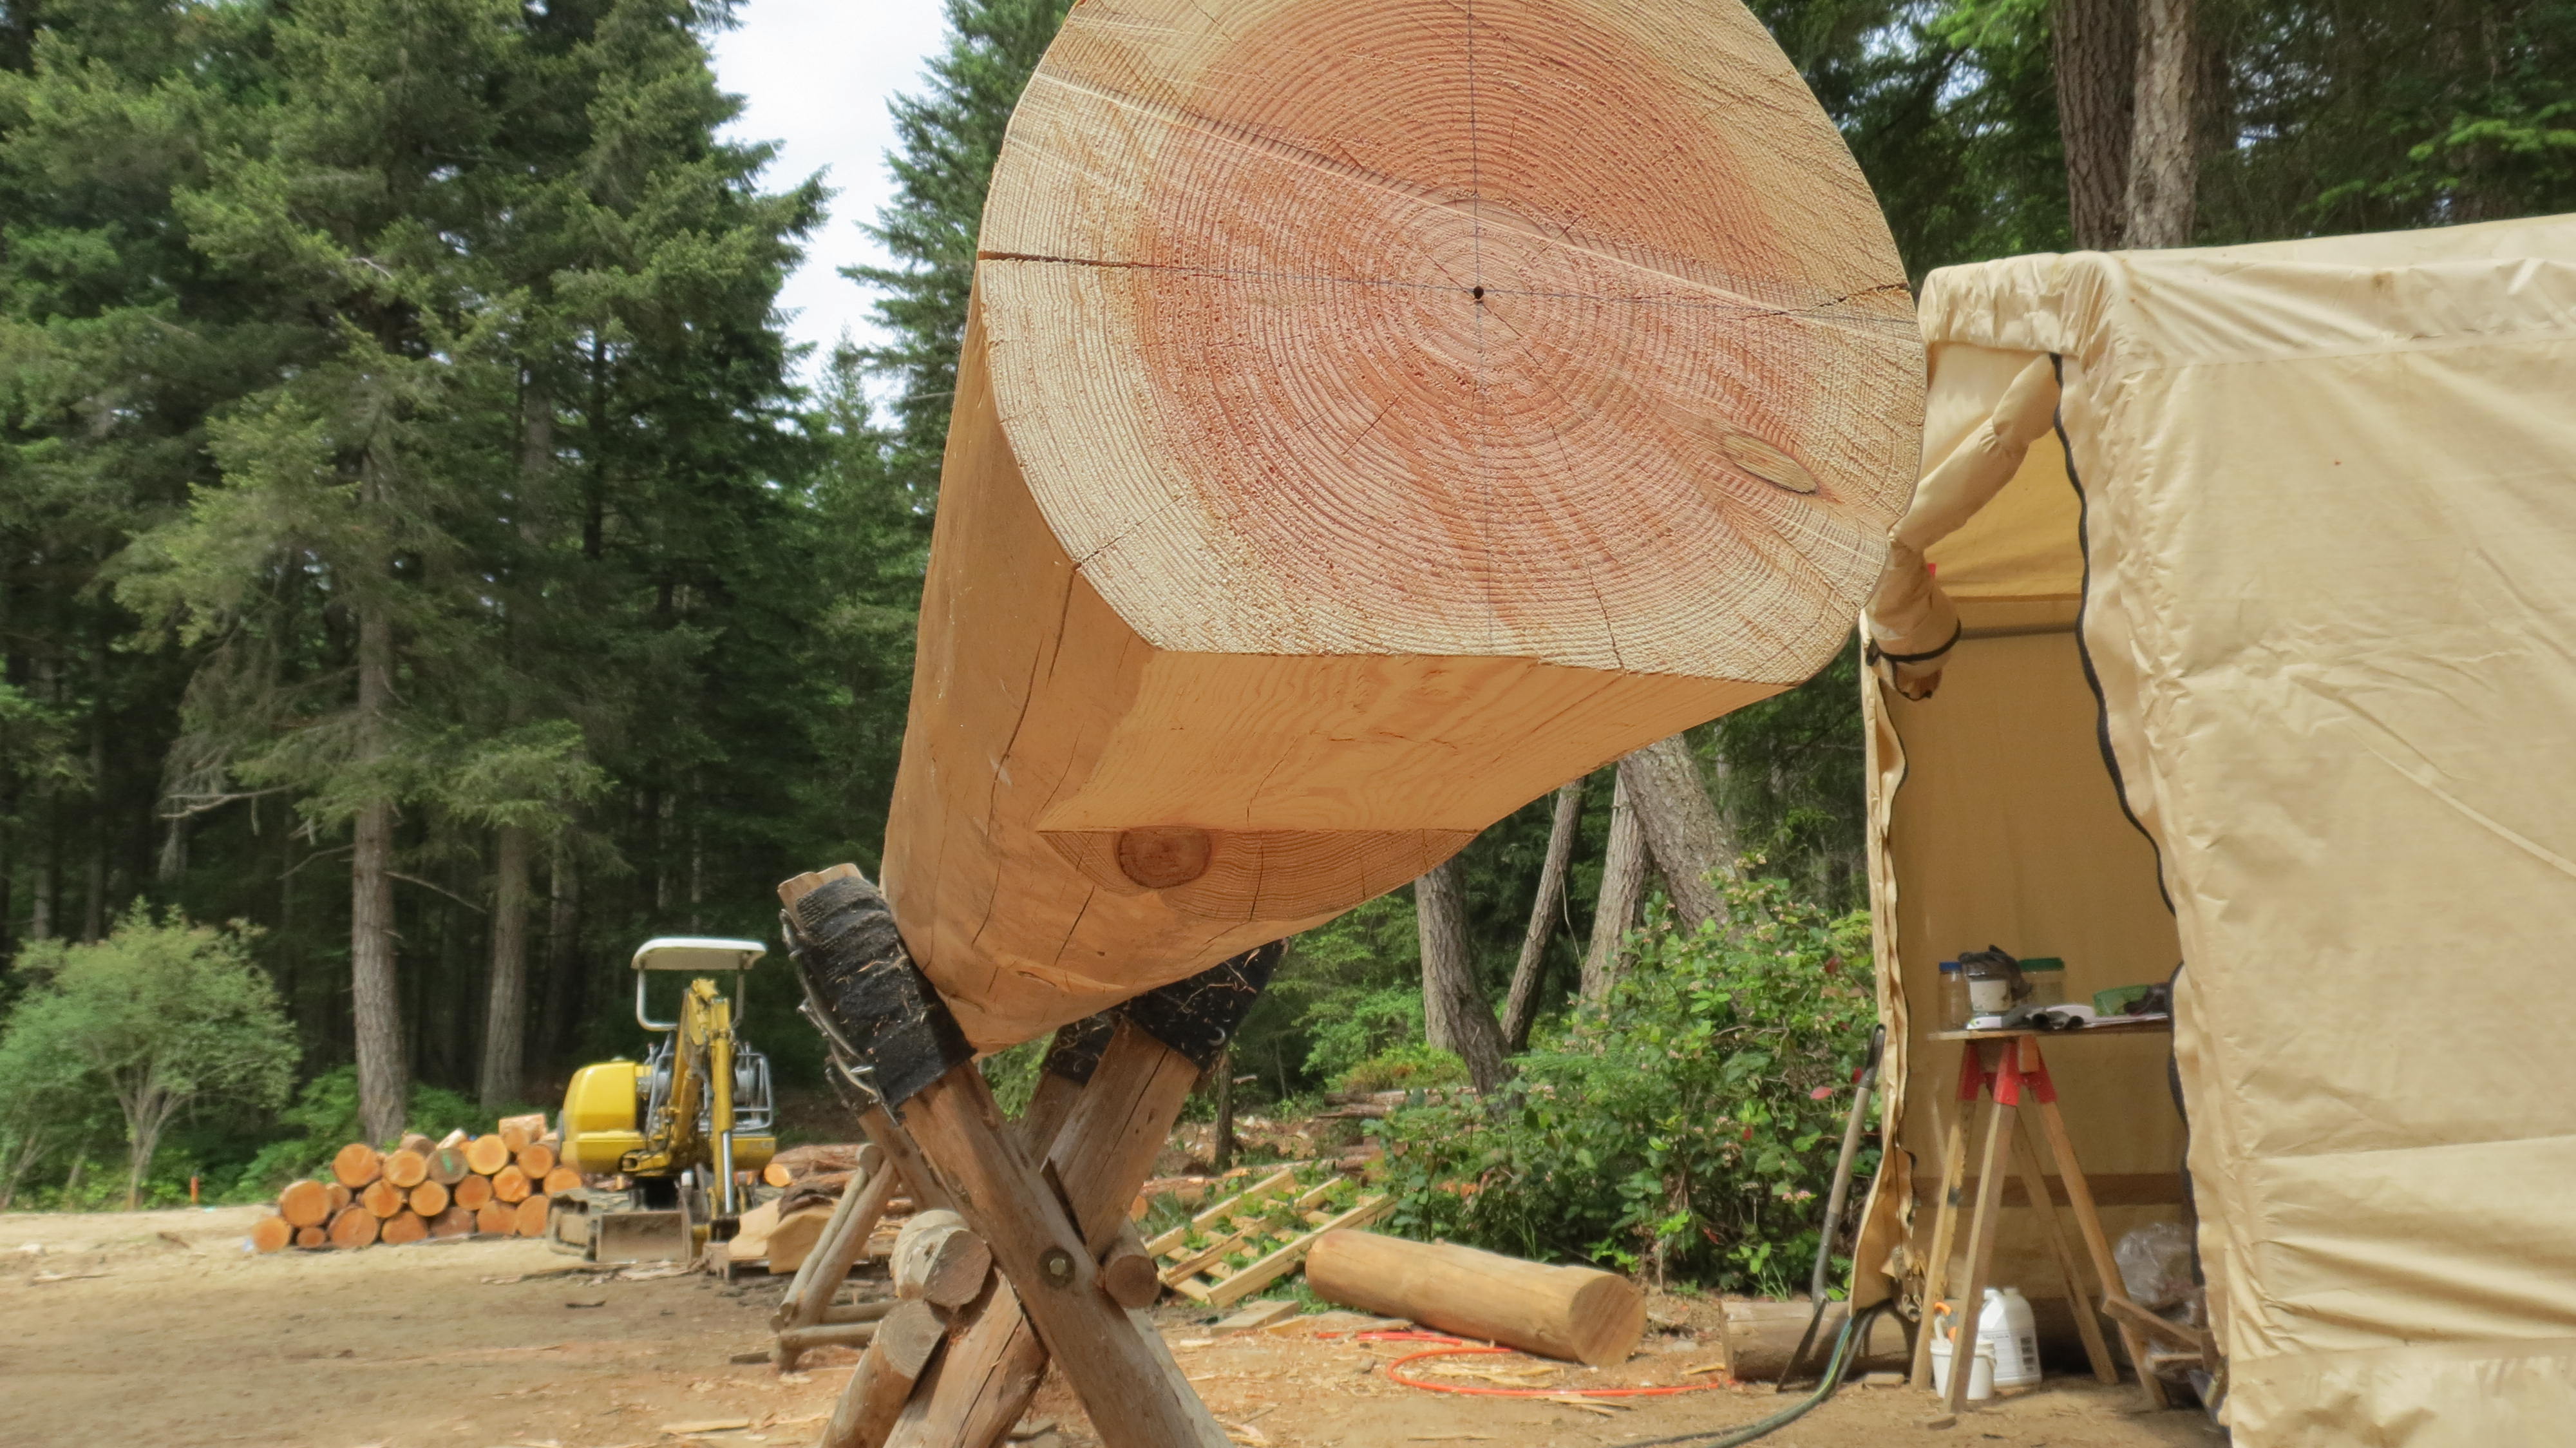
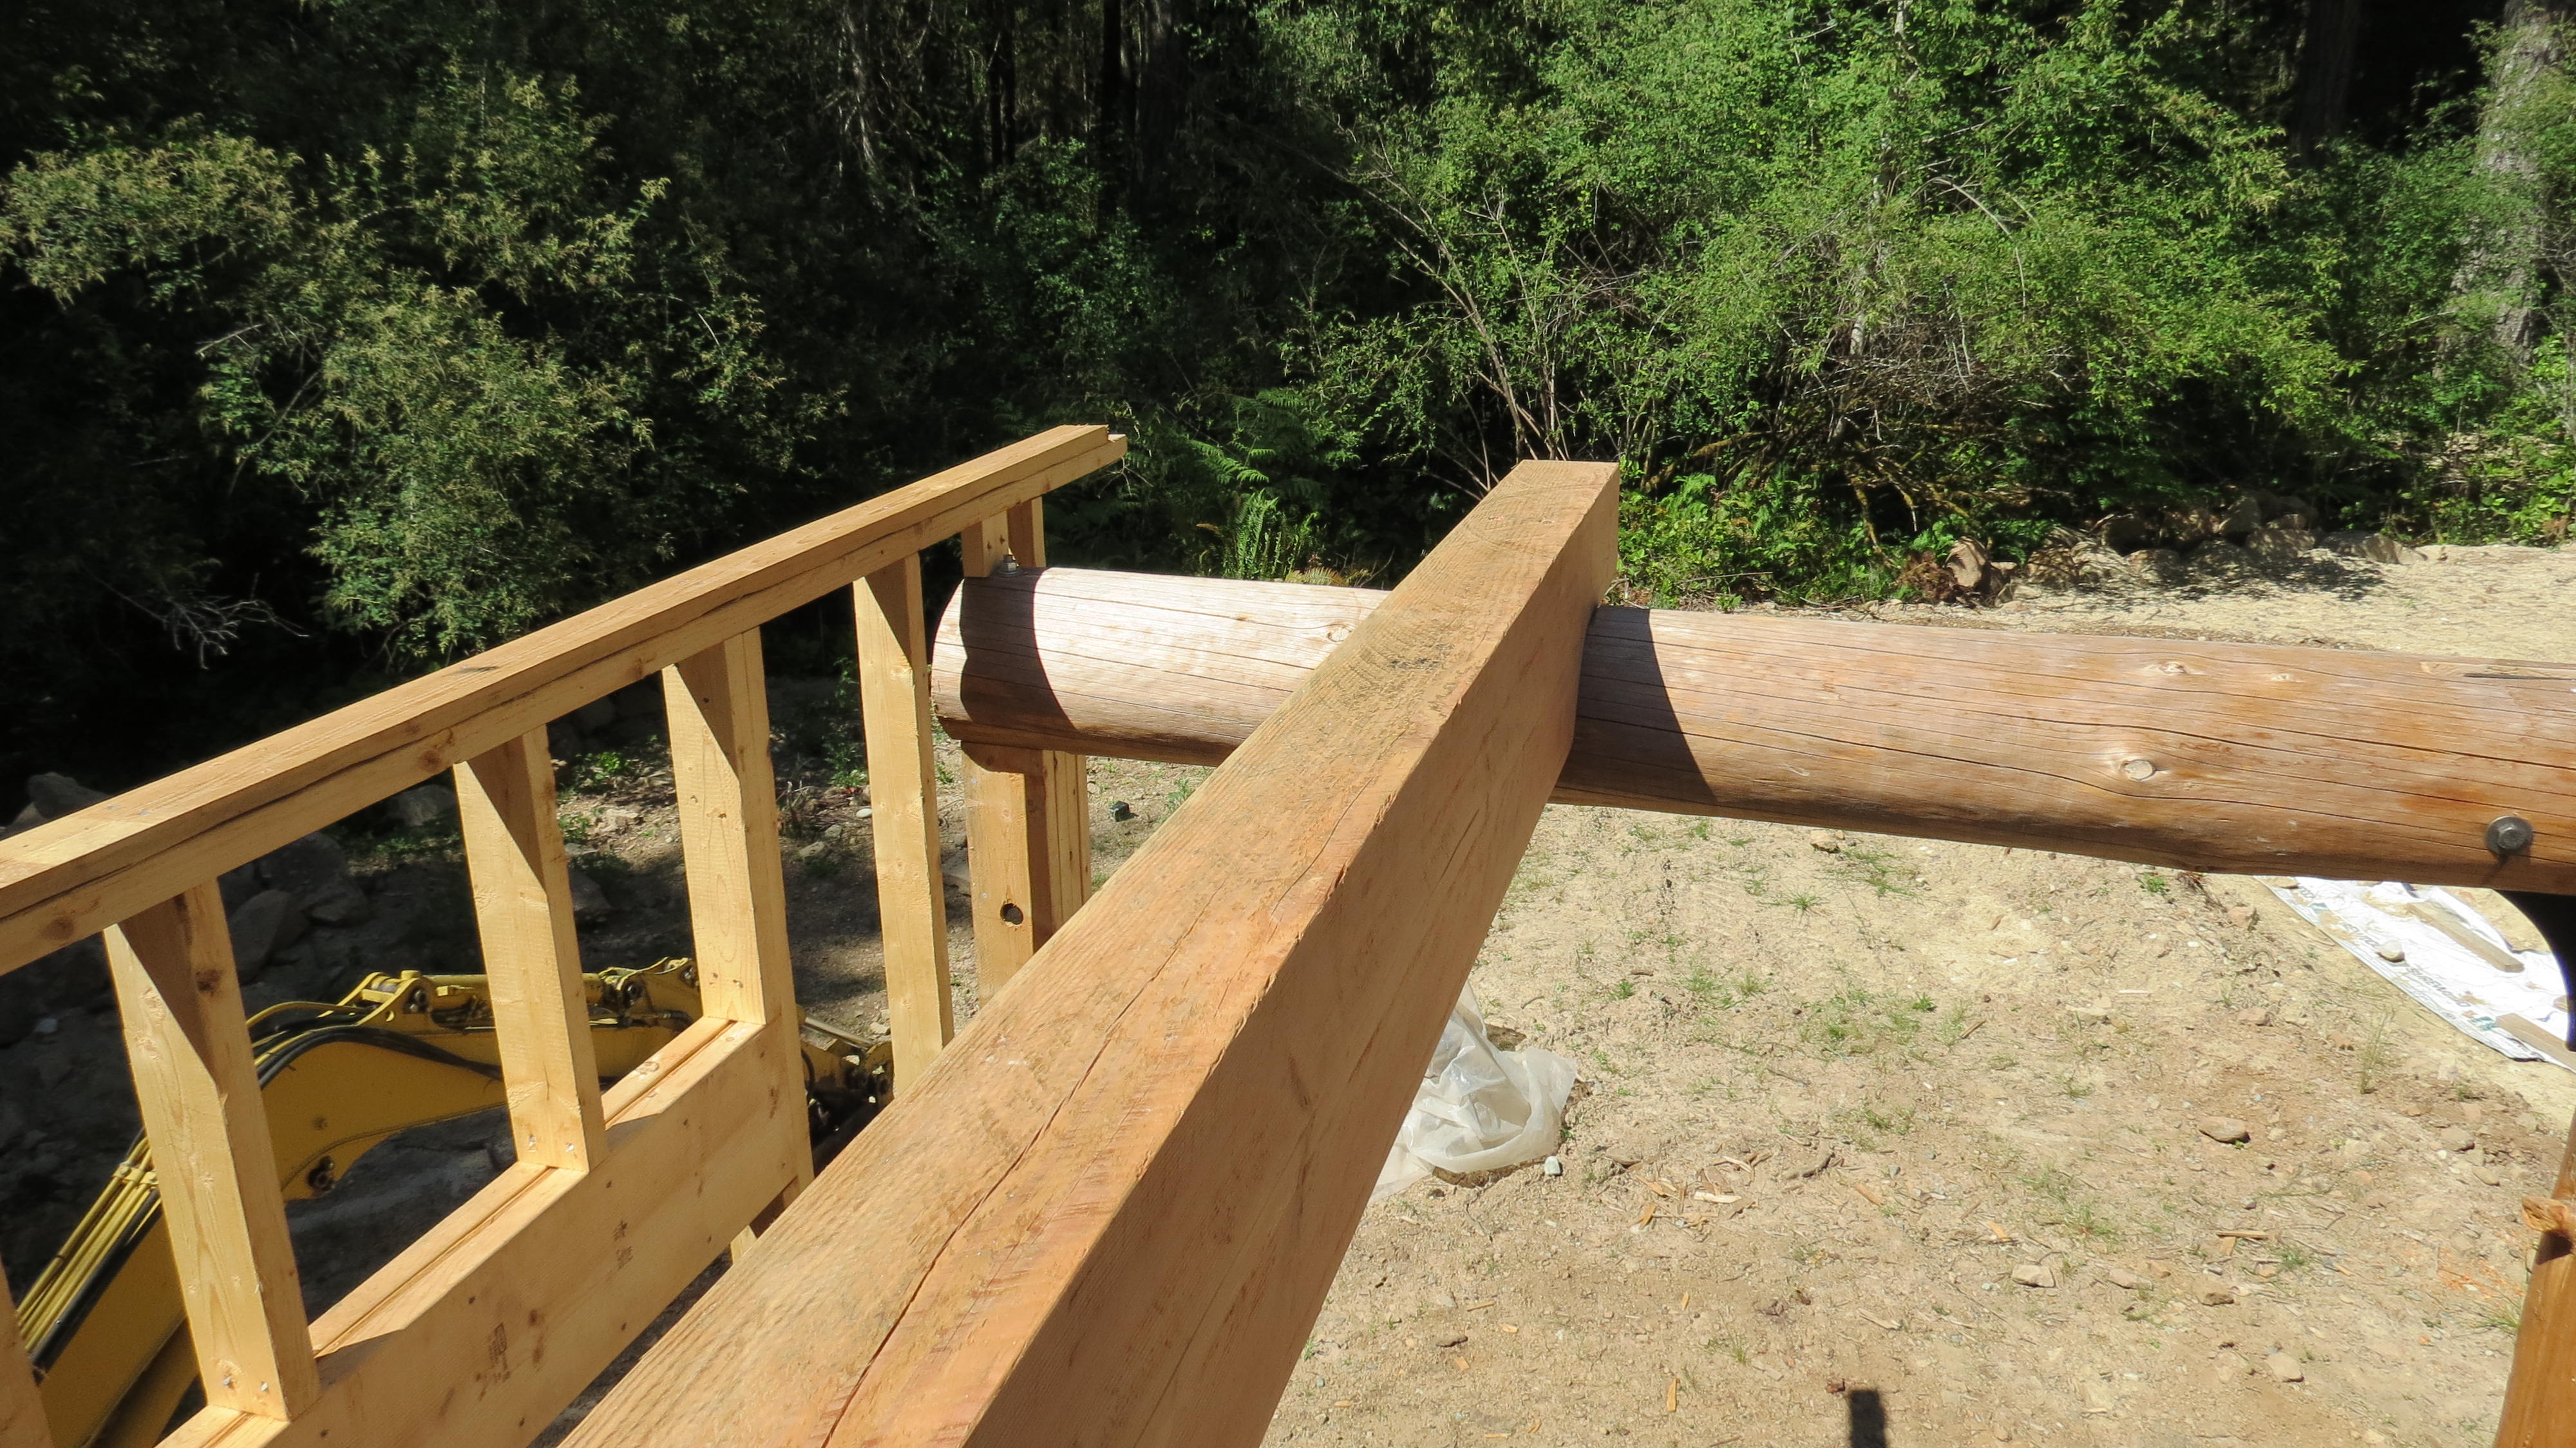
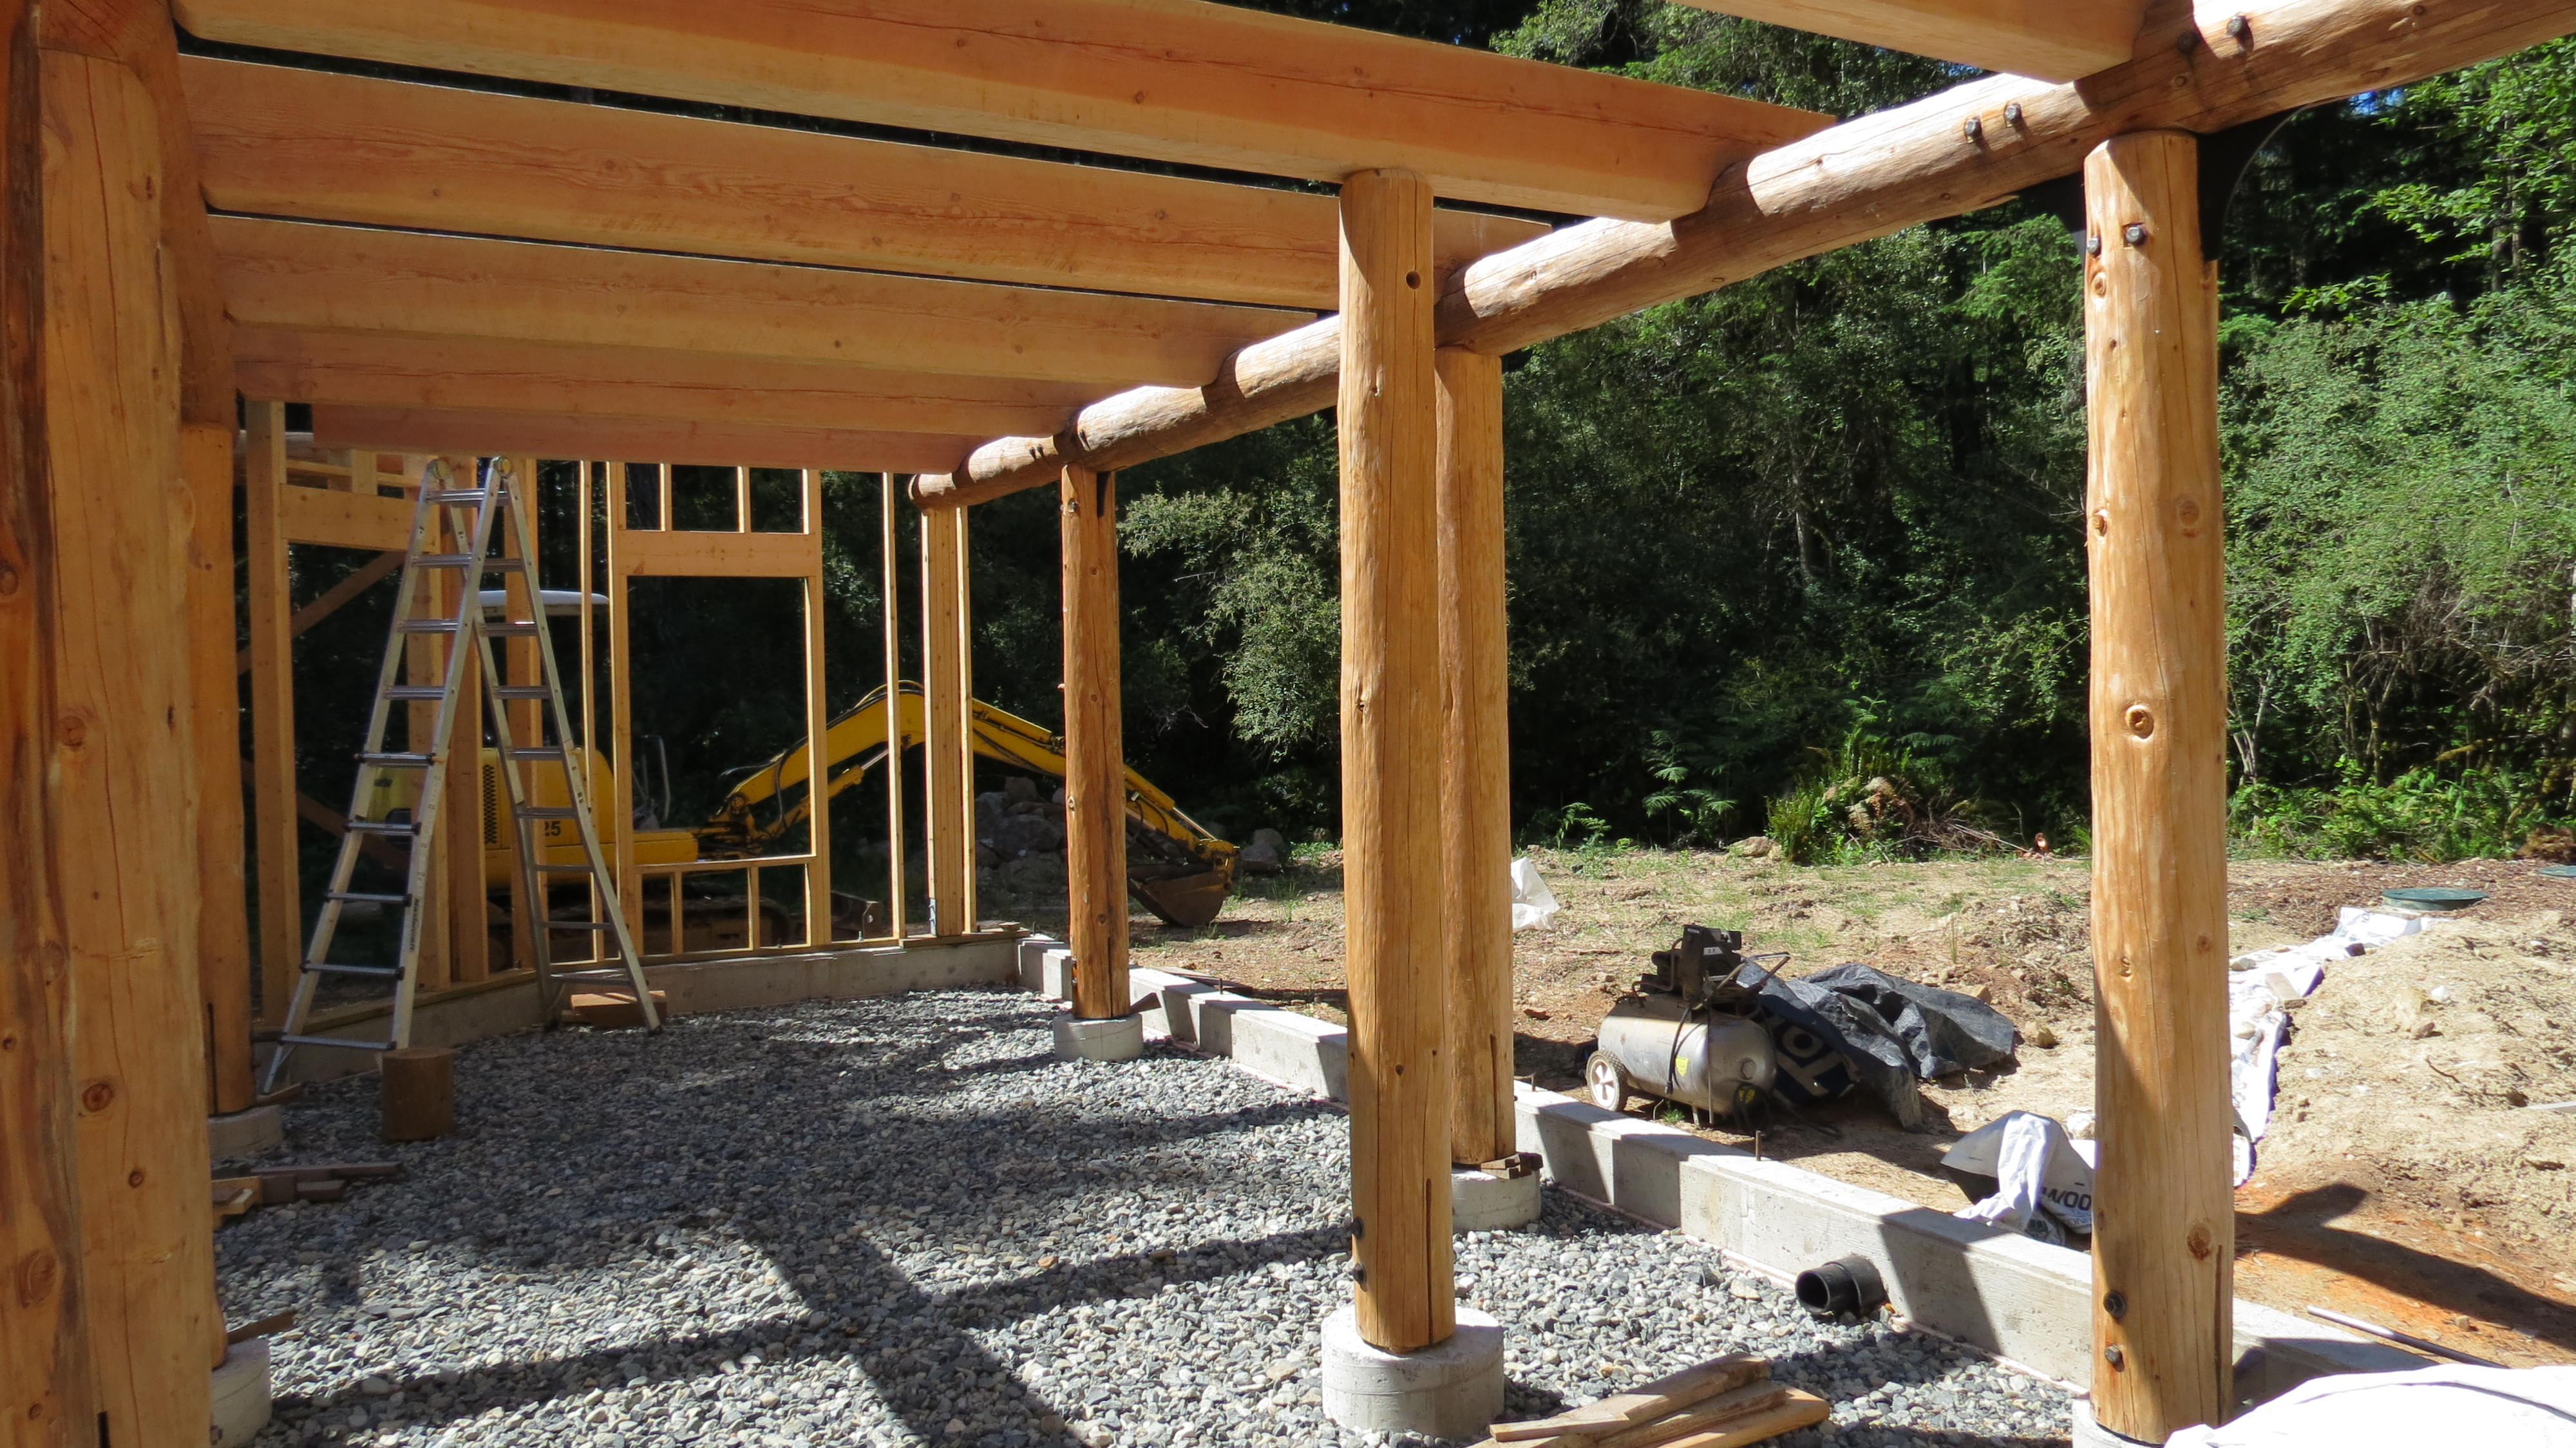
I also framed overhangs on the east and west ends that rest on the exterior posts and beams to create covered areas below. That sounds easy, but it really wasn’t. On the back of a week of 14 hour days in the sun, it felt right to share the pain and ruin my electrician’s sailing holiday by having him drop everything and wire for the downstairs lights.
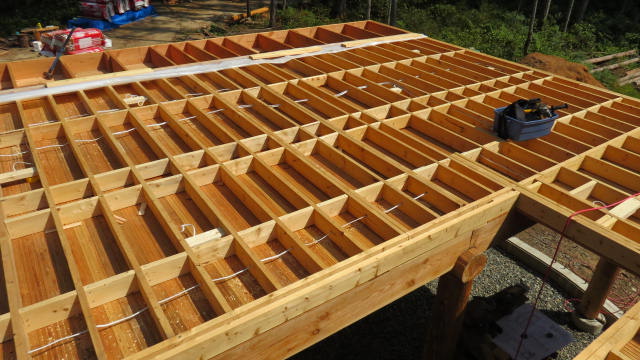
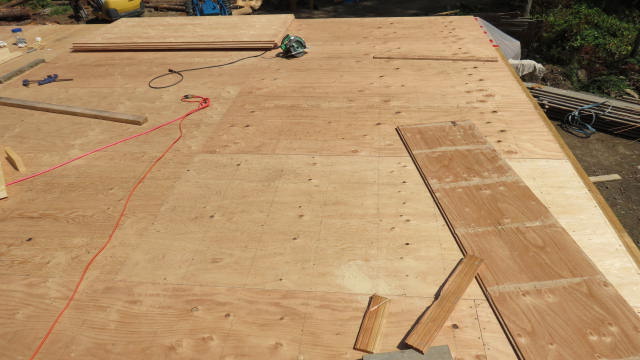
Rough wiring in, I filled the joist bays with bats of Roxul Safe’n Sound mineral wool insulation as a fire break and sound dampener for when Mia’s 14 and cranks the Justin Bieber of 2025. On top went 964 square feet of ¾ plywood, with the last screw of 3000 sunk at 9 pm, eleven hours before the roof trusses arrived and were plopped on top with a crane.
Was building the subfloor structure exciting? A life changer really. At least as thrilling as reading this post. There’s six minutes of your life, gone, forever. All to look at some guy put in screws and stuff insulation.
Next up, cranes and high angle antics. Really, I swear on a stack of Kapital, it’ll be exciting.

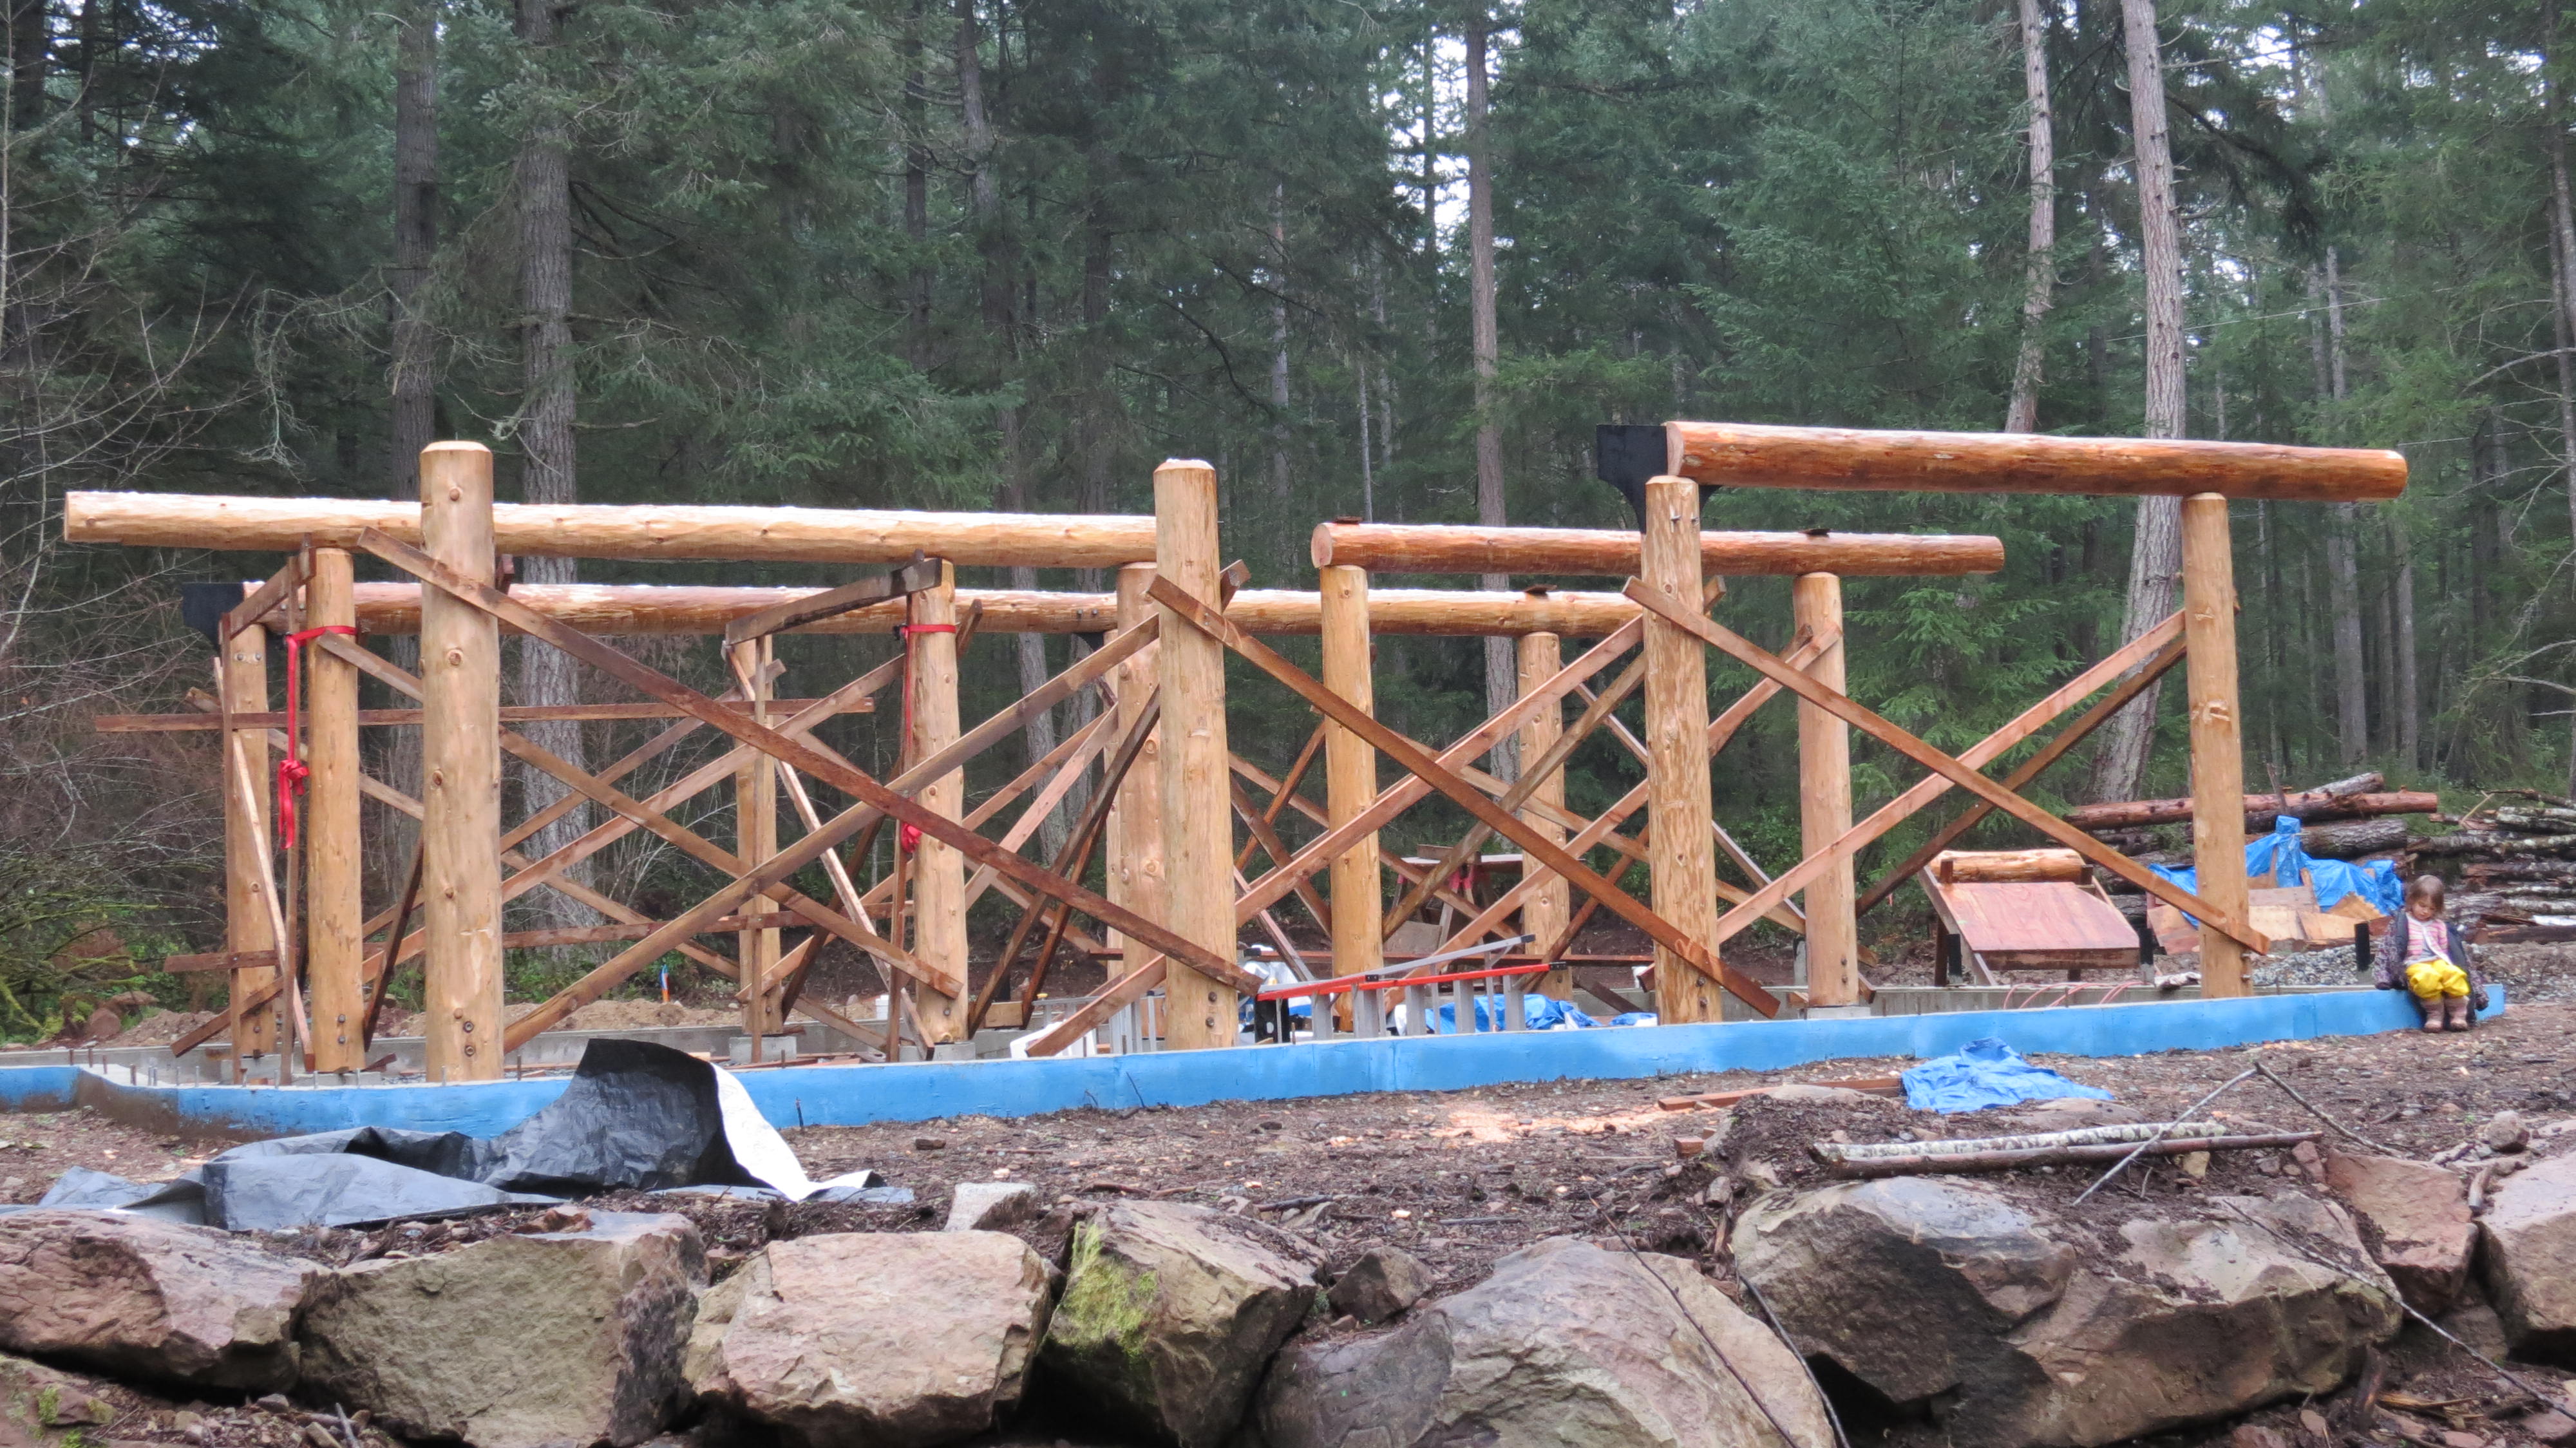
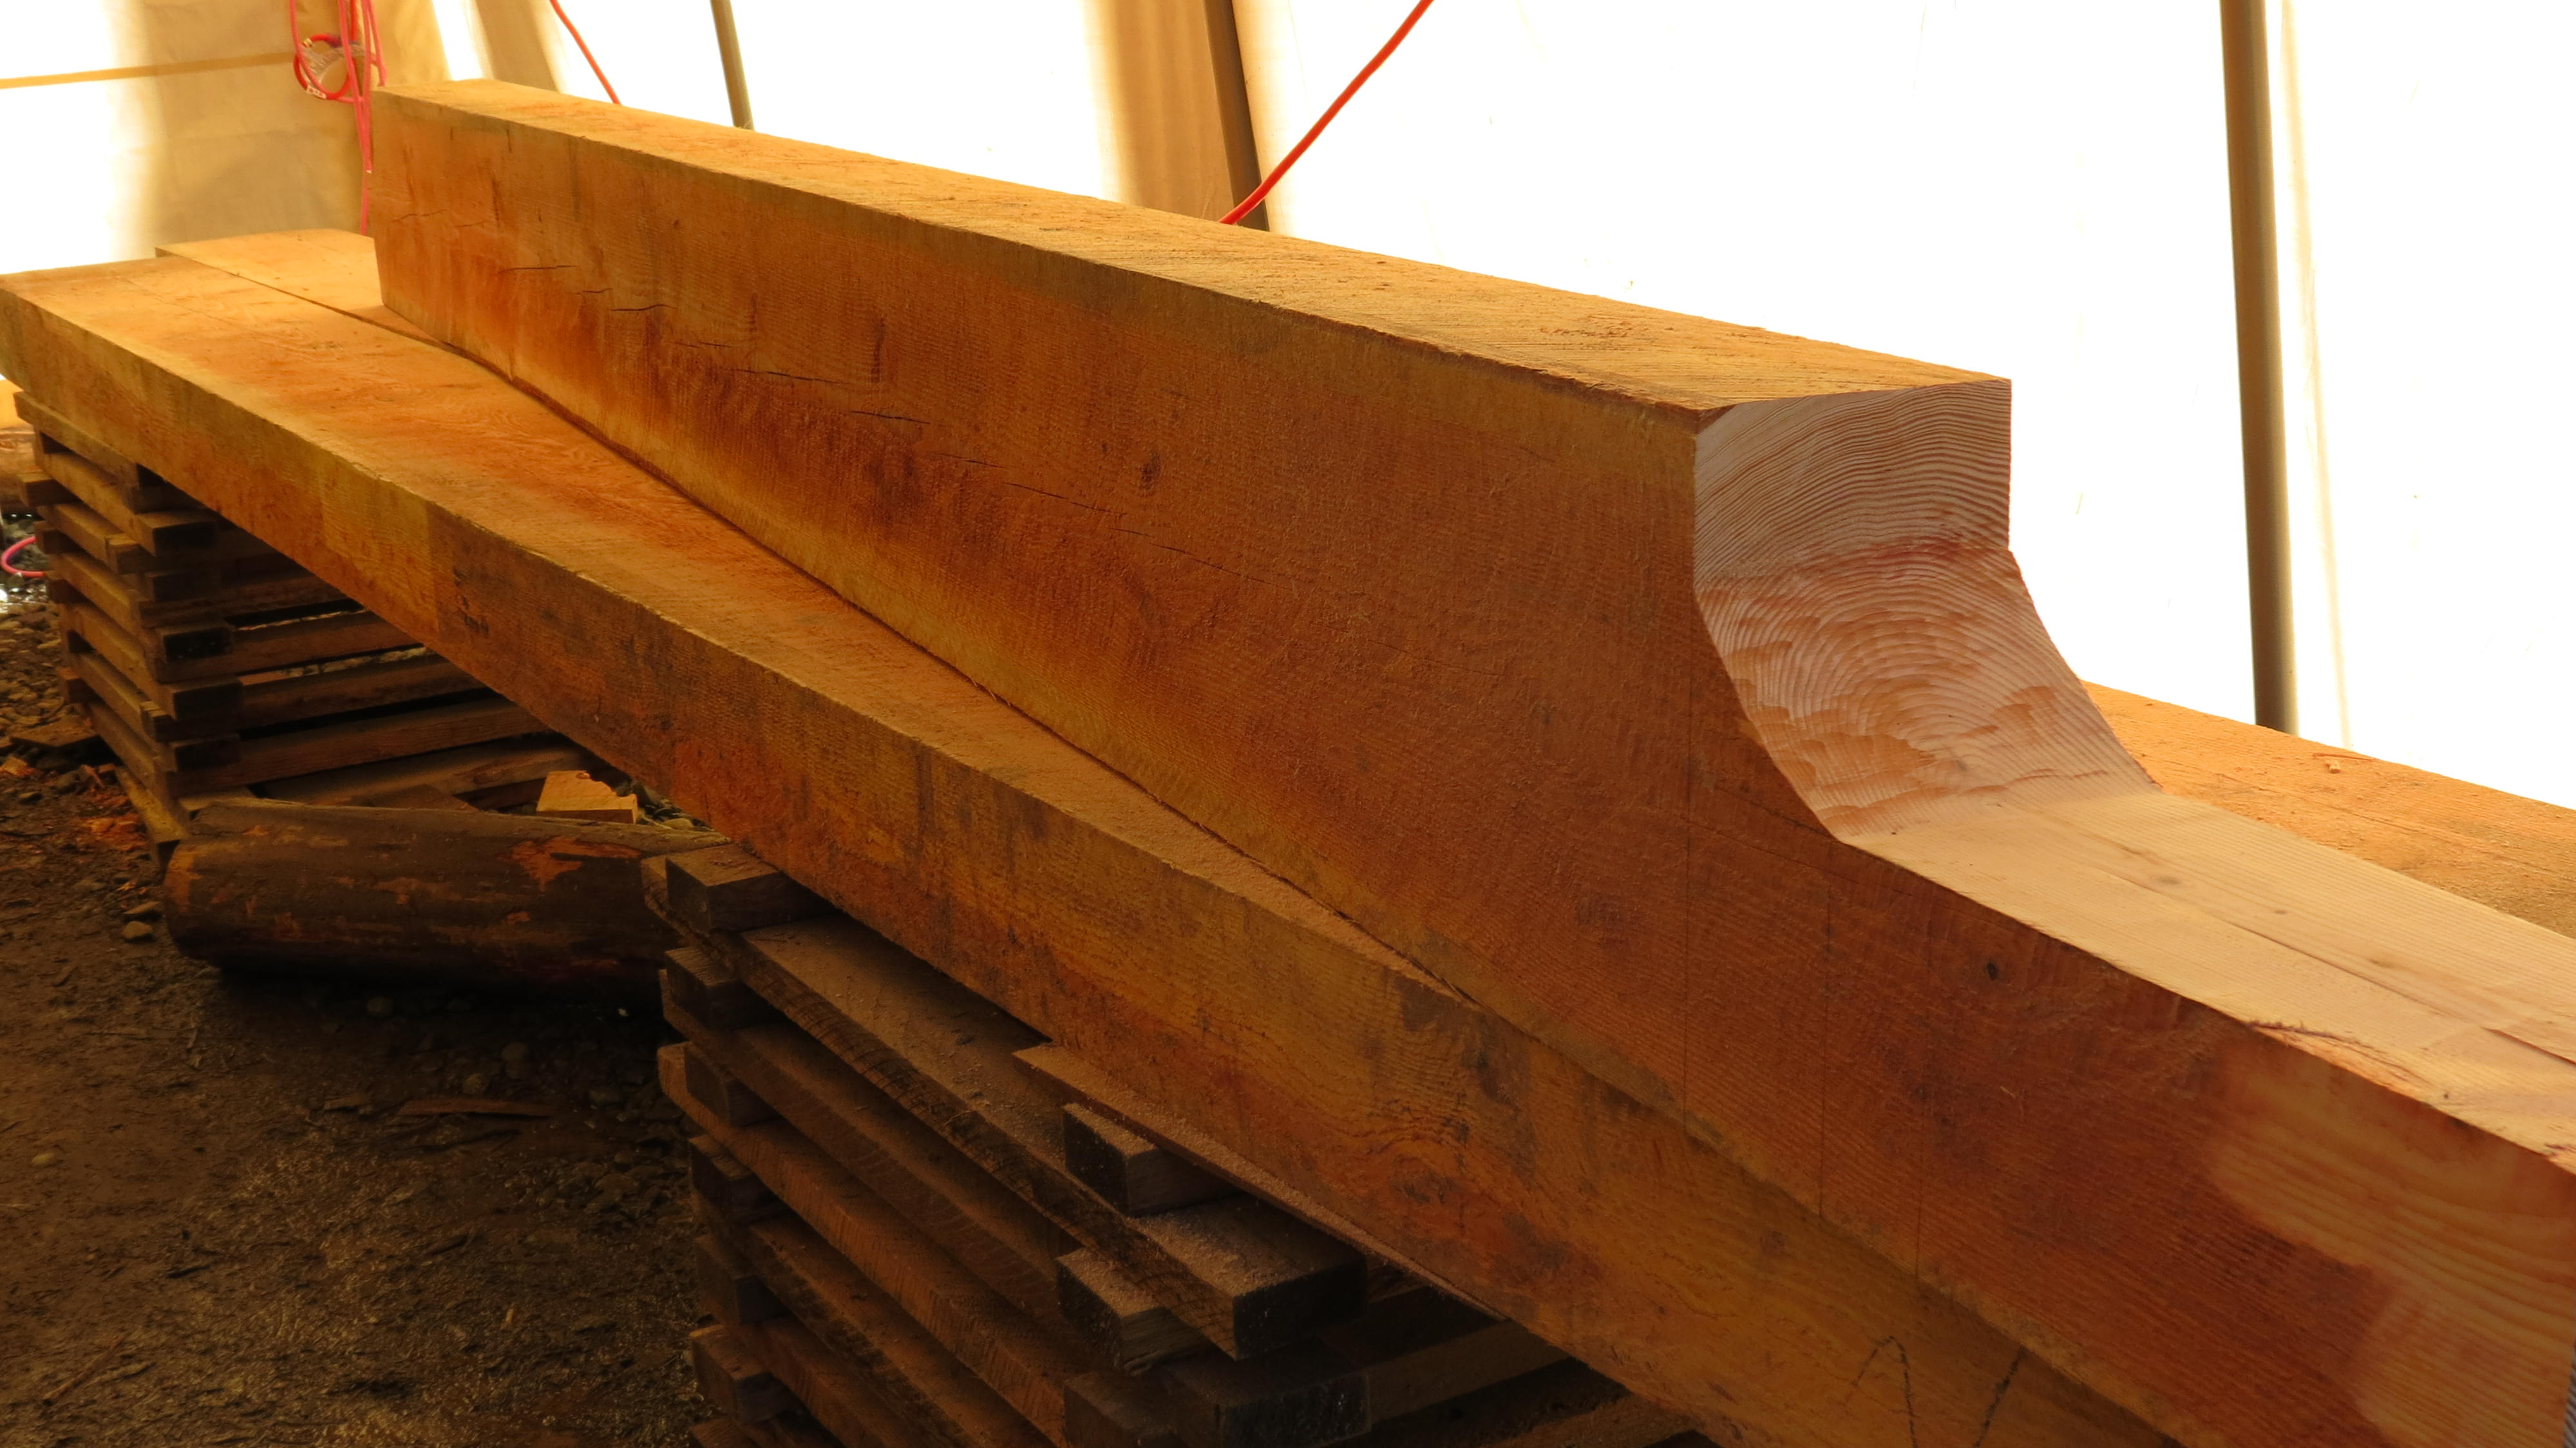
Beginning the lattice
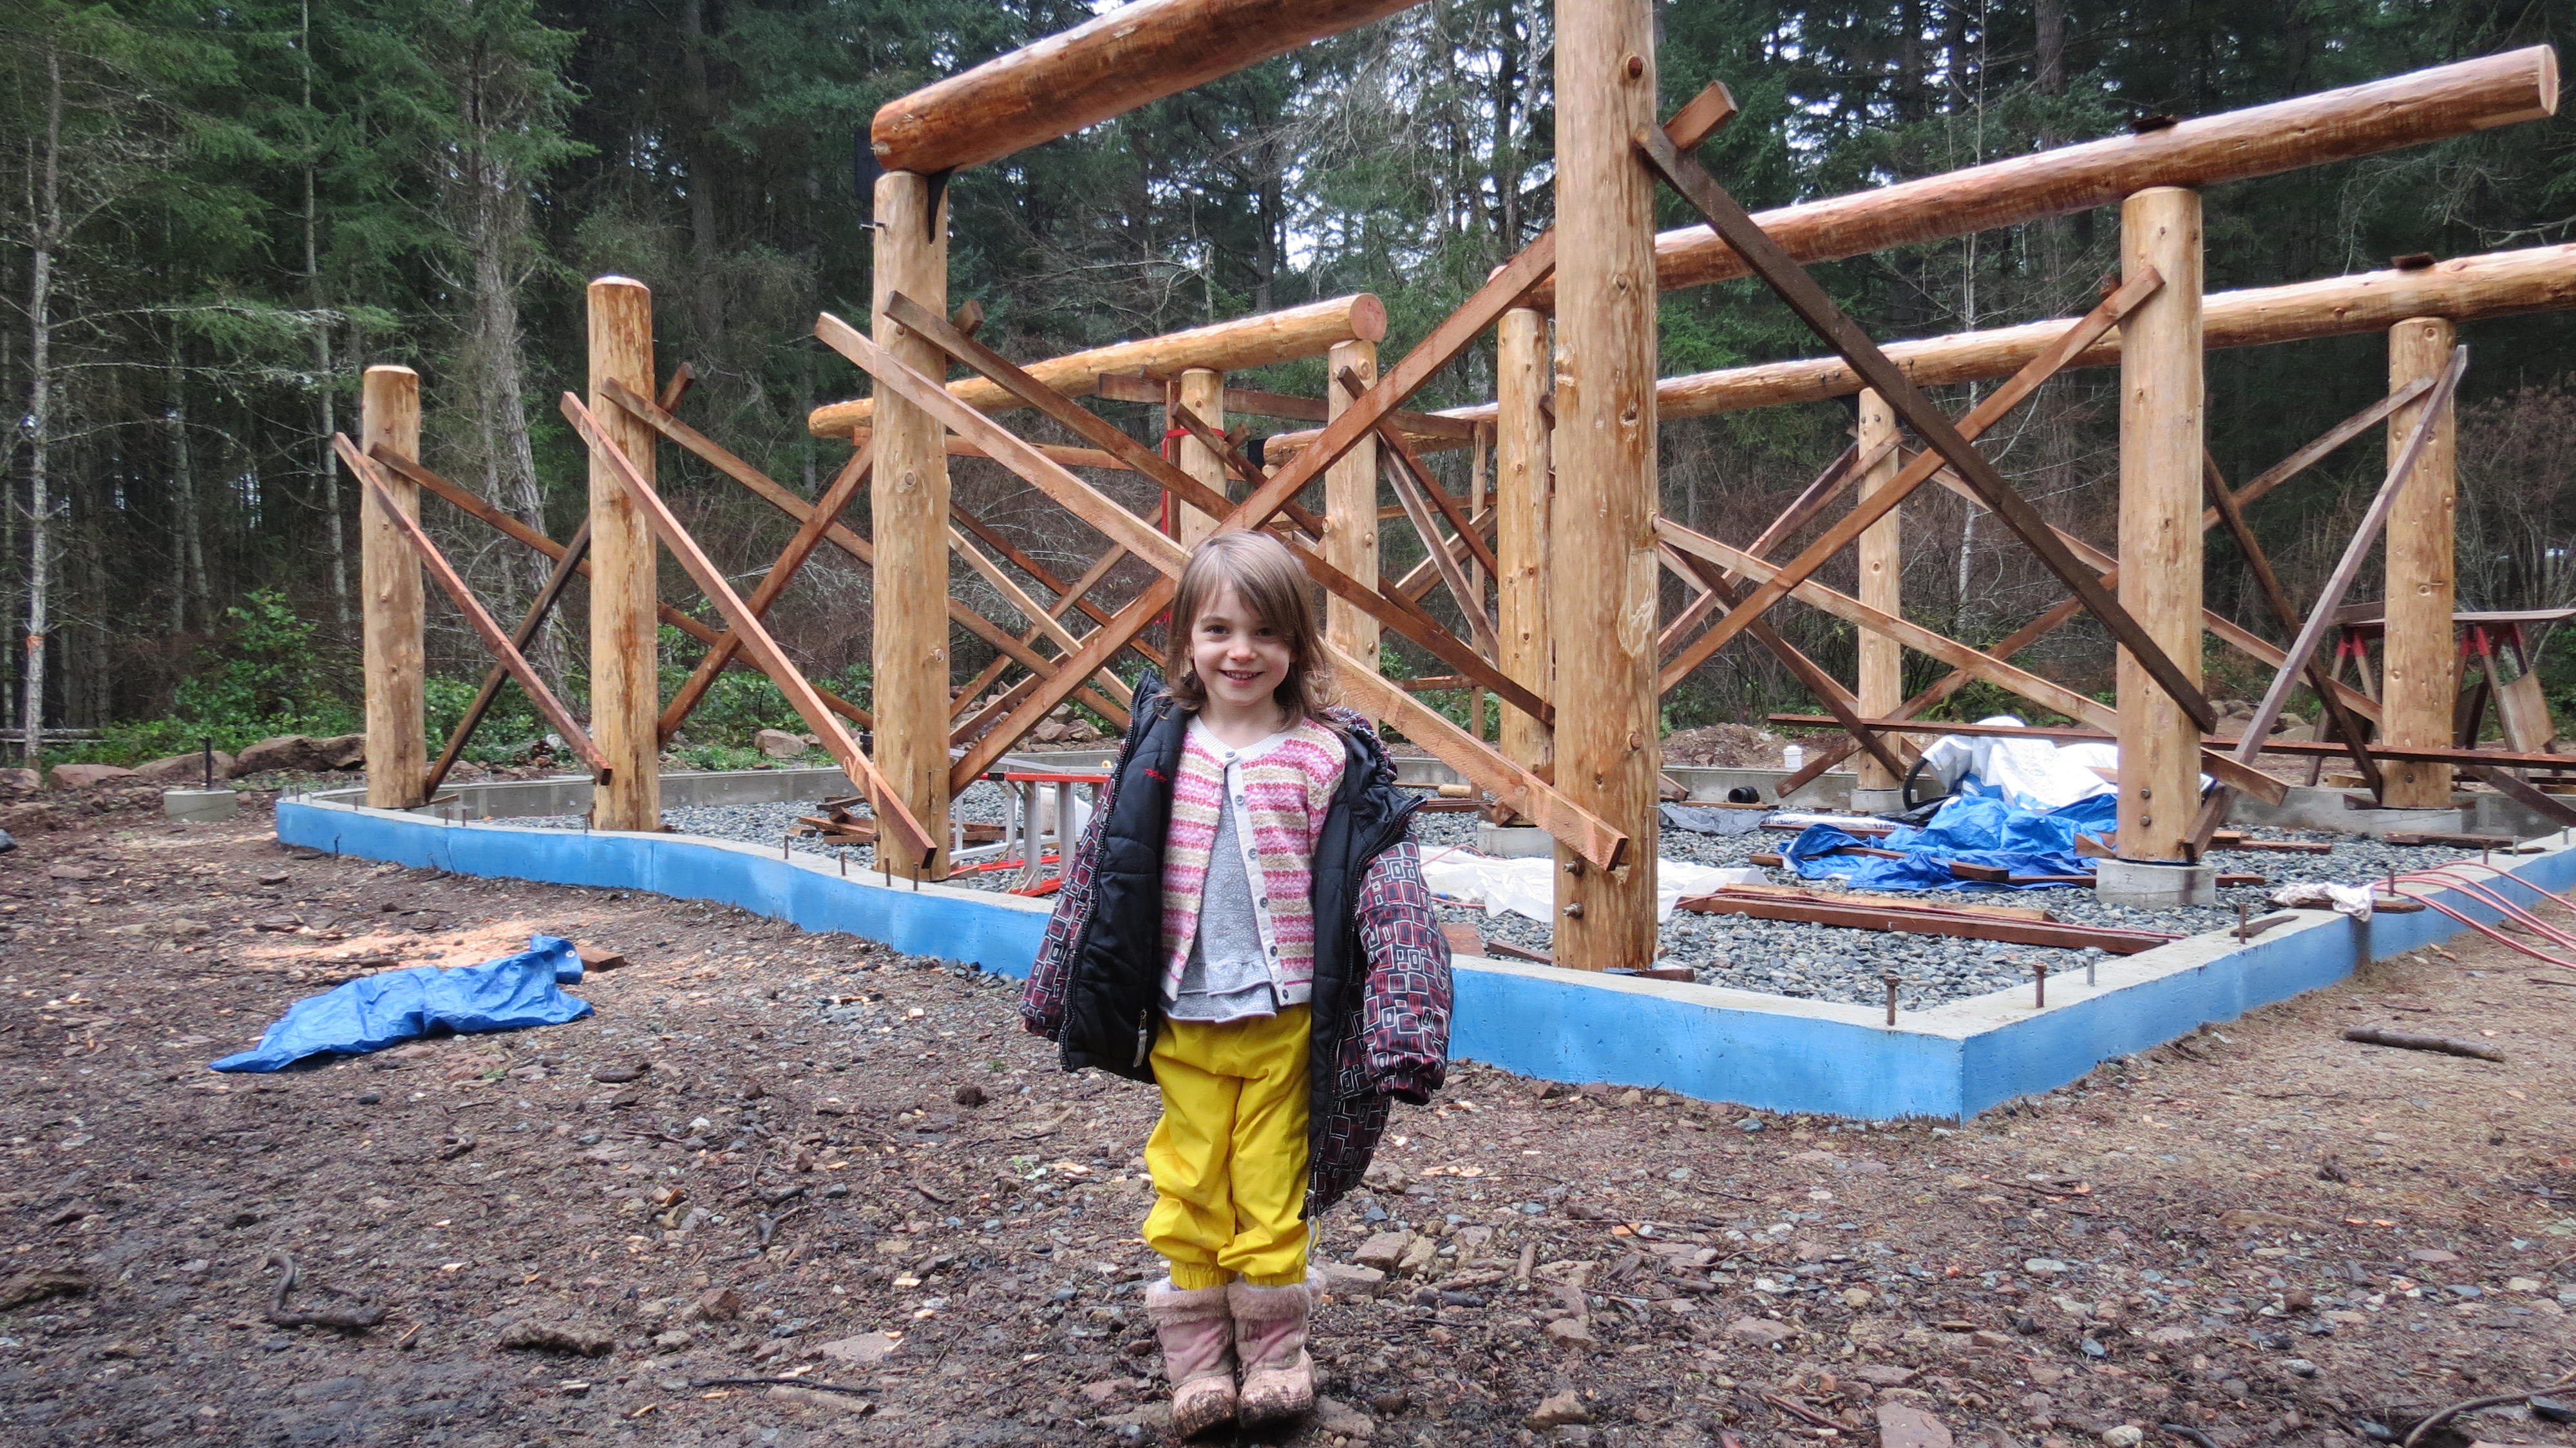
Through the middle is where the library will go


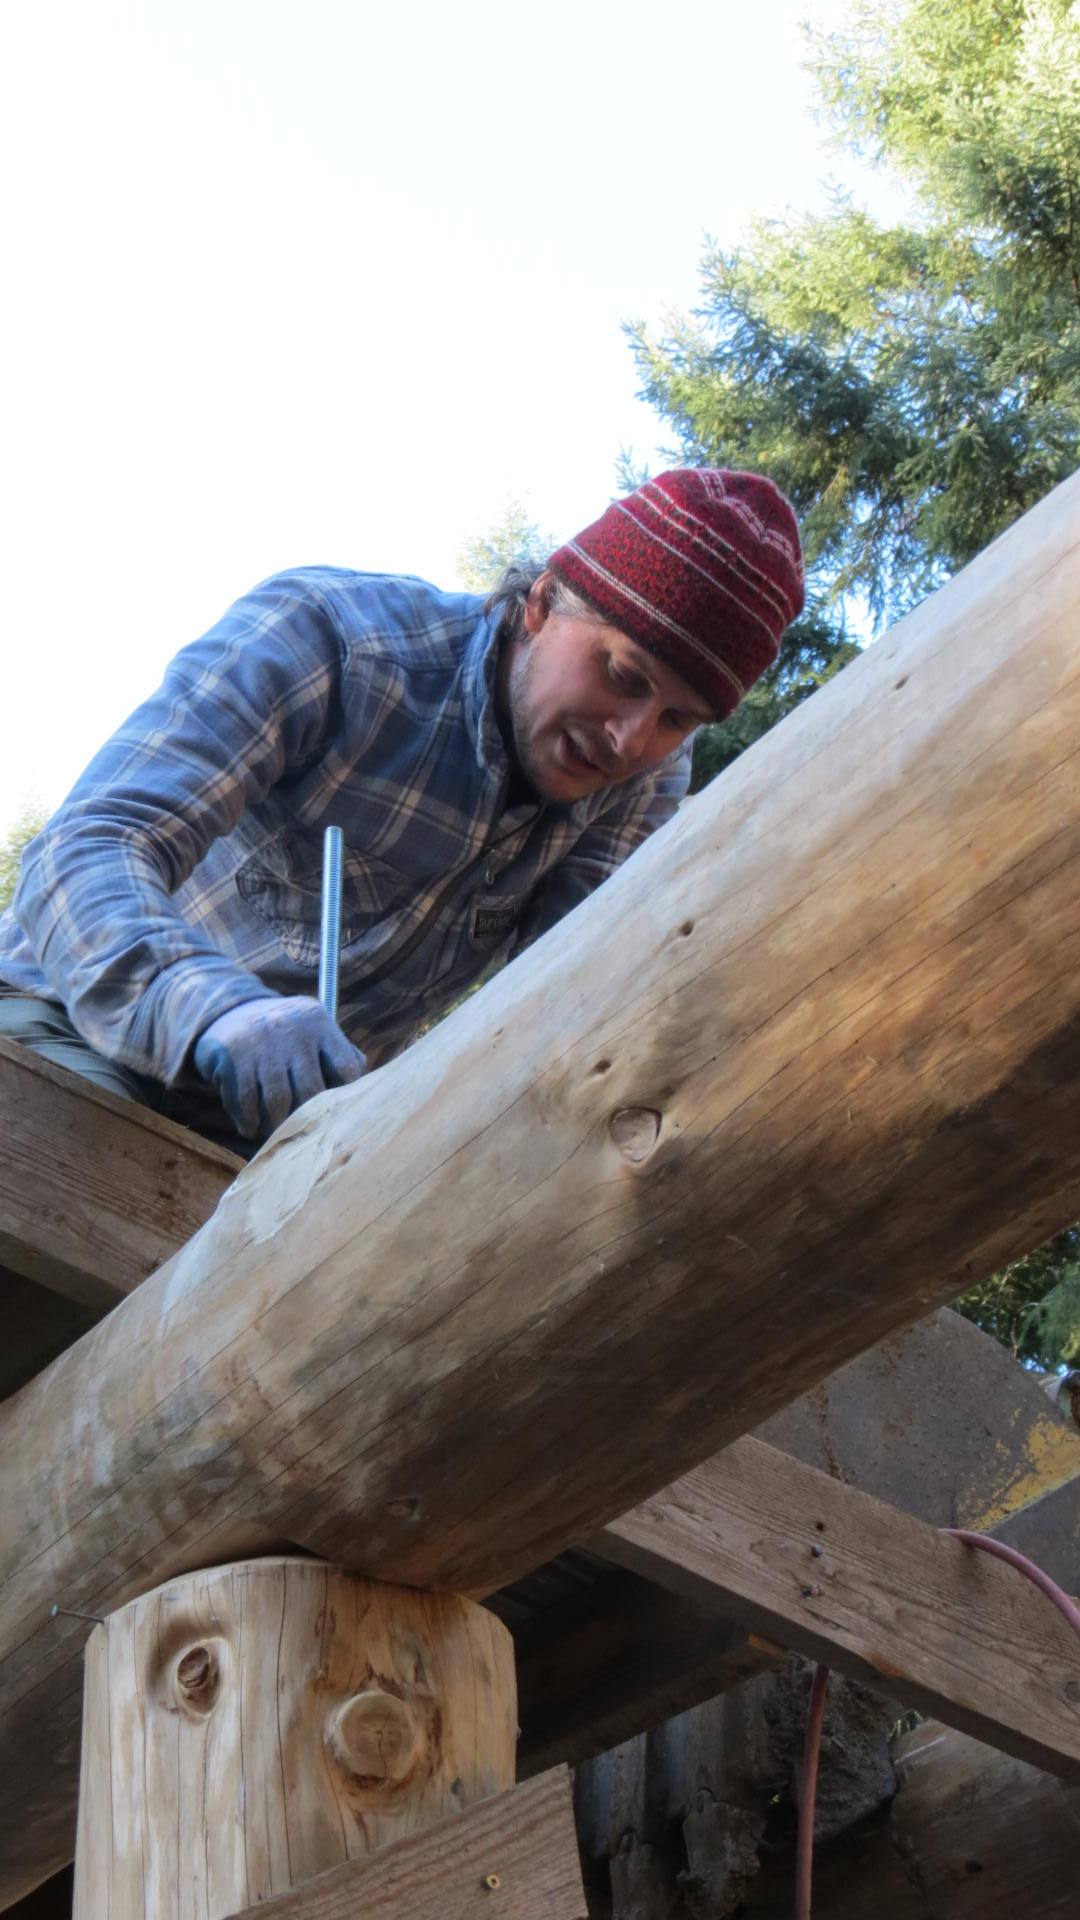
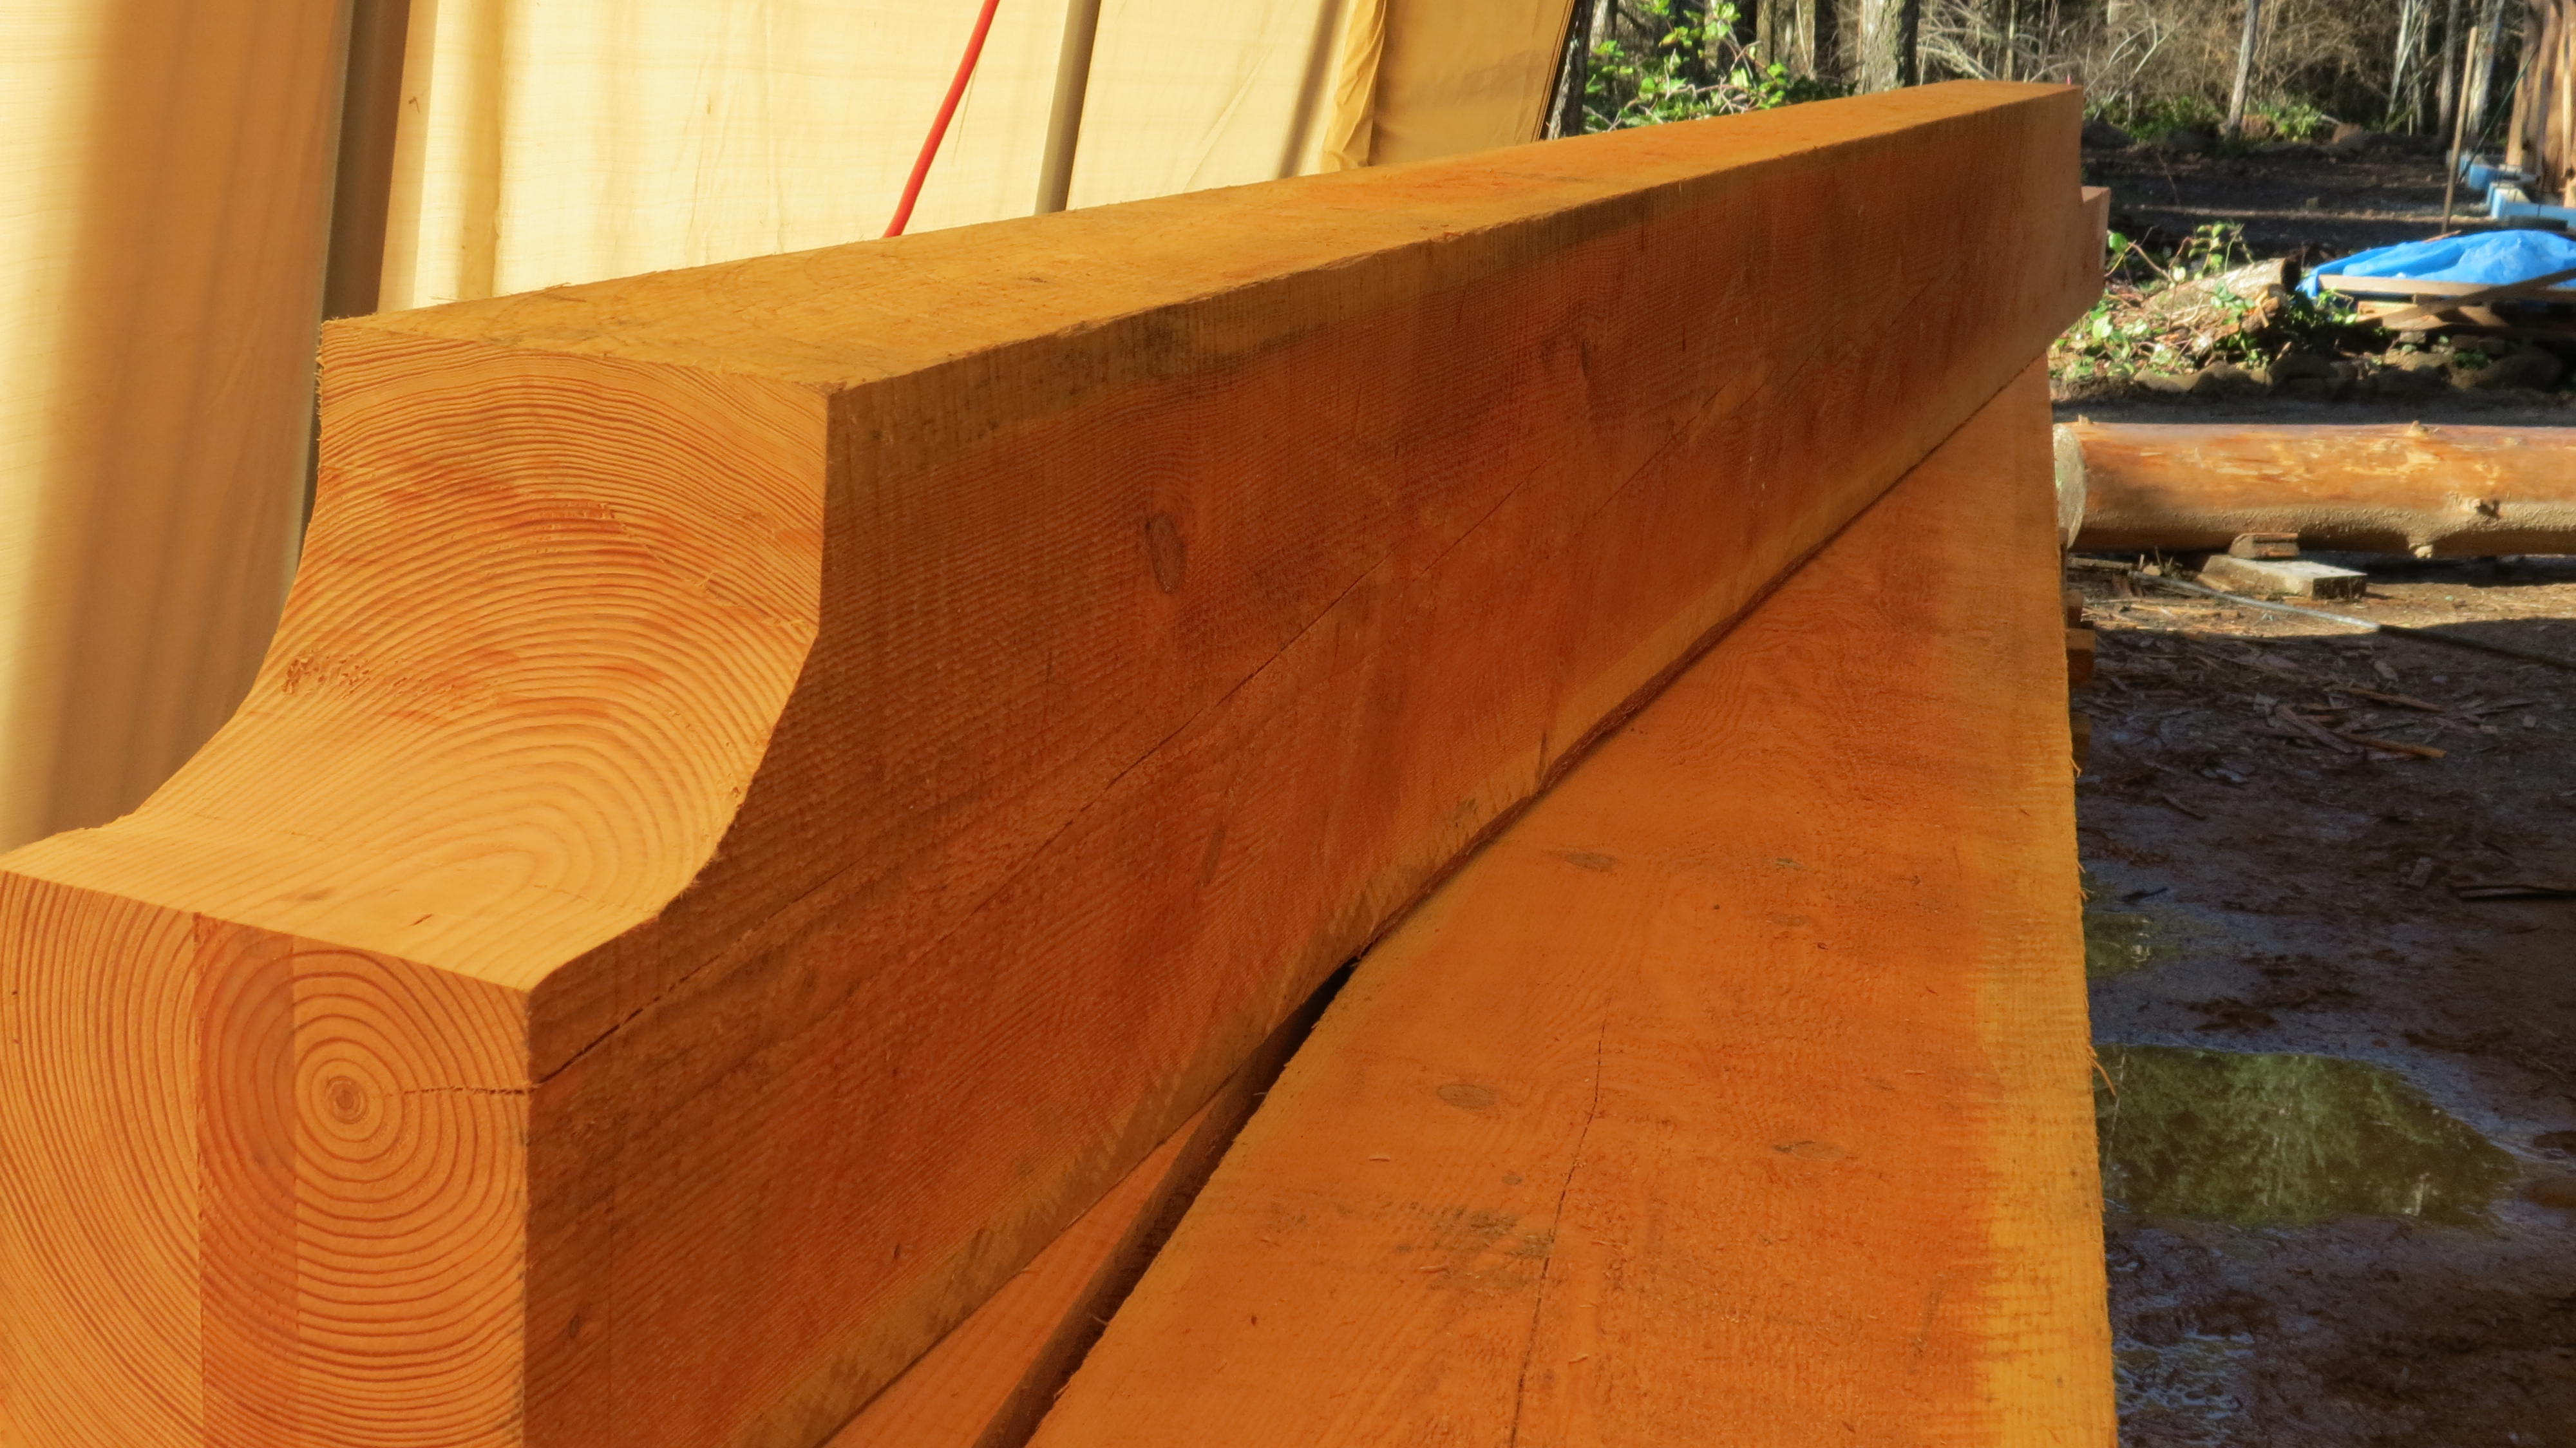
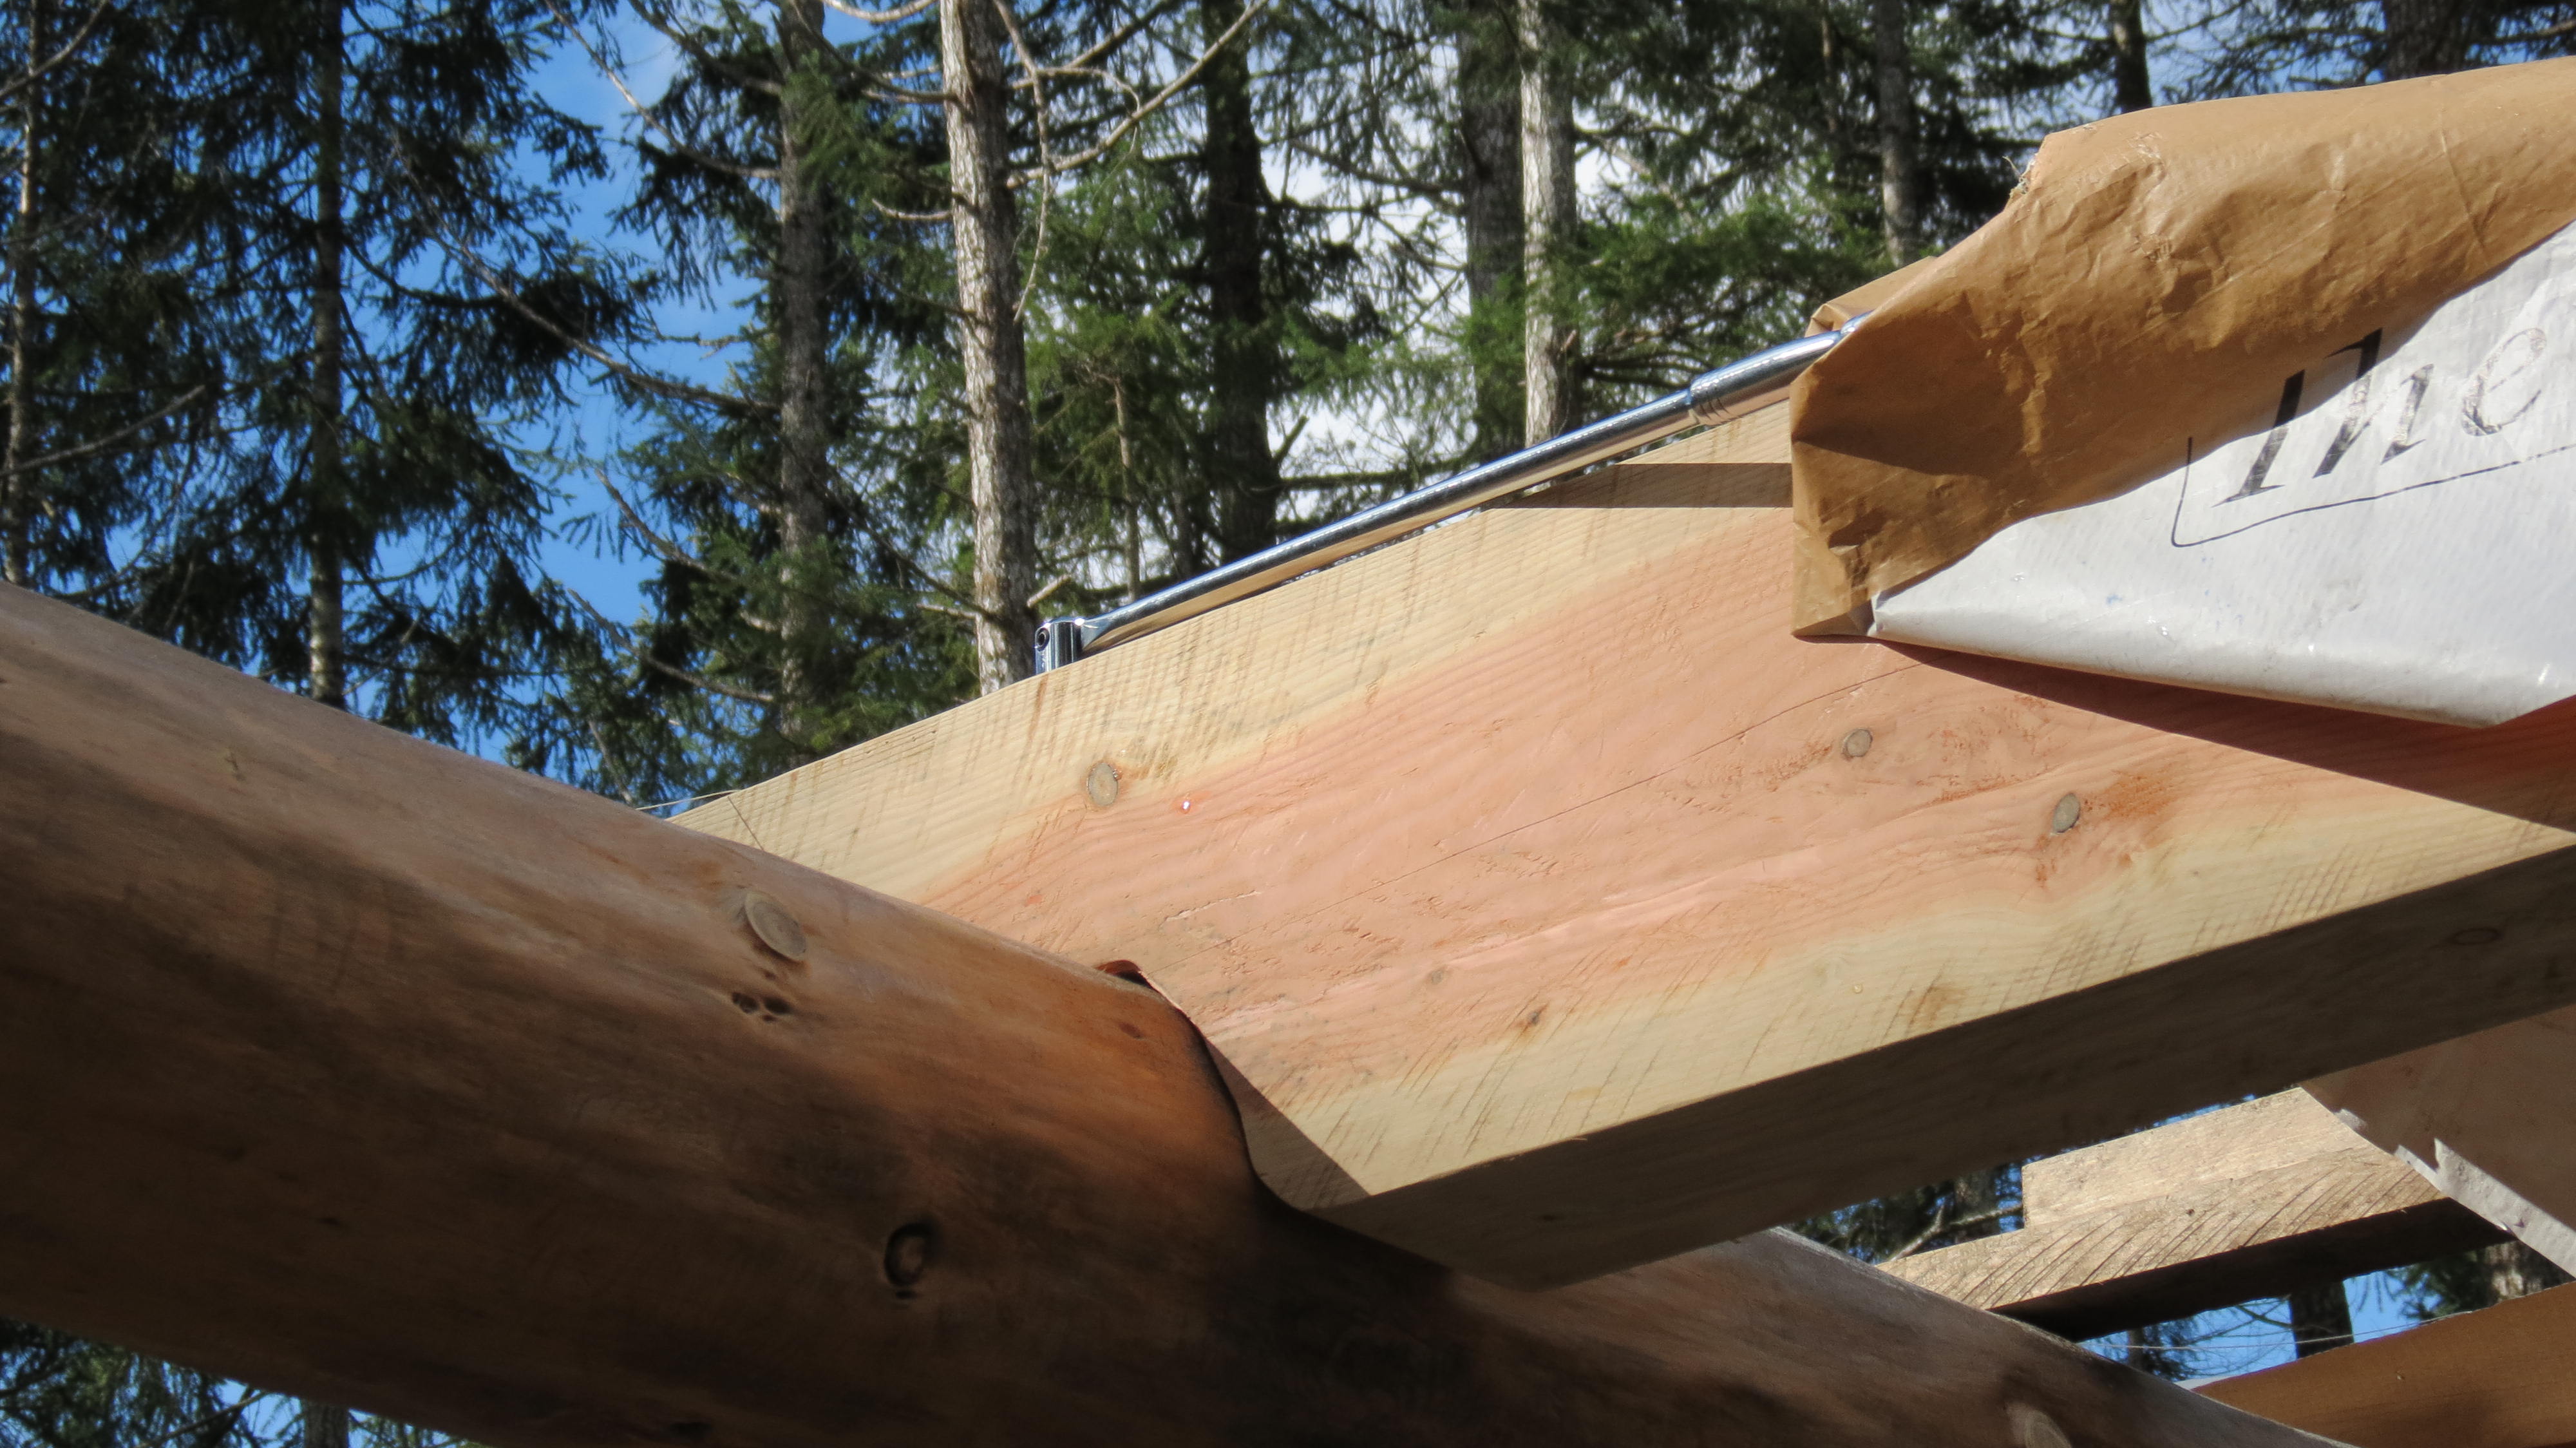
The 2X12 east overhang

Rough wiring

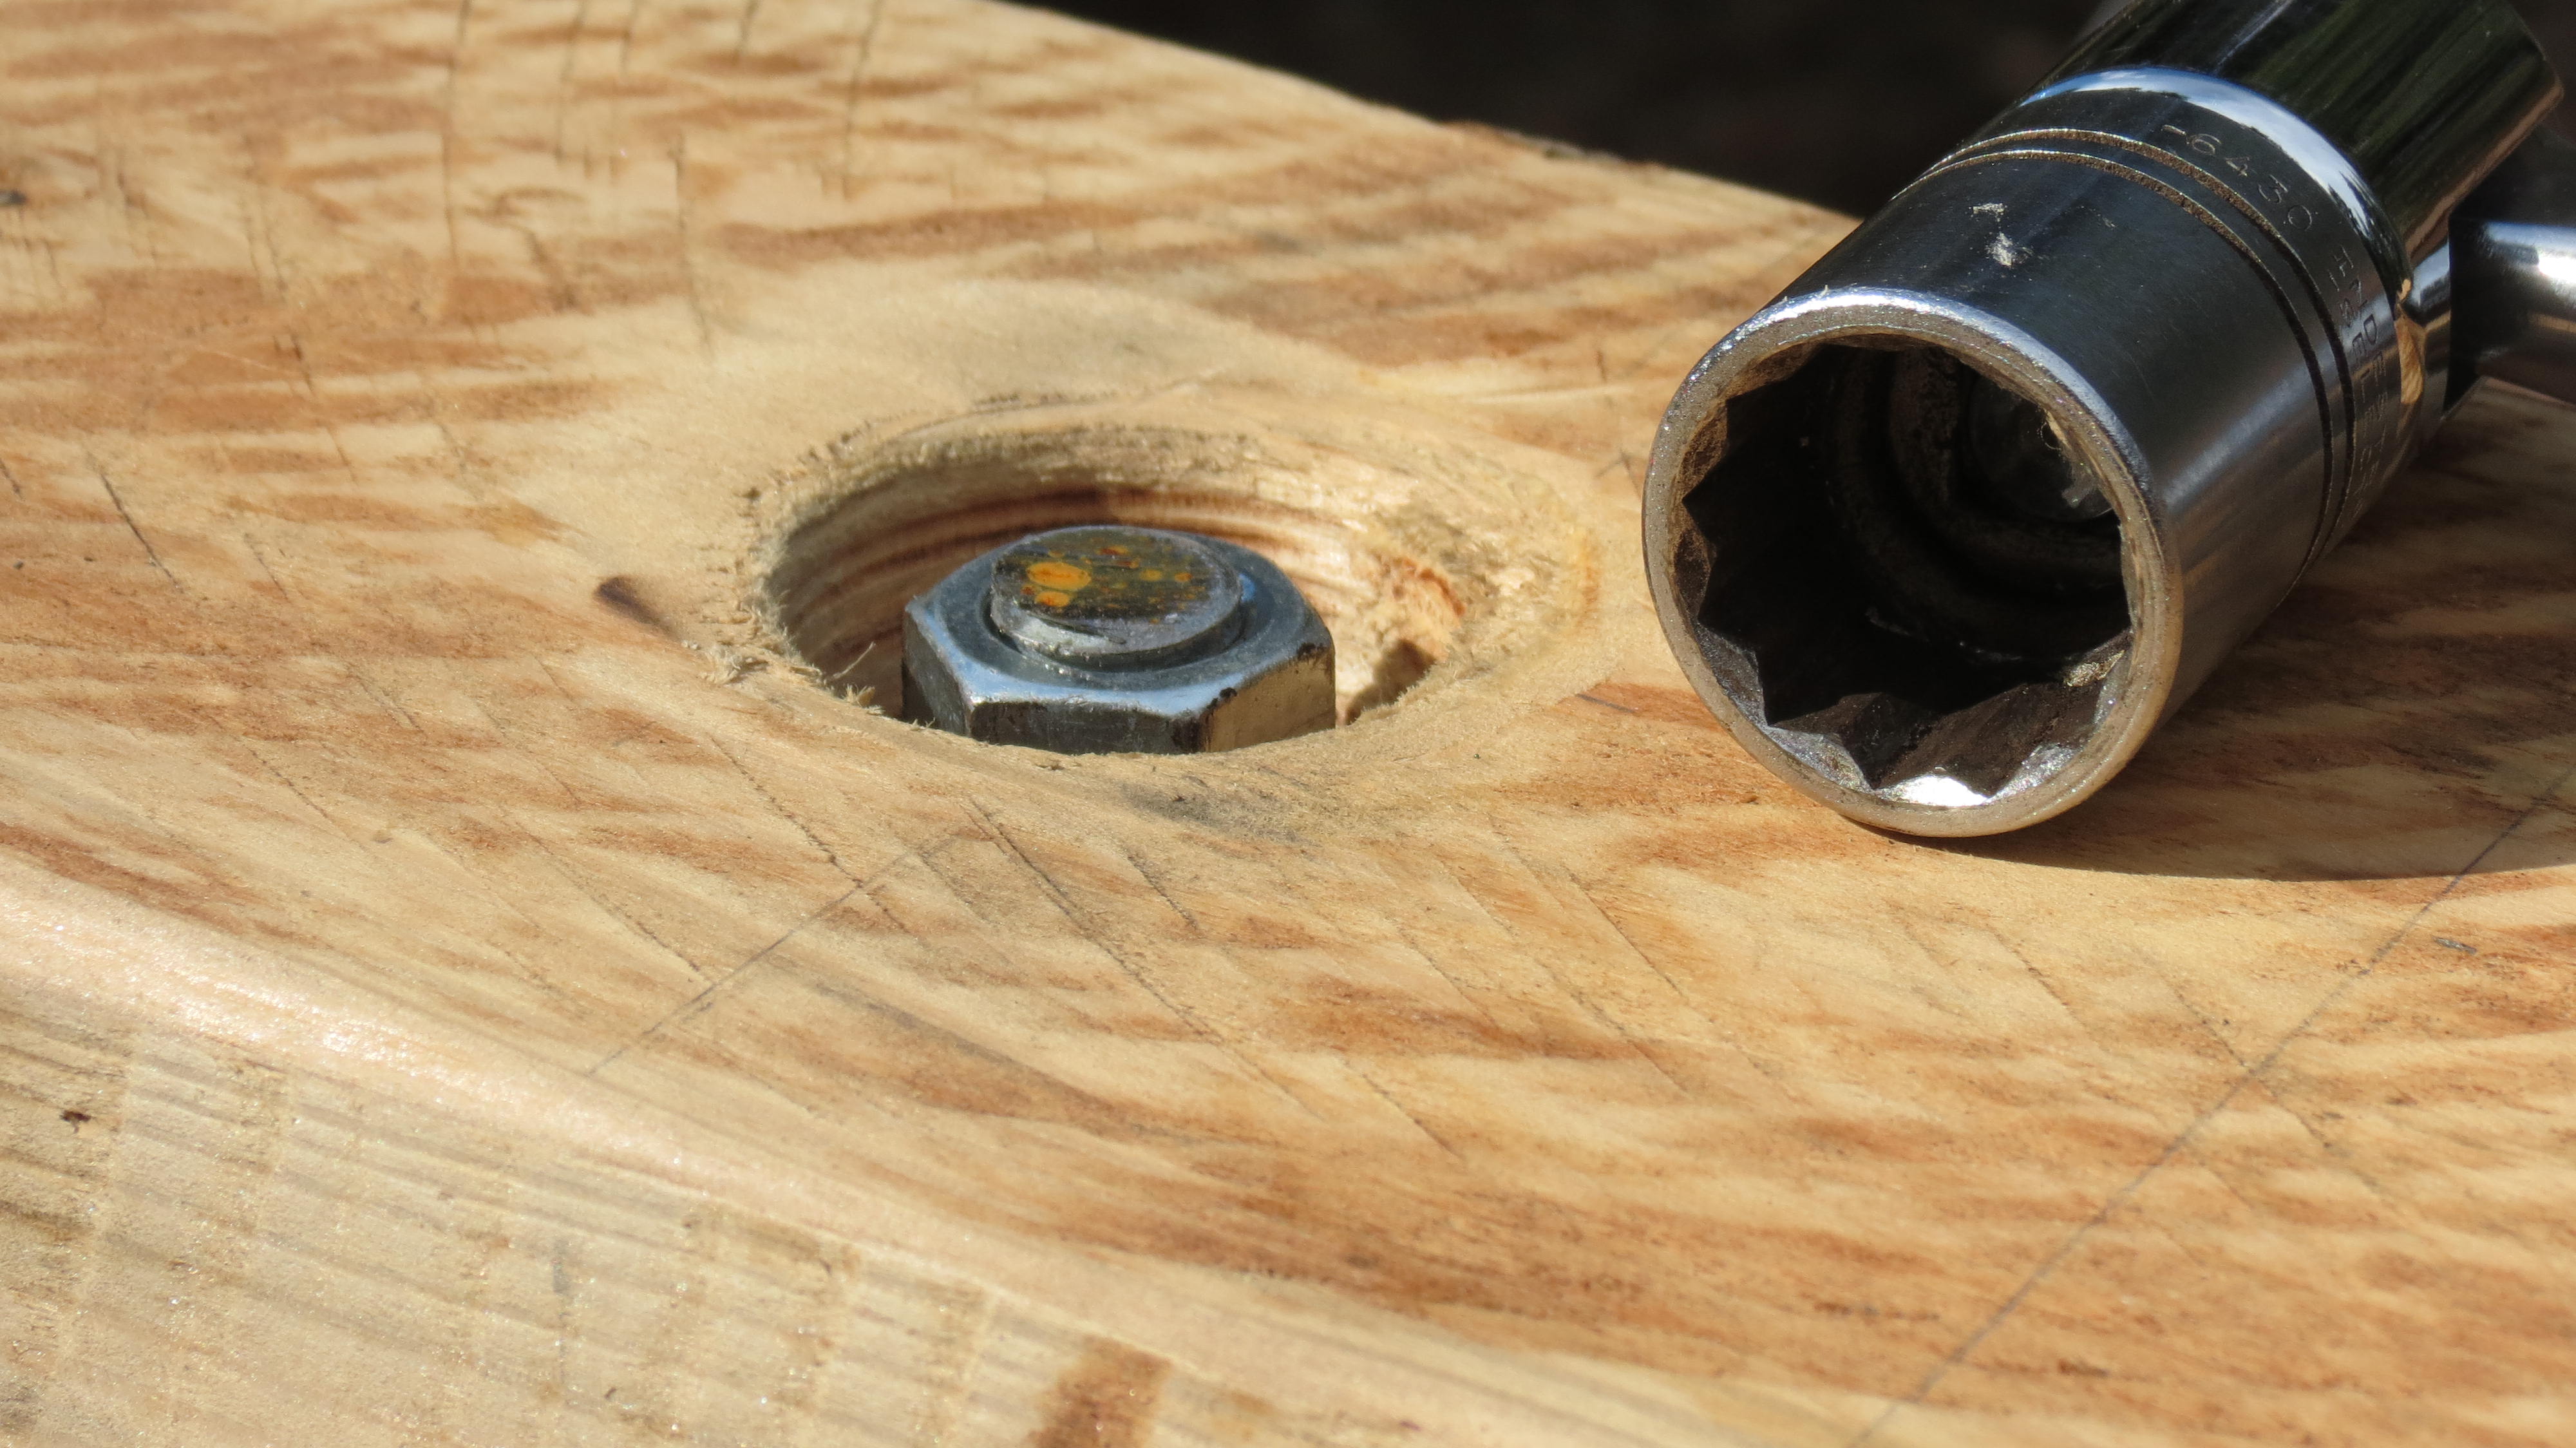
A downstairs light fixture box

Dirt, manure, mineral wool, what’s the diff?
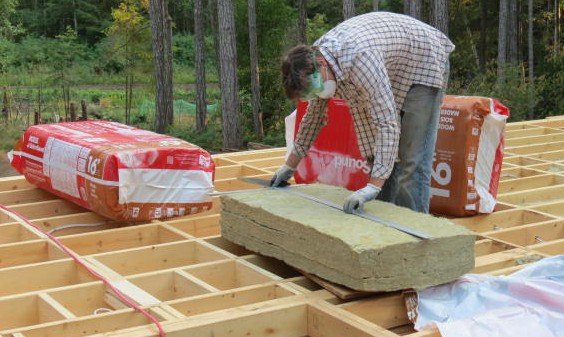

Insulated and ready to cover

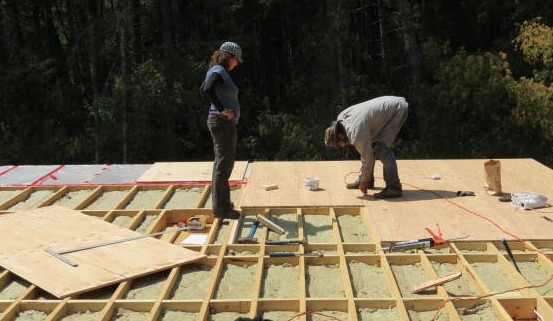
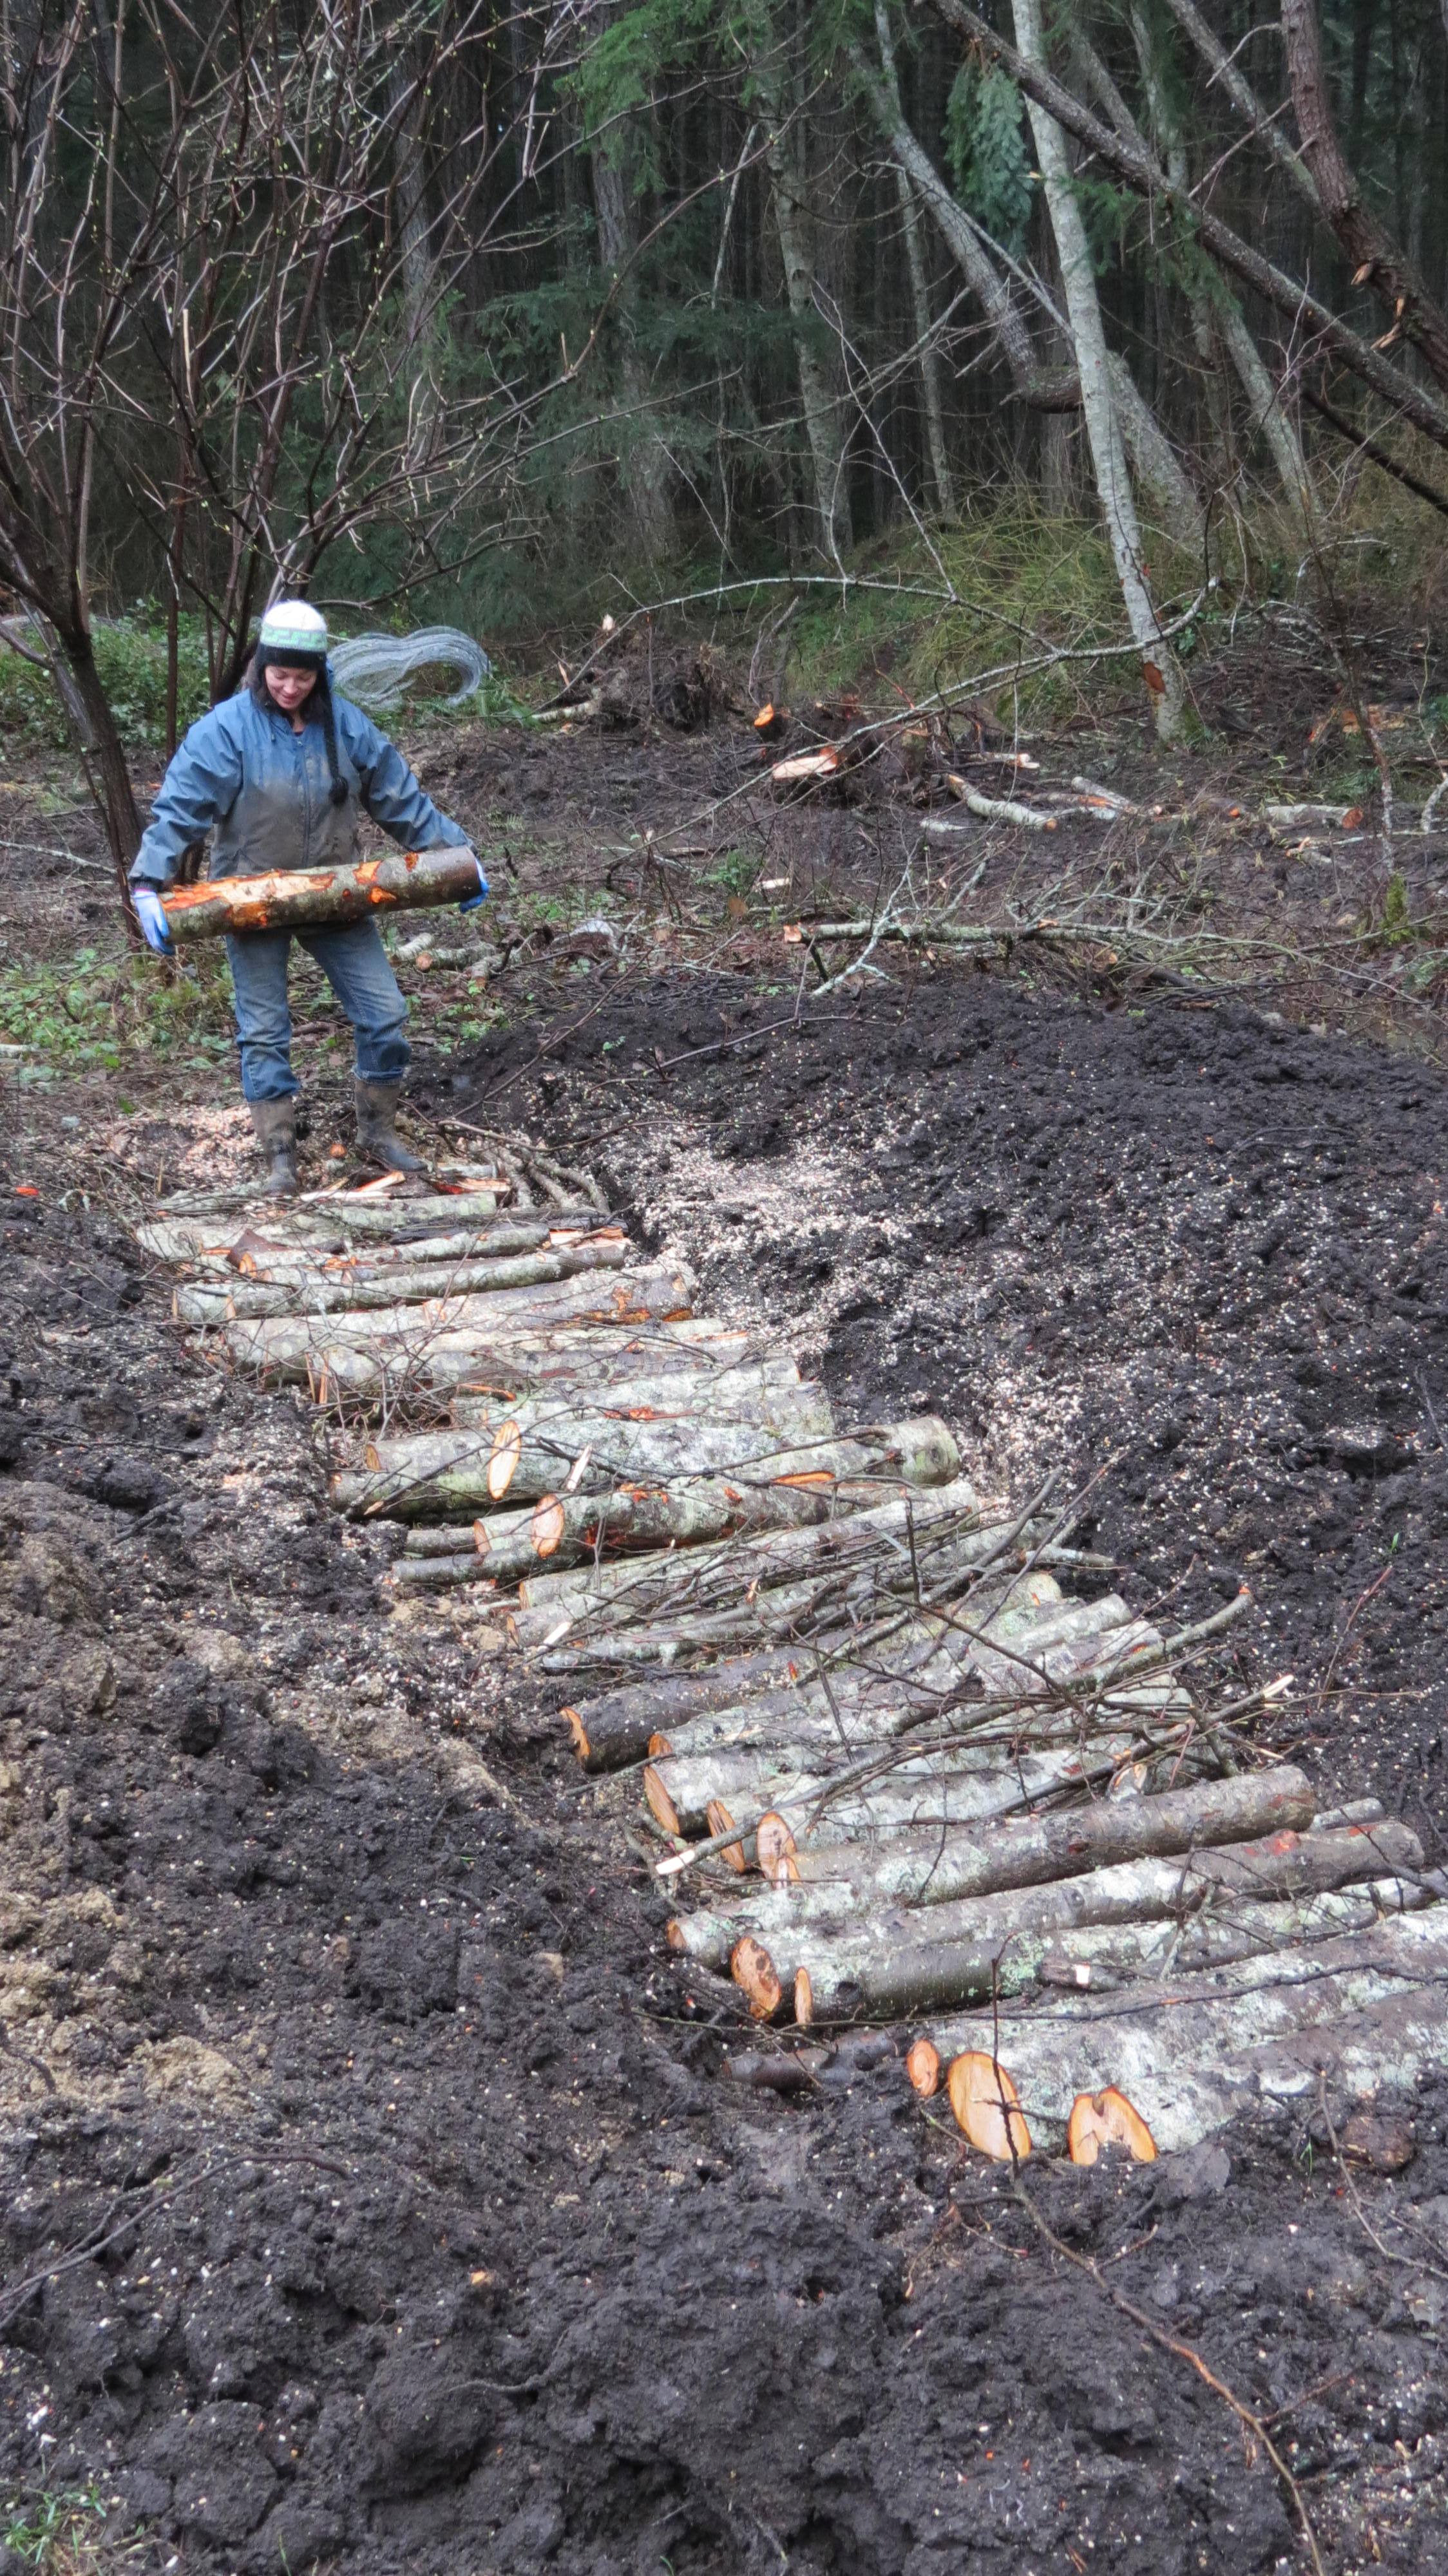
Forewoman

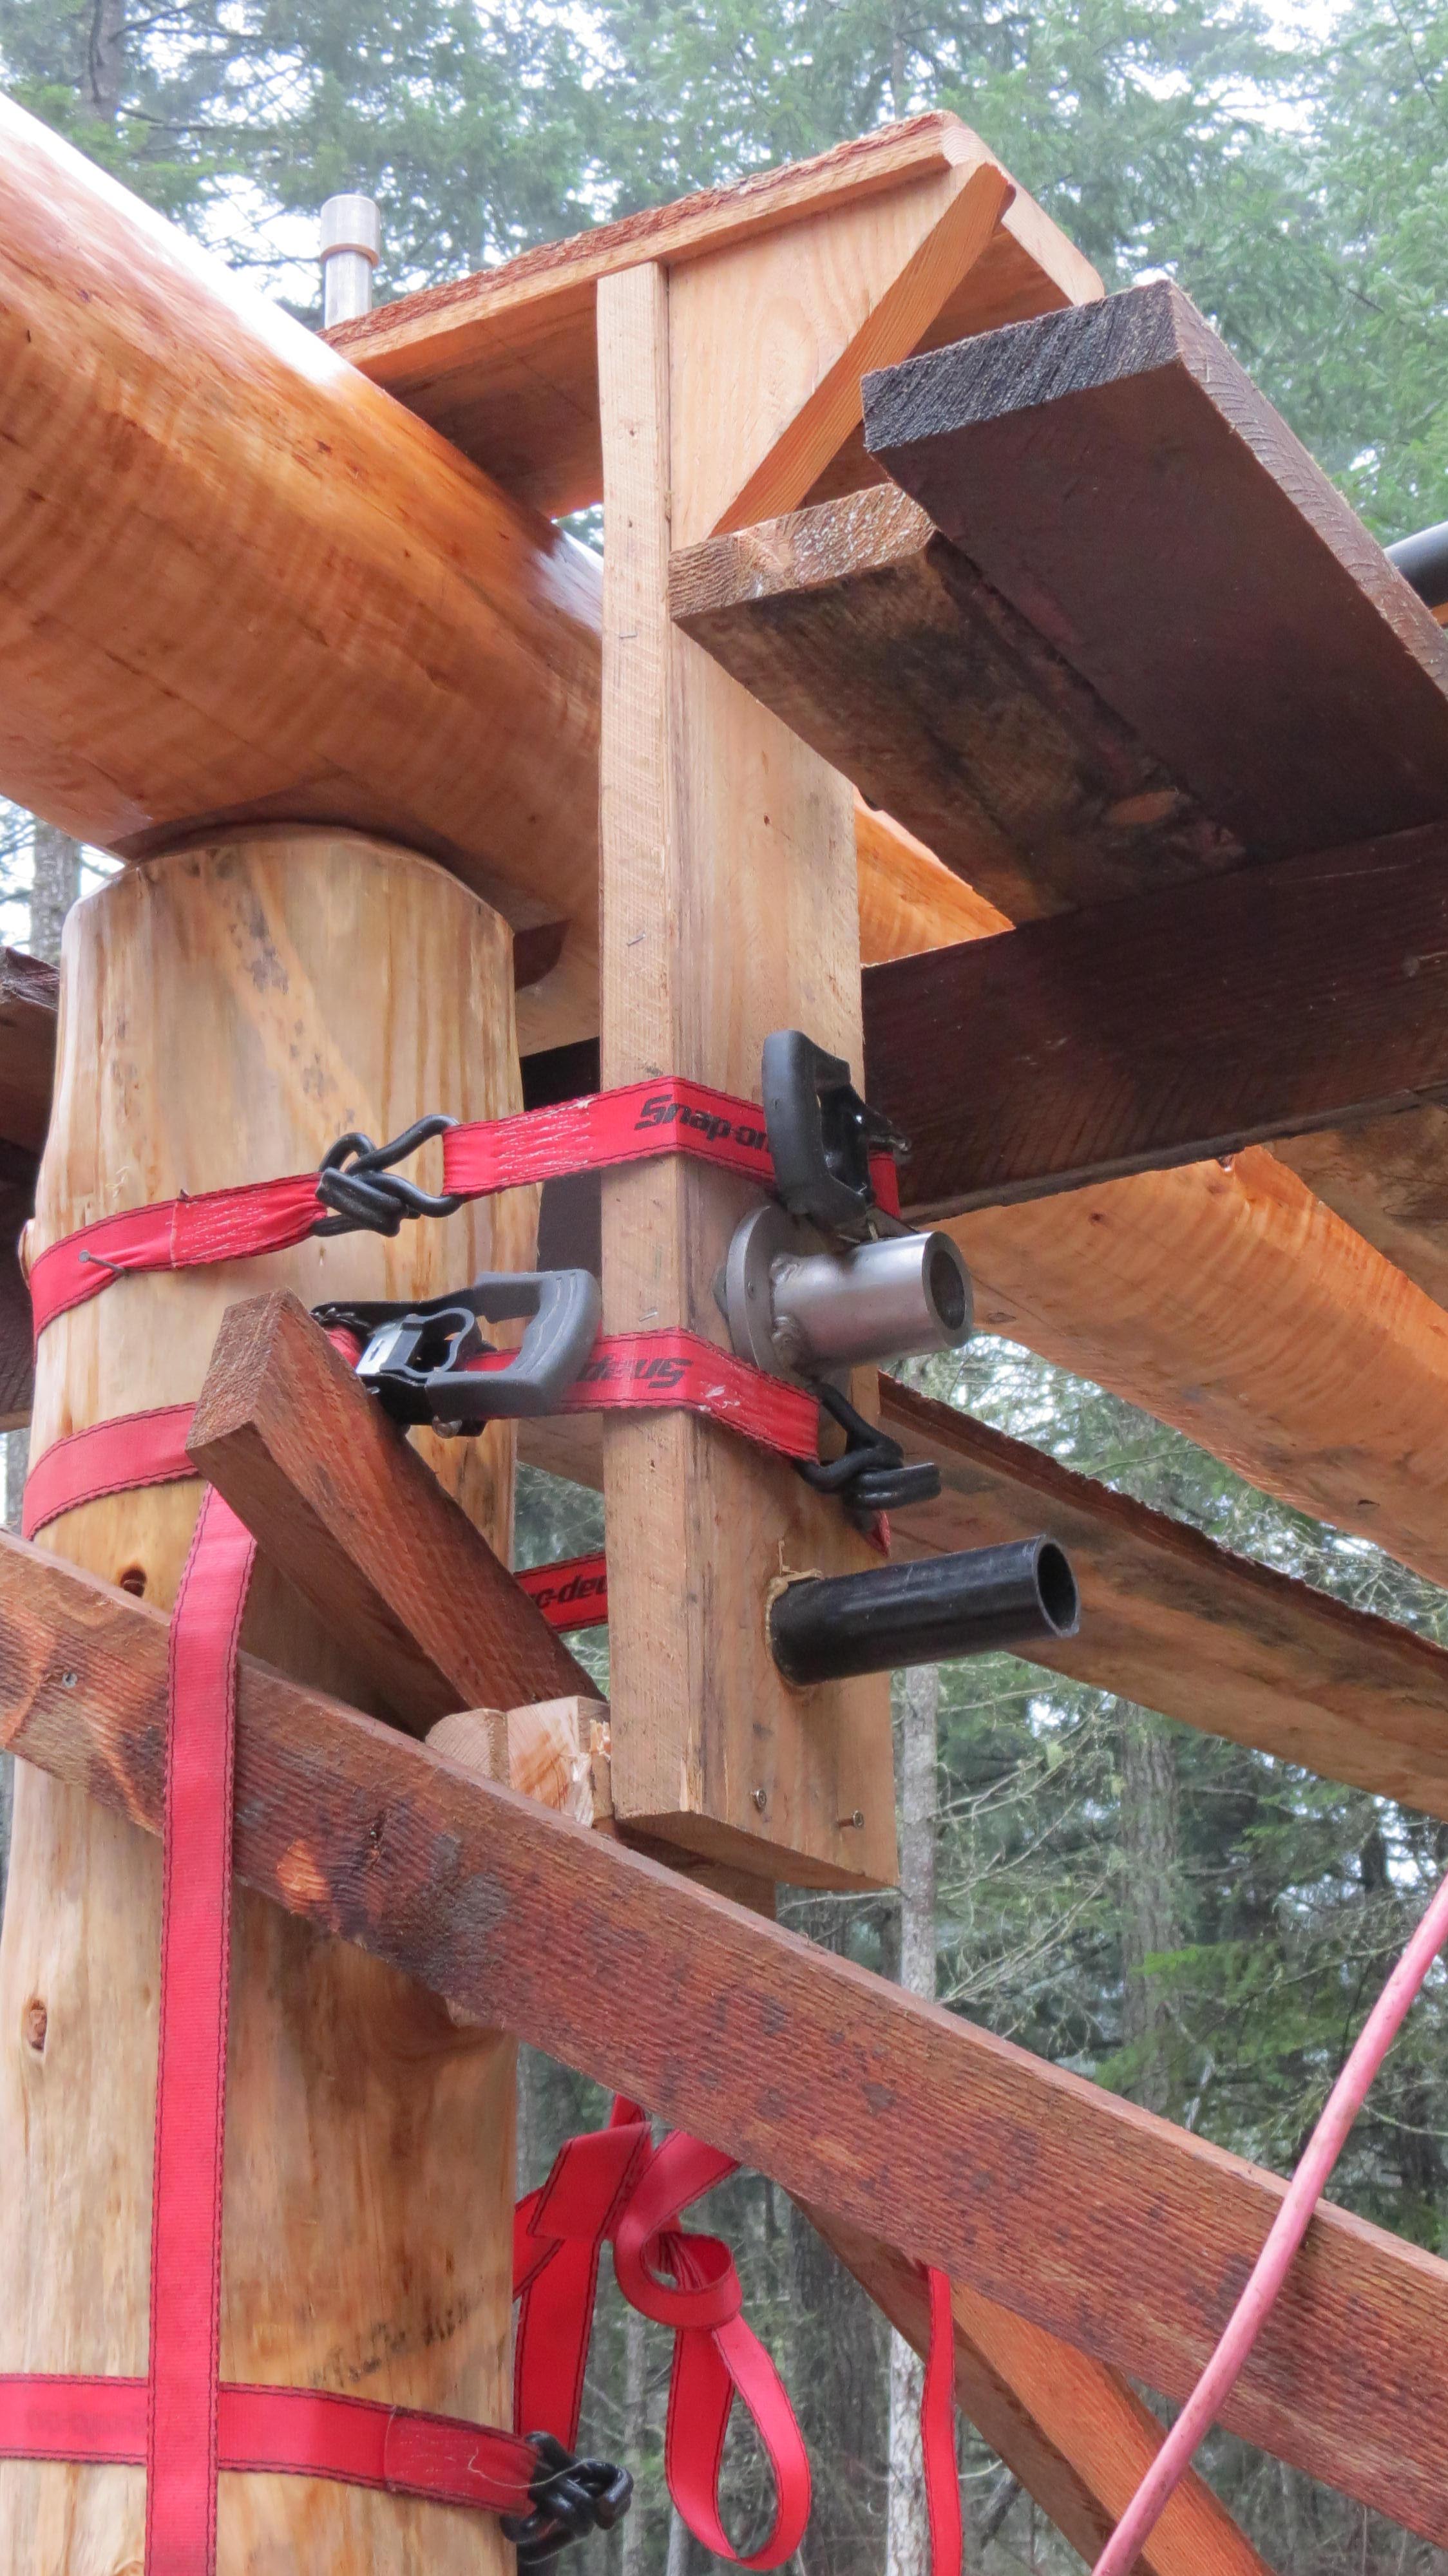
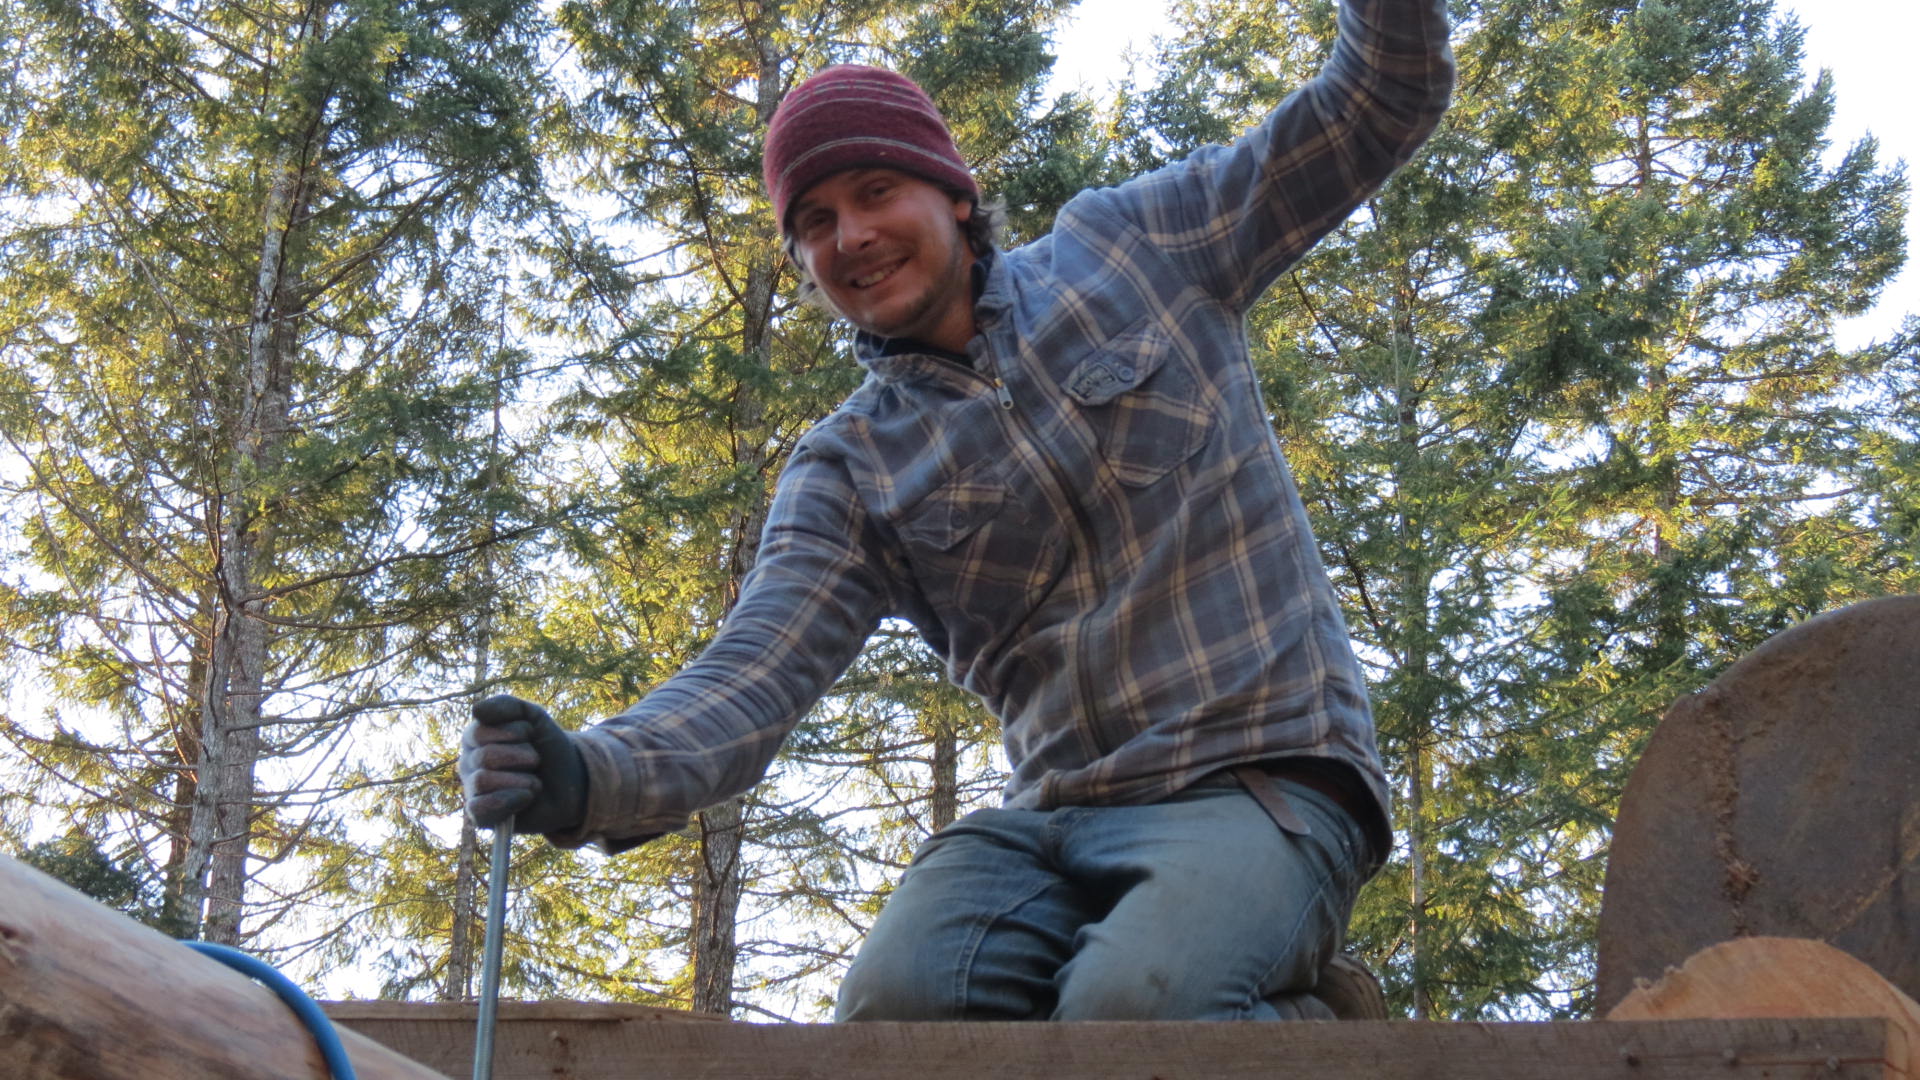
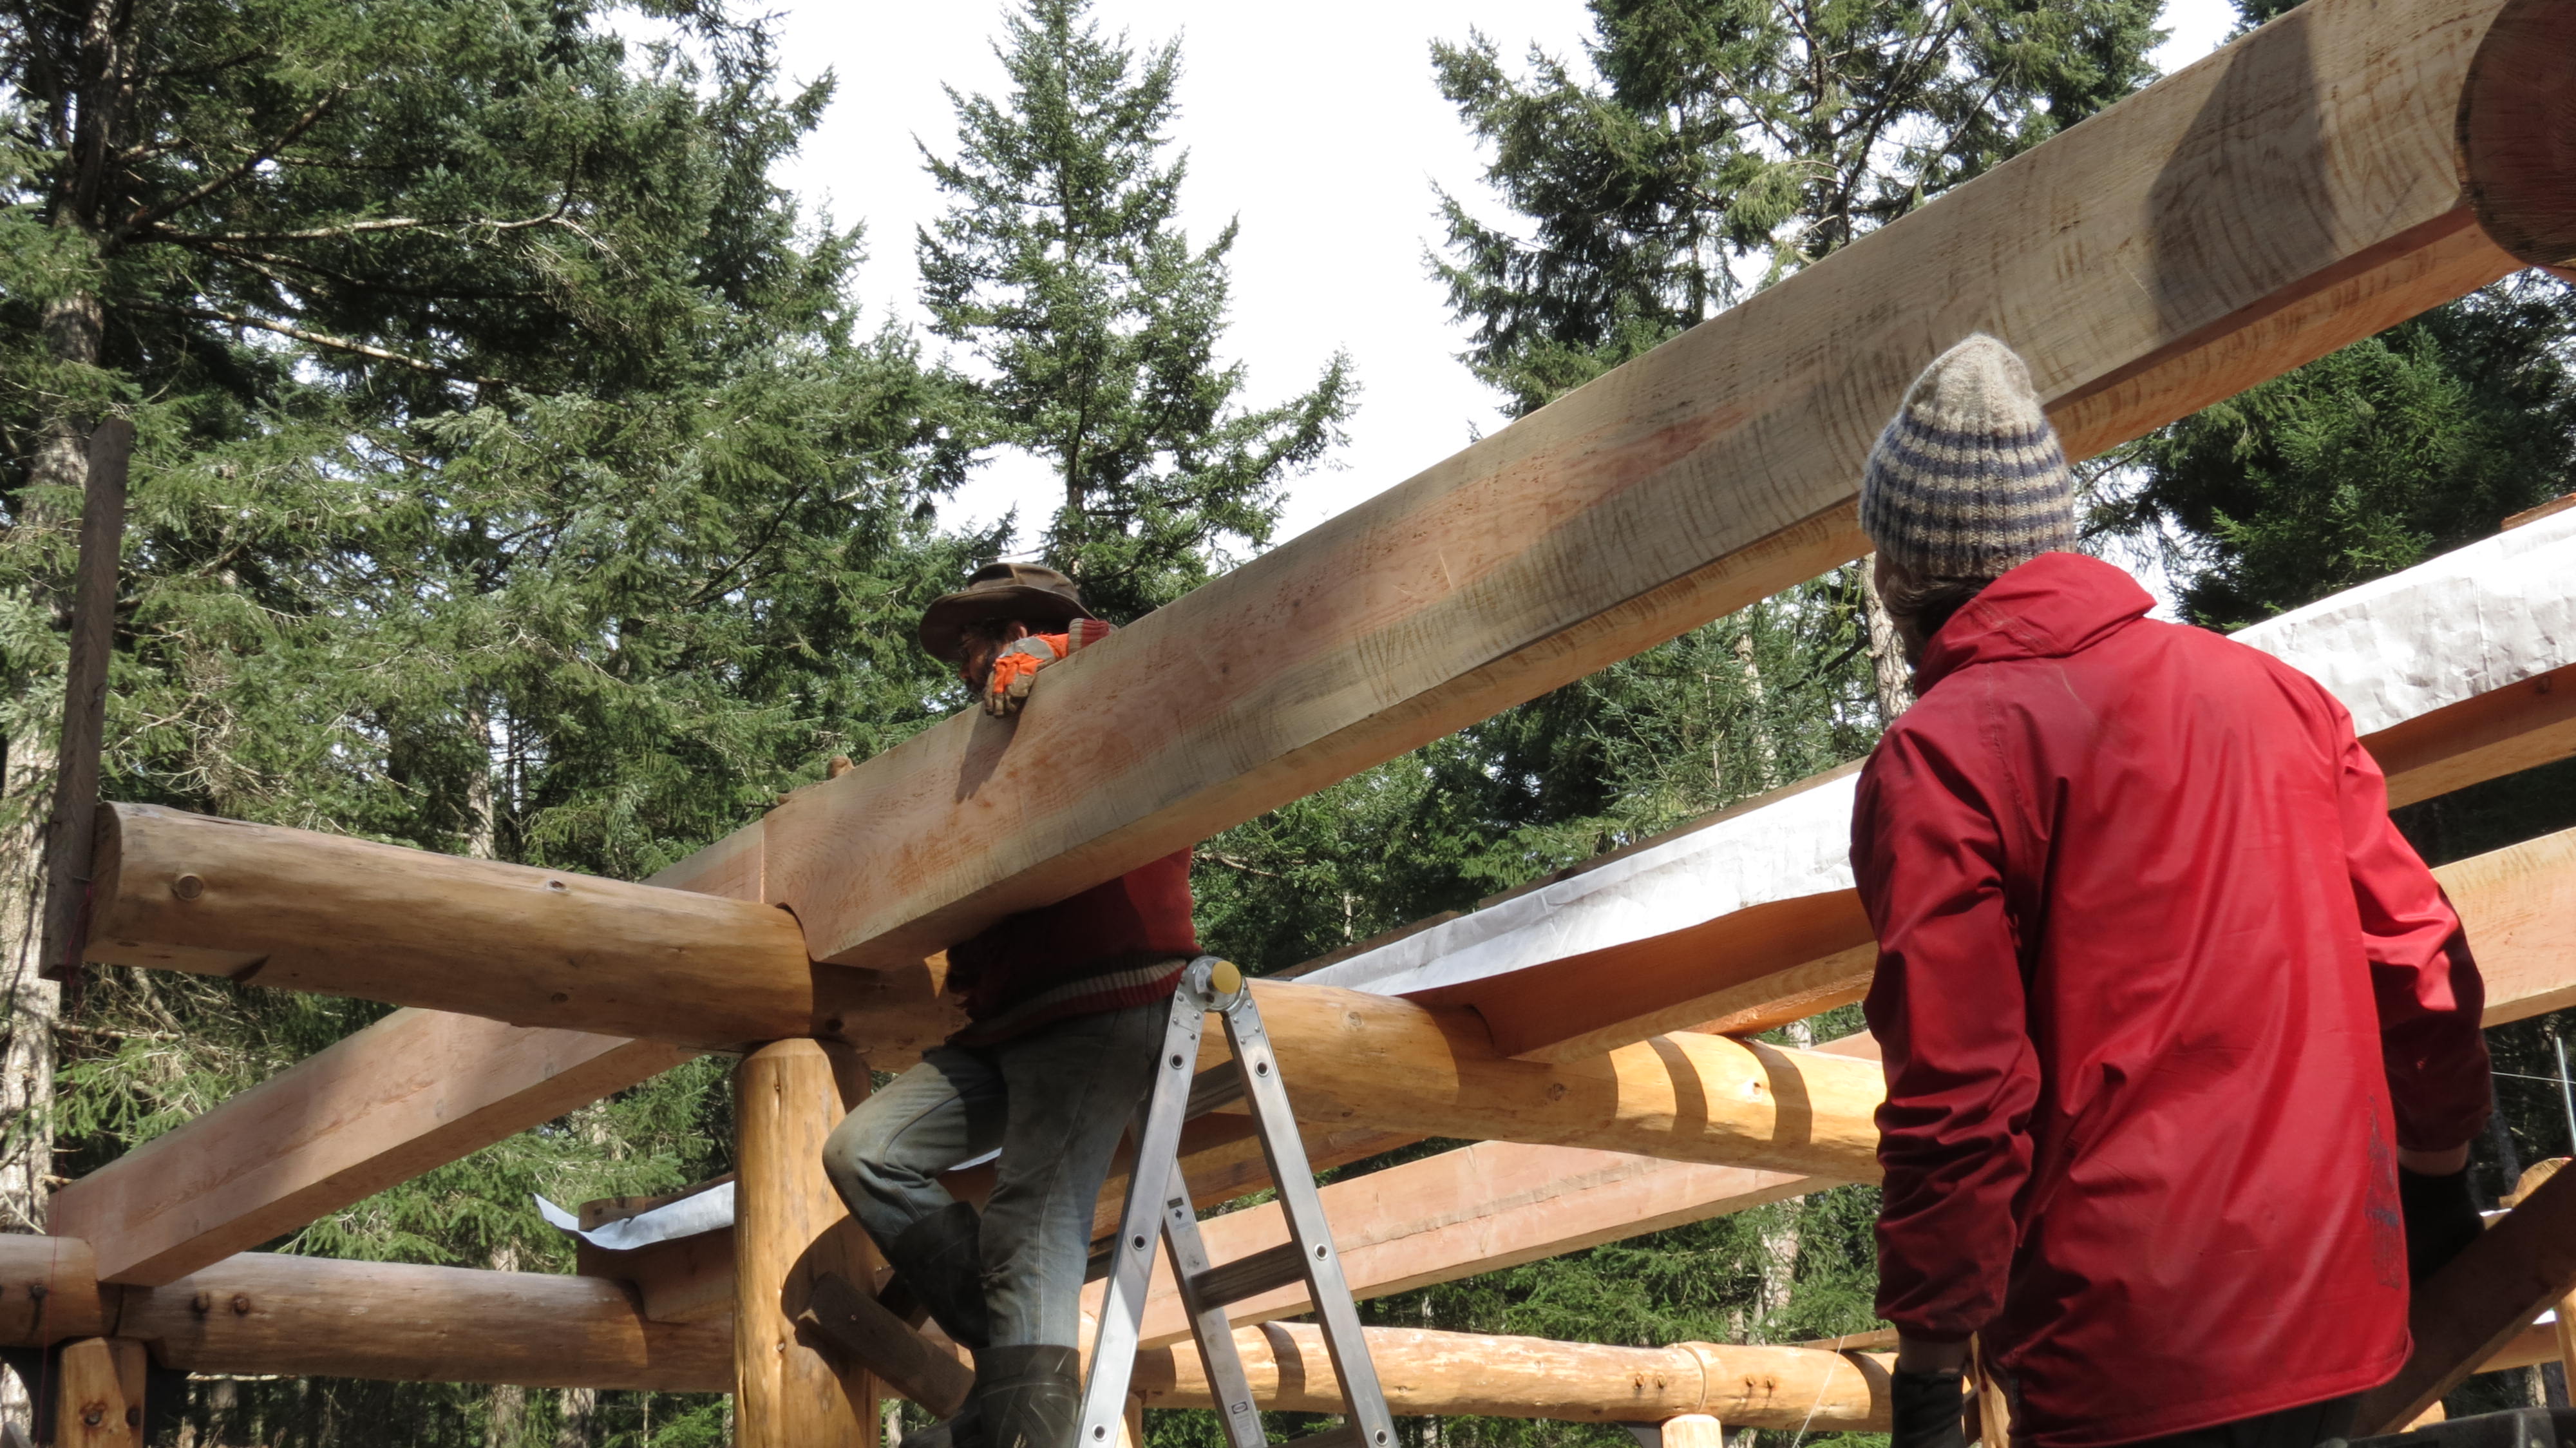
John decides to join the back pain club

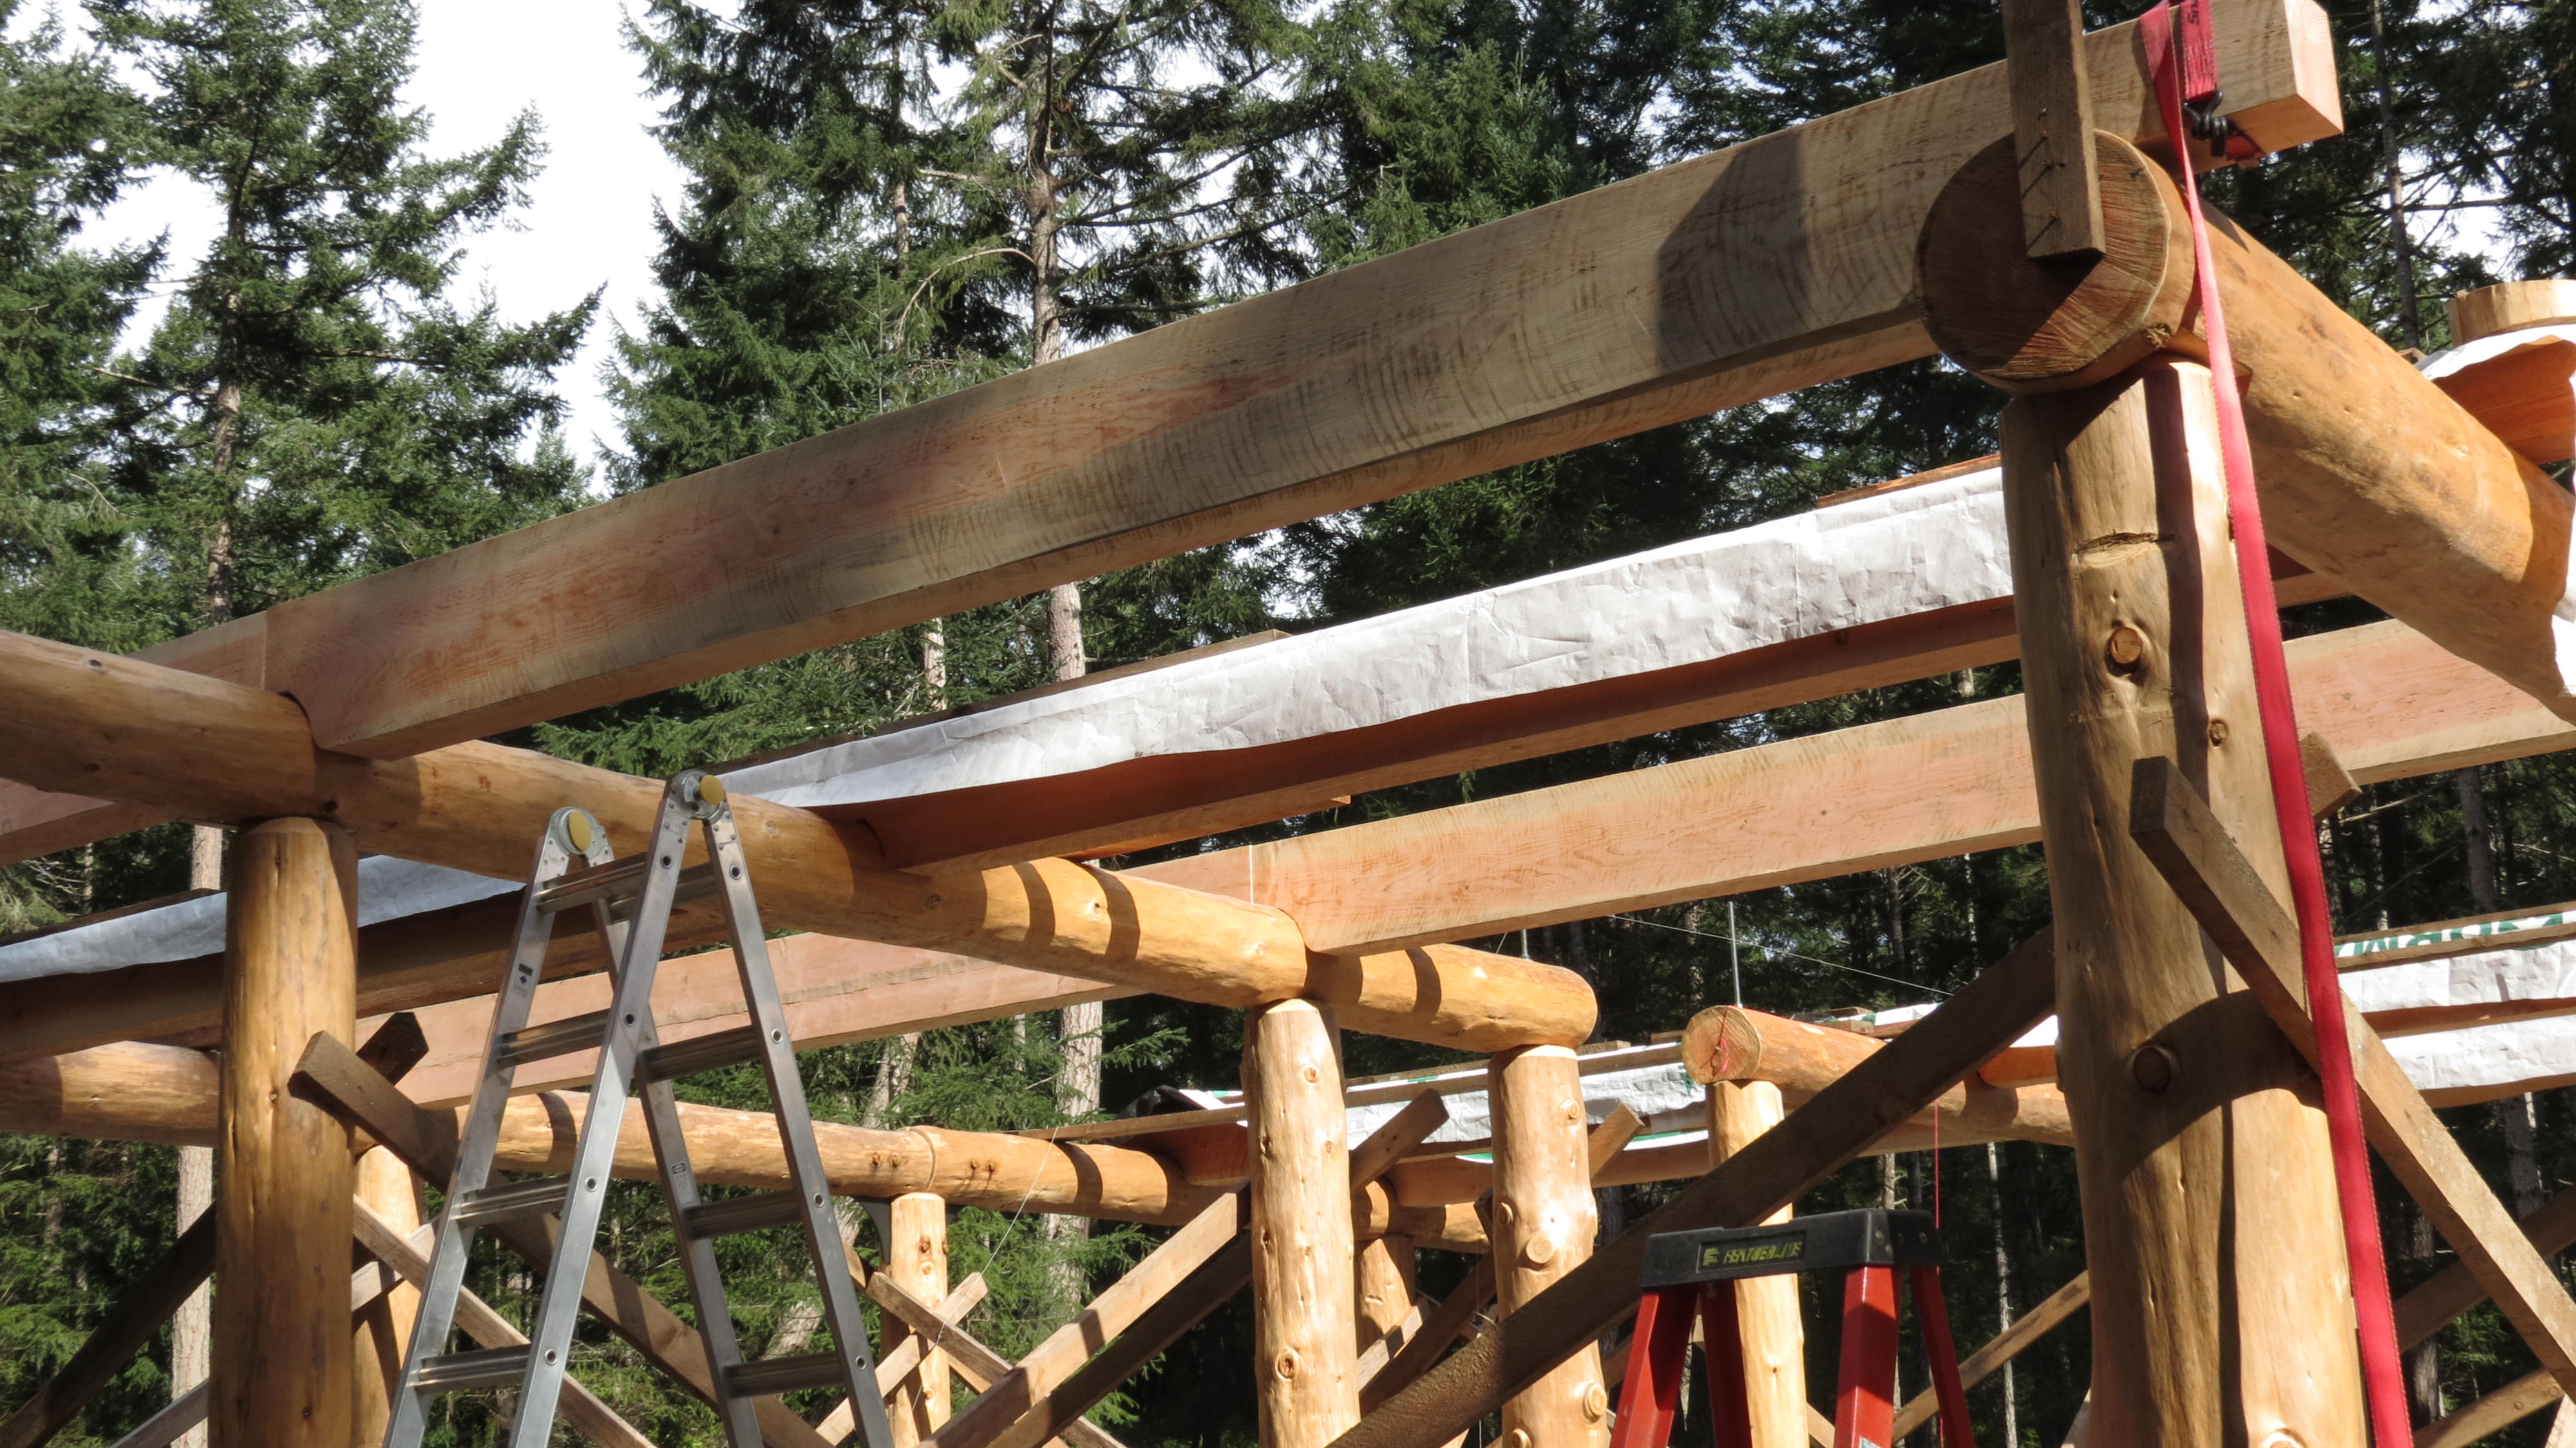
Almost ready for the truss delivery!


![Will it fit [we know it won't]](https://thehandcraftedlife.com/wp-content/uploads/2015/06/img_1343.jpg)


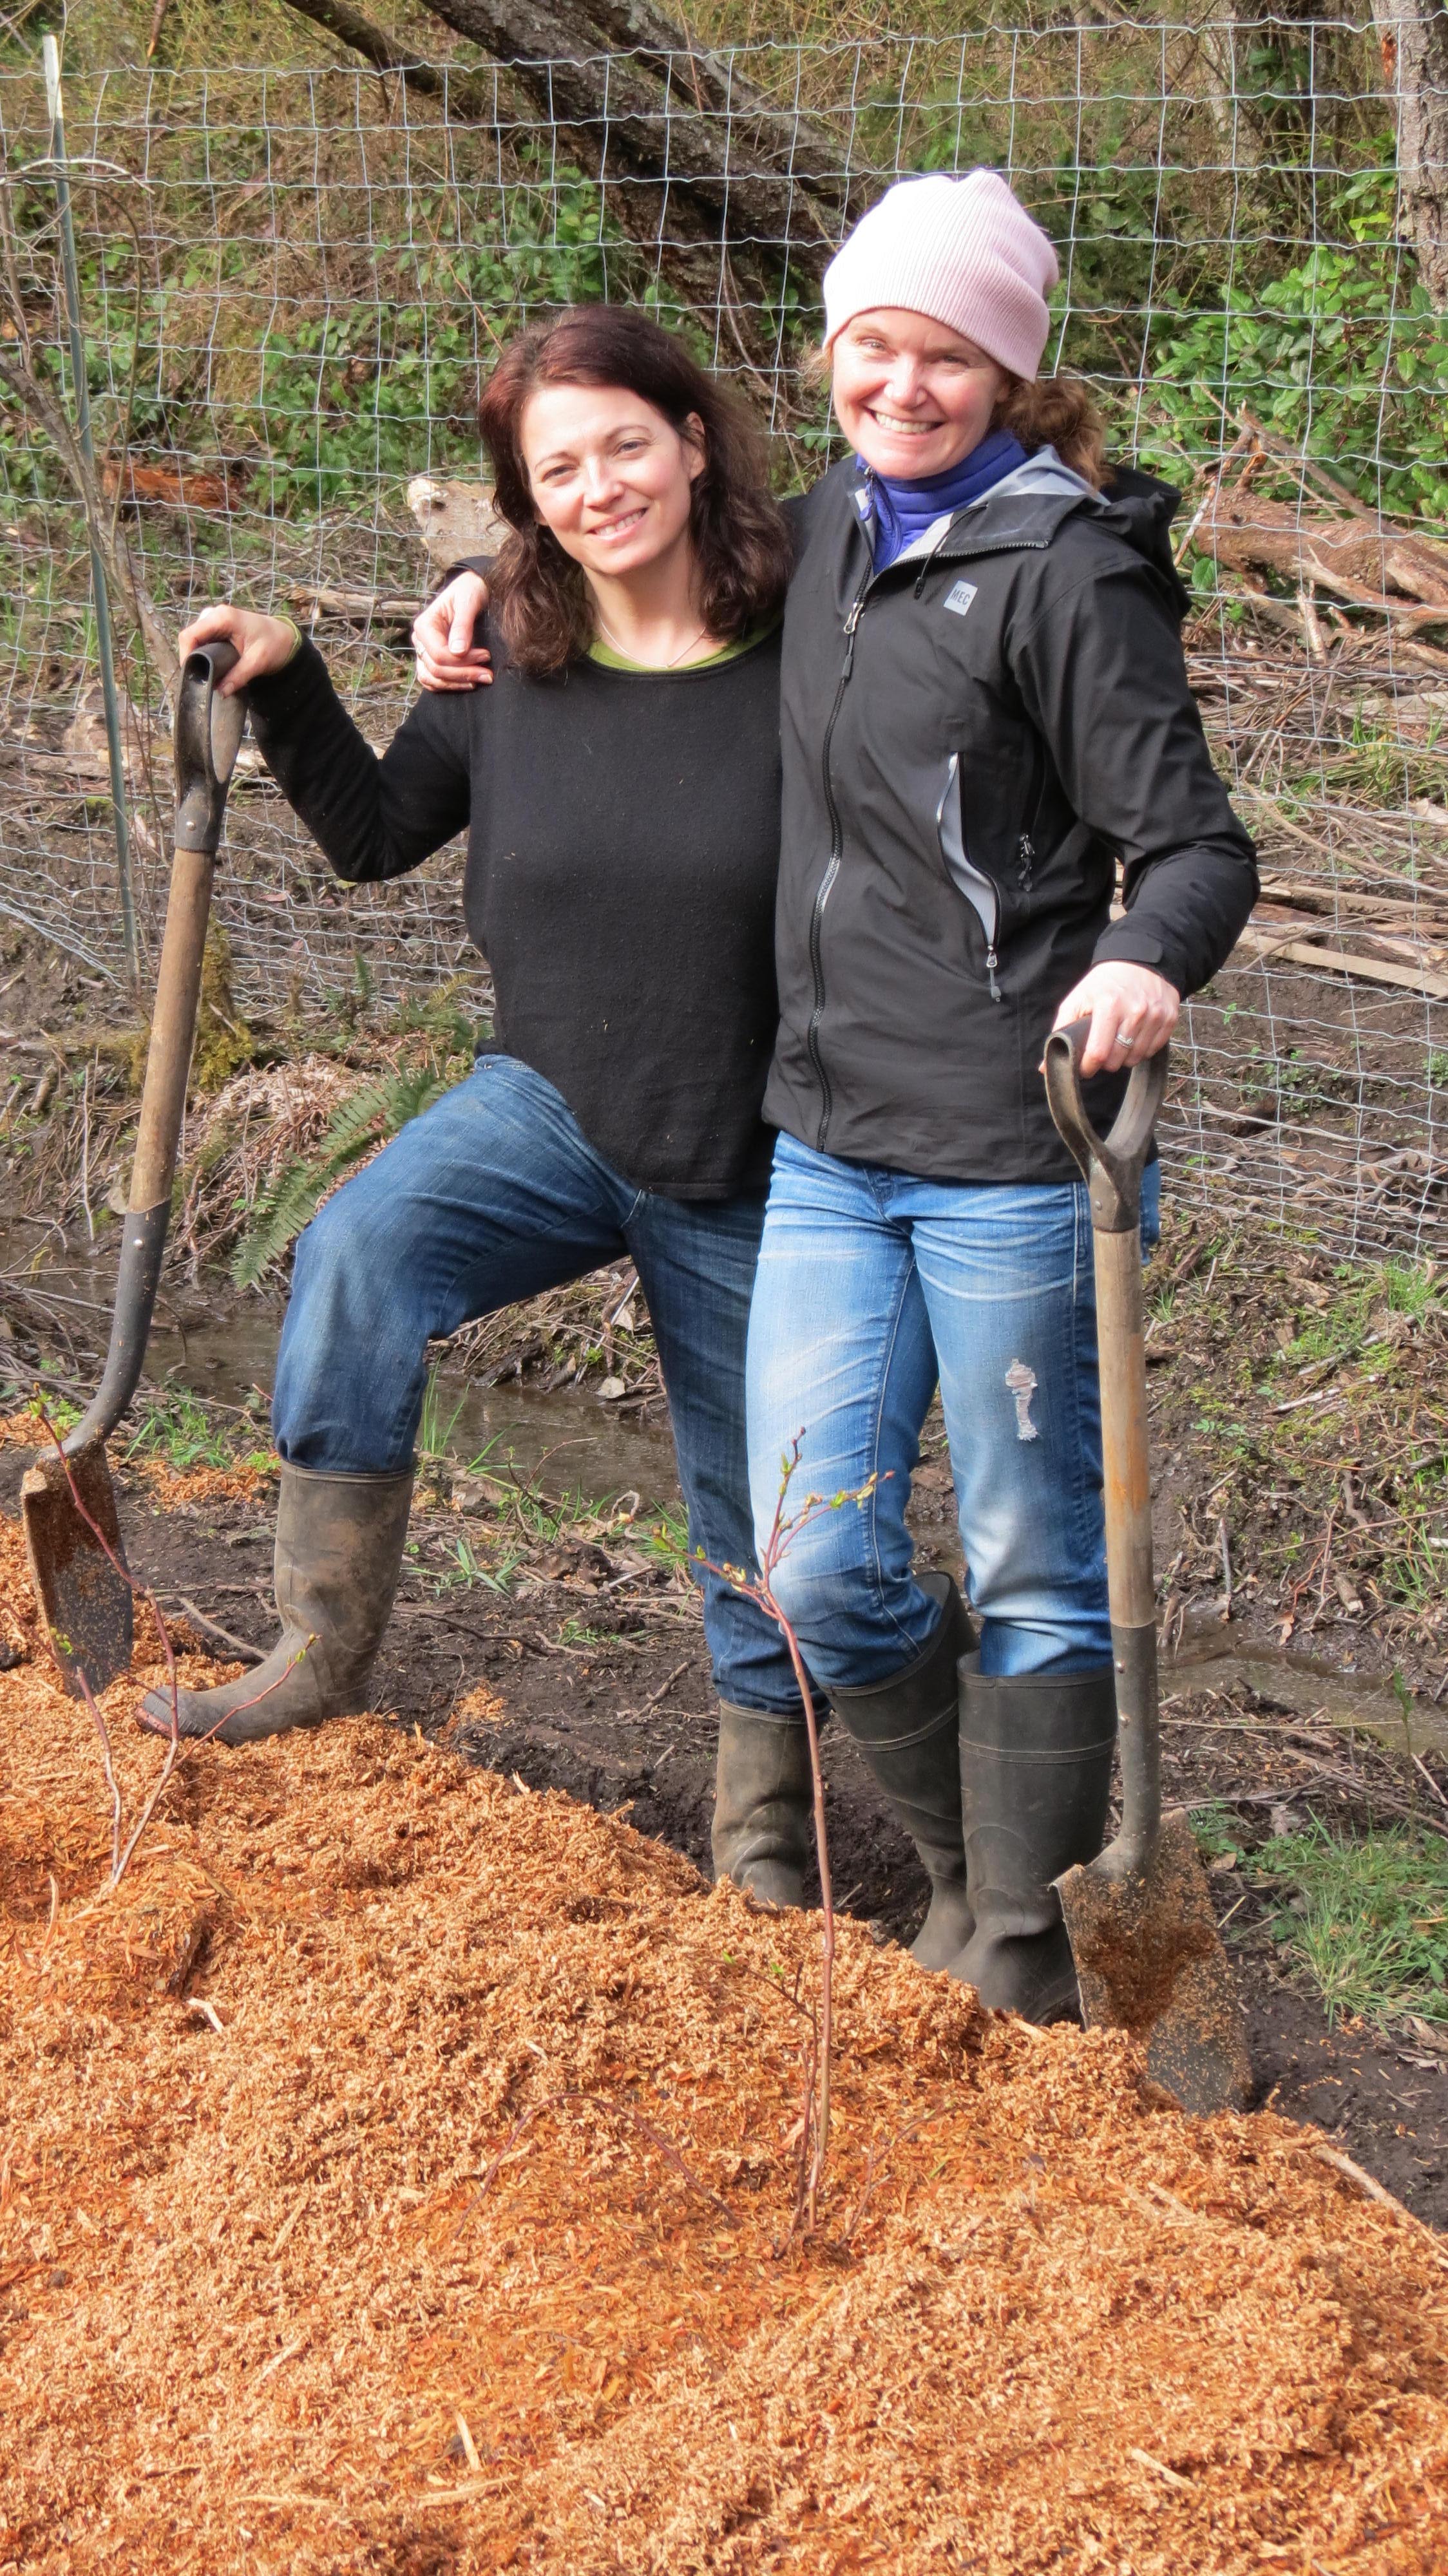


![Blueberries done and dusted [with Doug fir]](https://thehandcraftedlife.com/wp-content/uploads/2015/03/img_0343.jpg)