
Sitting on my first set of stairs
As the flowers bloomed in April, I was scratching a bald spot thinking through my first-ever set of stairs.
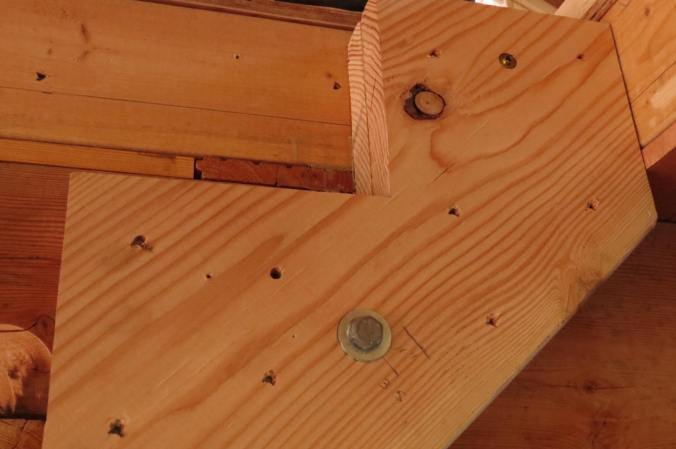
It’s all about rise and run and the permanence of up and down. So, to ensure the up and down didn’t move, I poured a small concrete pad as a support for a 6X12″ Douglas fir stair landing I dowelled together out of a spare ceiling joist. From this rock-solid base and a fixed first step height from what will be the final main level earthen floor, I had an unchangeable rise to the upstairs floor level.
After that it was relatively easy to calculate the rise and run of the steps and layout and cut doubled-up 2X12” stair stringers that support the sides of the stairs and hold the treads.
These I built out of 3” thick Douglas fir slabs from our mill pile, planed by our two WOOFERs, Ben and Ash, who hail from Devon in SW England. I glued and screwed the beefy treads to the stringers, which in turn are supported by notches I chainsawed into the roundwood posts. The stringers are also lag bolted to the 6X12″ floor joists above, just to be sure. It’s all about 5X stronger than required and I’m very happy about it as I don’t like squeaks. If this explanation made no sense whatsoever then just look at the pictures below.
Ash returned to England after a week but Ben, the son of an old friend from the edge of Dartmoor, stayed on for six weeks and helped me frame out much of the upstairs interior walls. I also gave him a chainsaw lesson and set him loose with our neighbour’s excavator. He moved rocks, bucked up a mountain of firewood and weed whacked in the garden. I think he had a blast.

Pouring the landing pad
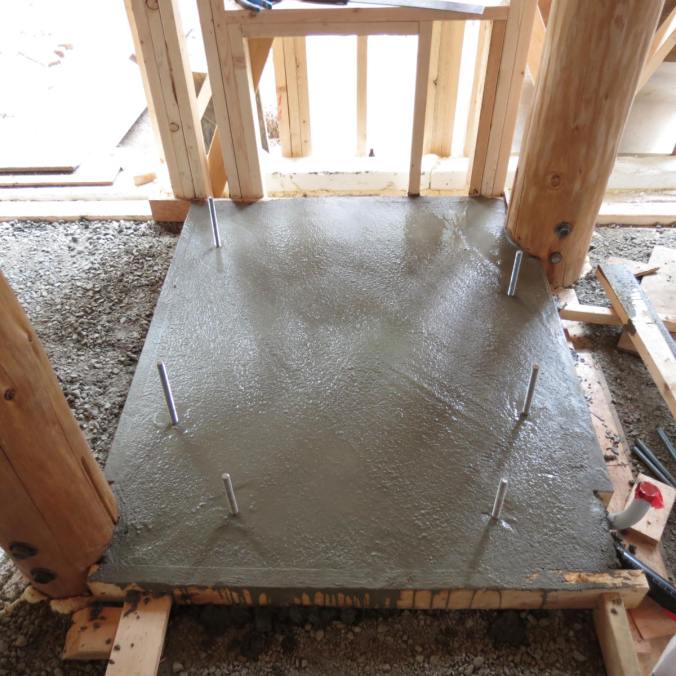
Nice flat concrete with bolts for the landing
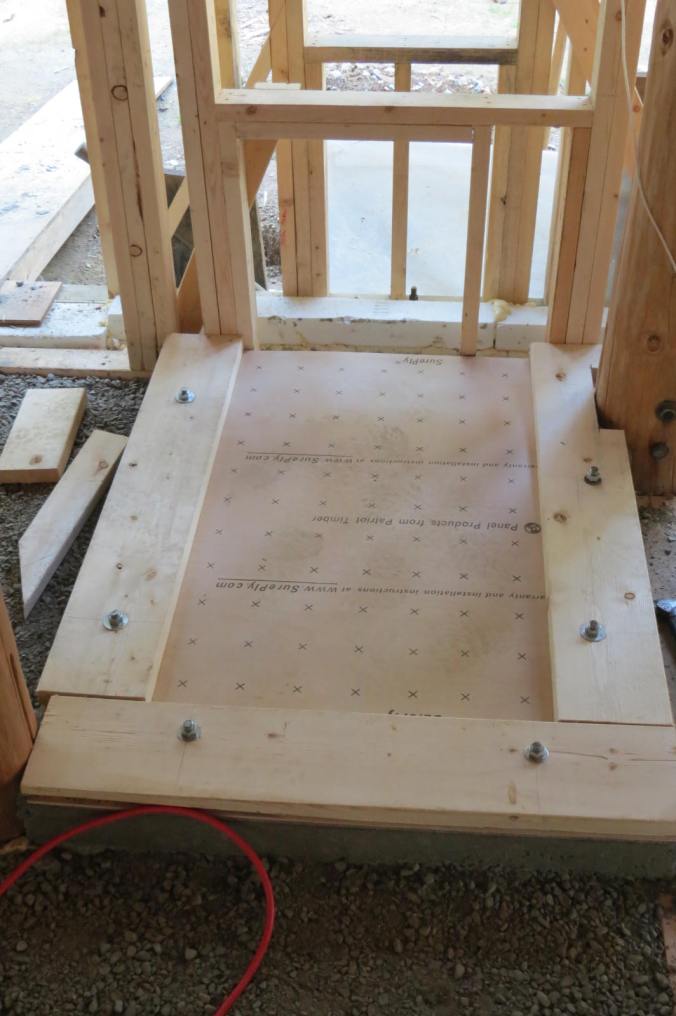
The landing sub structure

Drilling holes to dowel and bolt the landing slab together
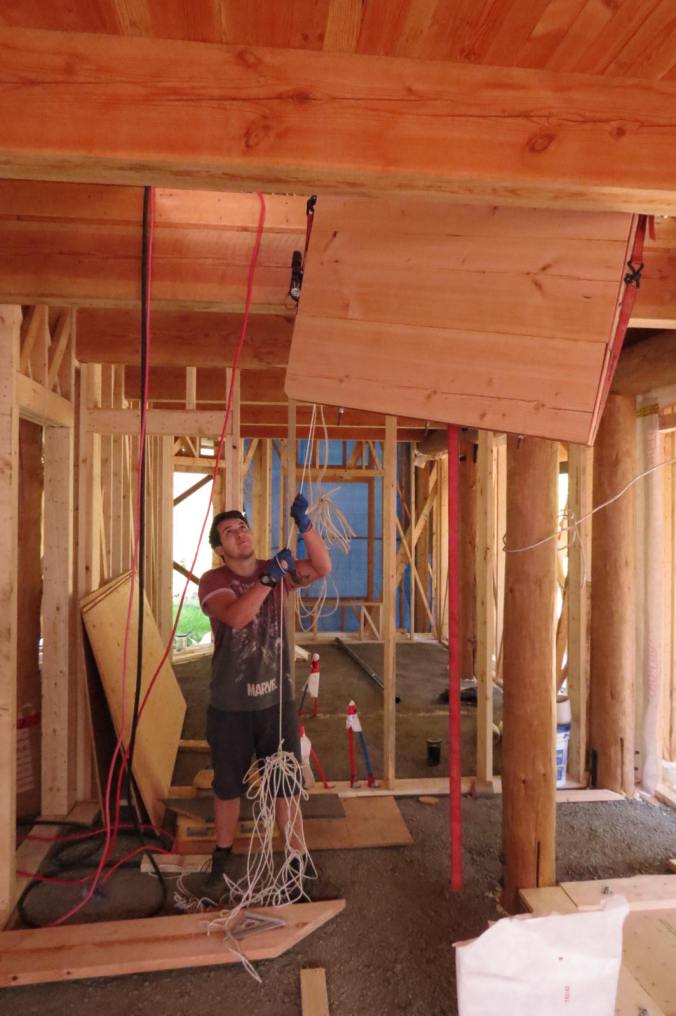
Ben lowering the landing

Ash steading from above

We have the rise and we have the run
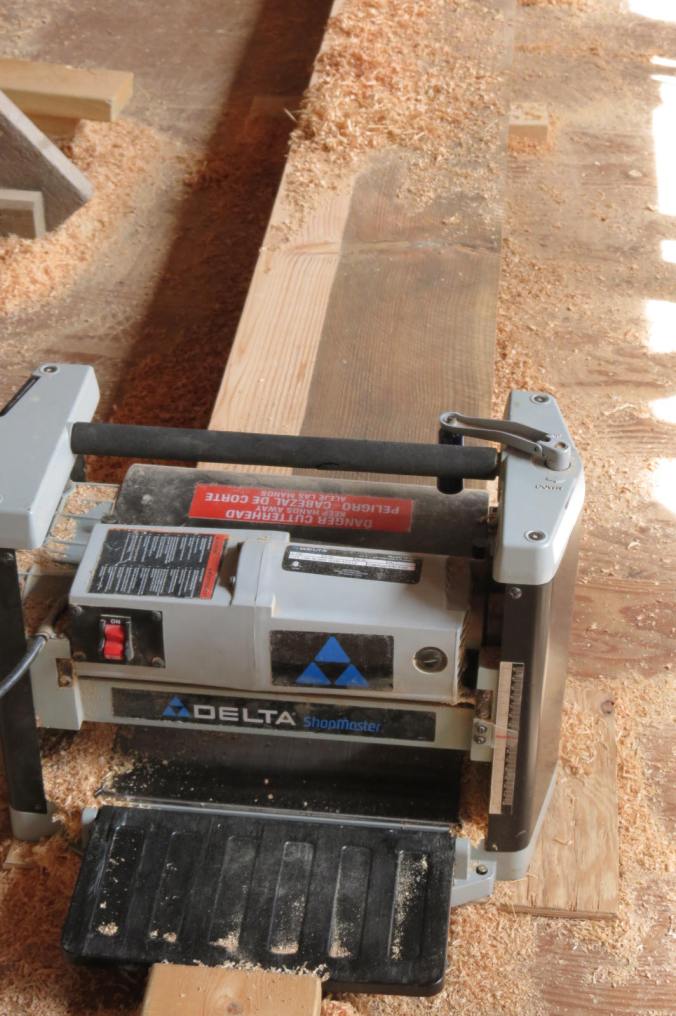
Planing the stair treads

Starting to flatted
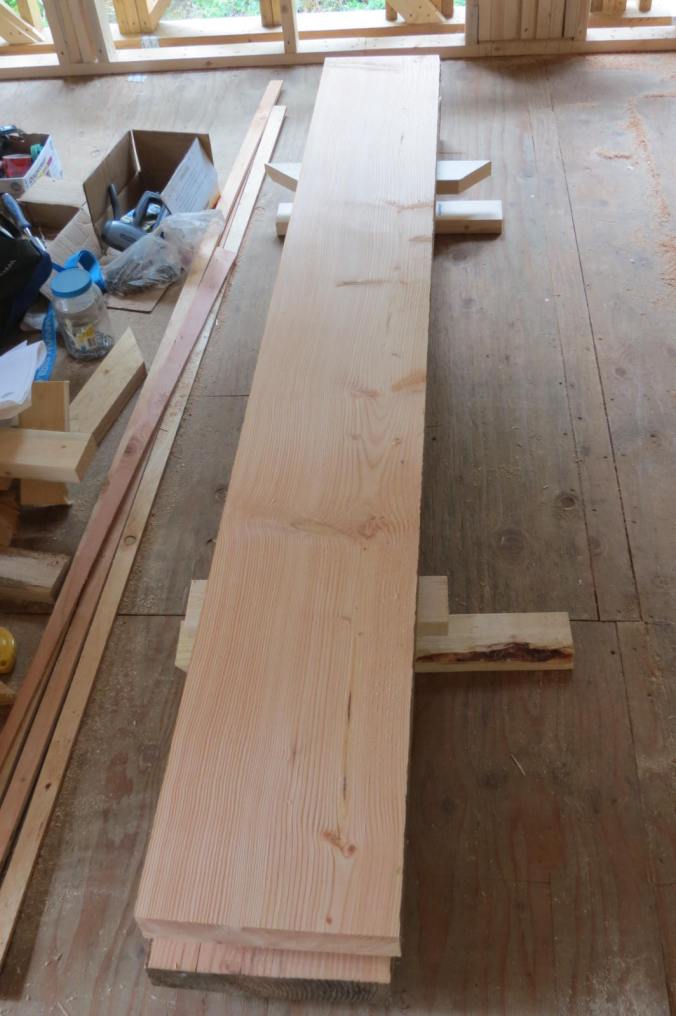
Treads ready to cut

The stringer layout tools

The first 2X12″ stringer laid out and cut
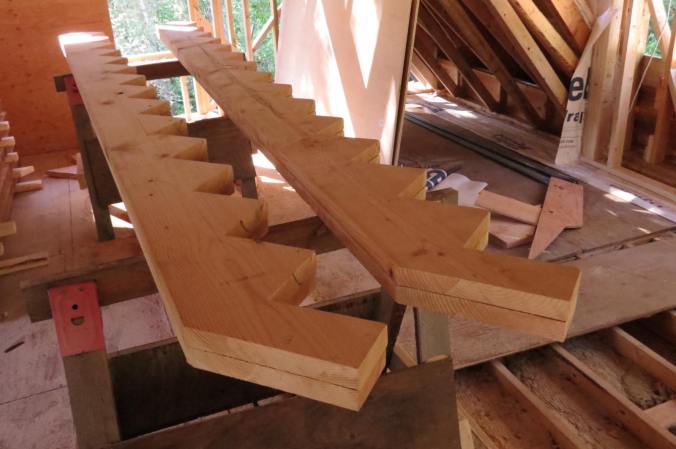
All four identical stringers

Installing the first pair


Looking level
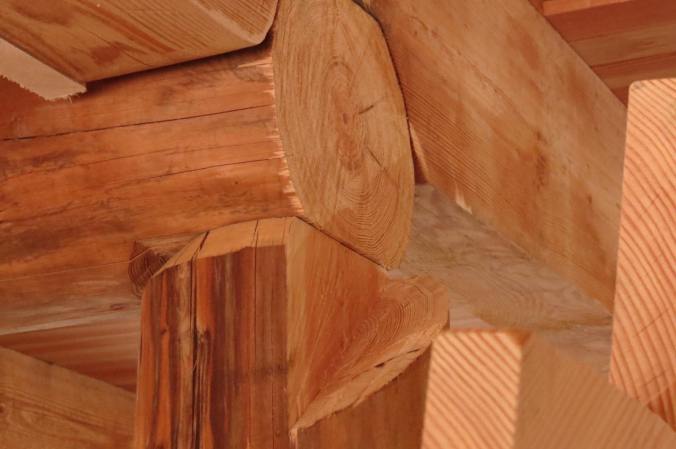
Chainsawed rest for the stringers. I’m pretty happy with that cut done from a ladder
Stringers resting on the ledge at the correct angle

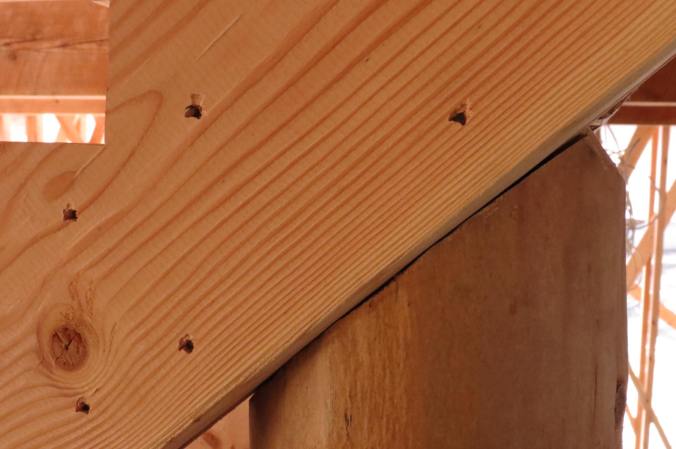
Gluing and screwing the stringers to double them up

One double
Lag bolted to the joist and resting on the ledge

Risers

Completed stair edge from the front entrance

Nice Doug fir for the bare feet

No more ladders to the upstairs!

Framing out the upstairs interior walls

Ben bucking up firewood for the winter of 2017-18
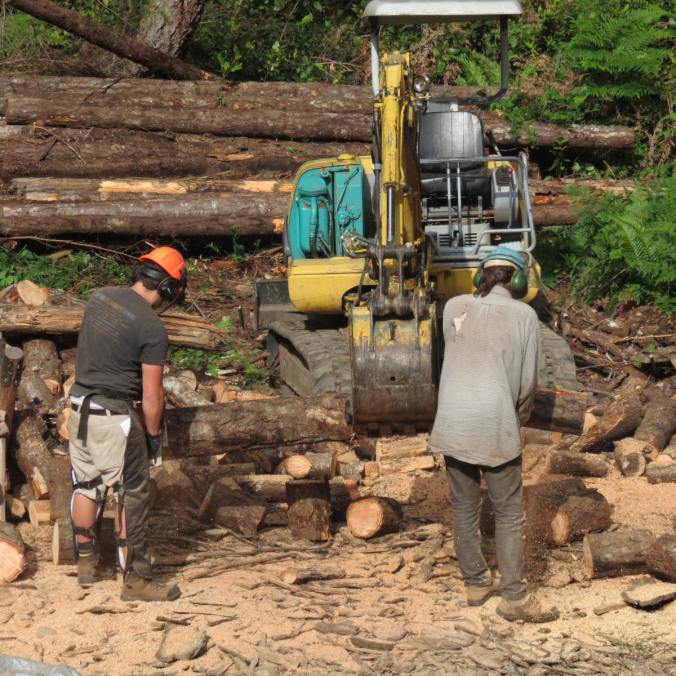
Ben and John bucking wood from both ends
