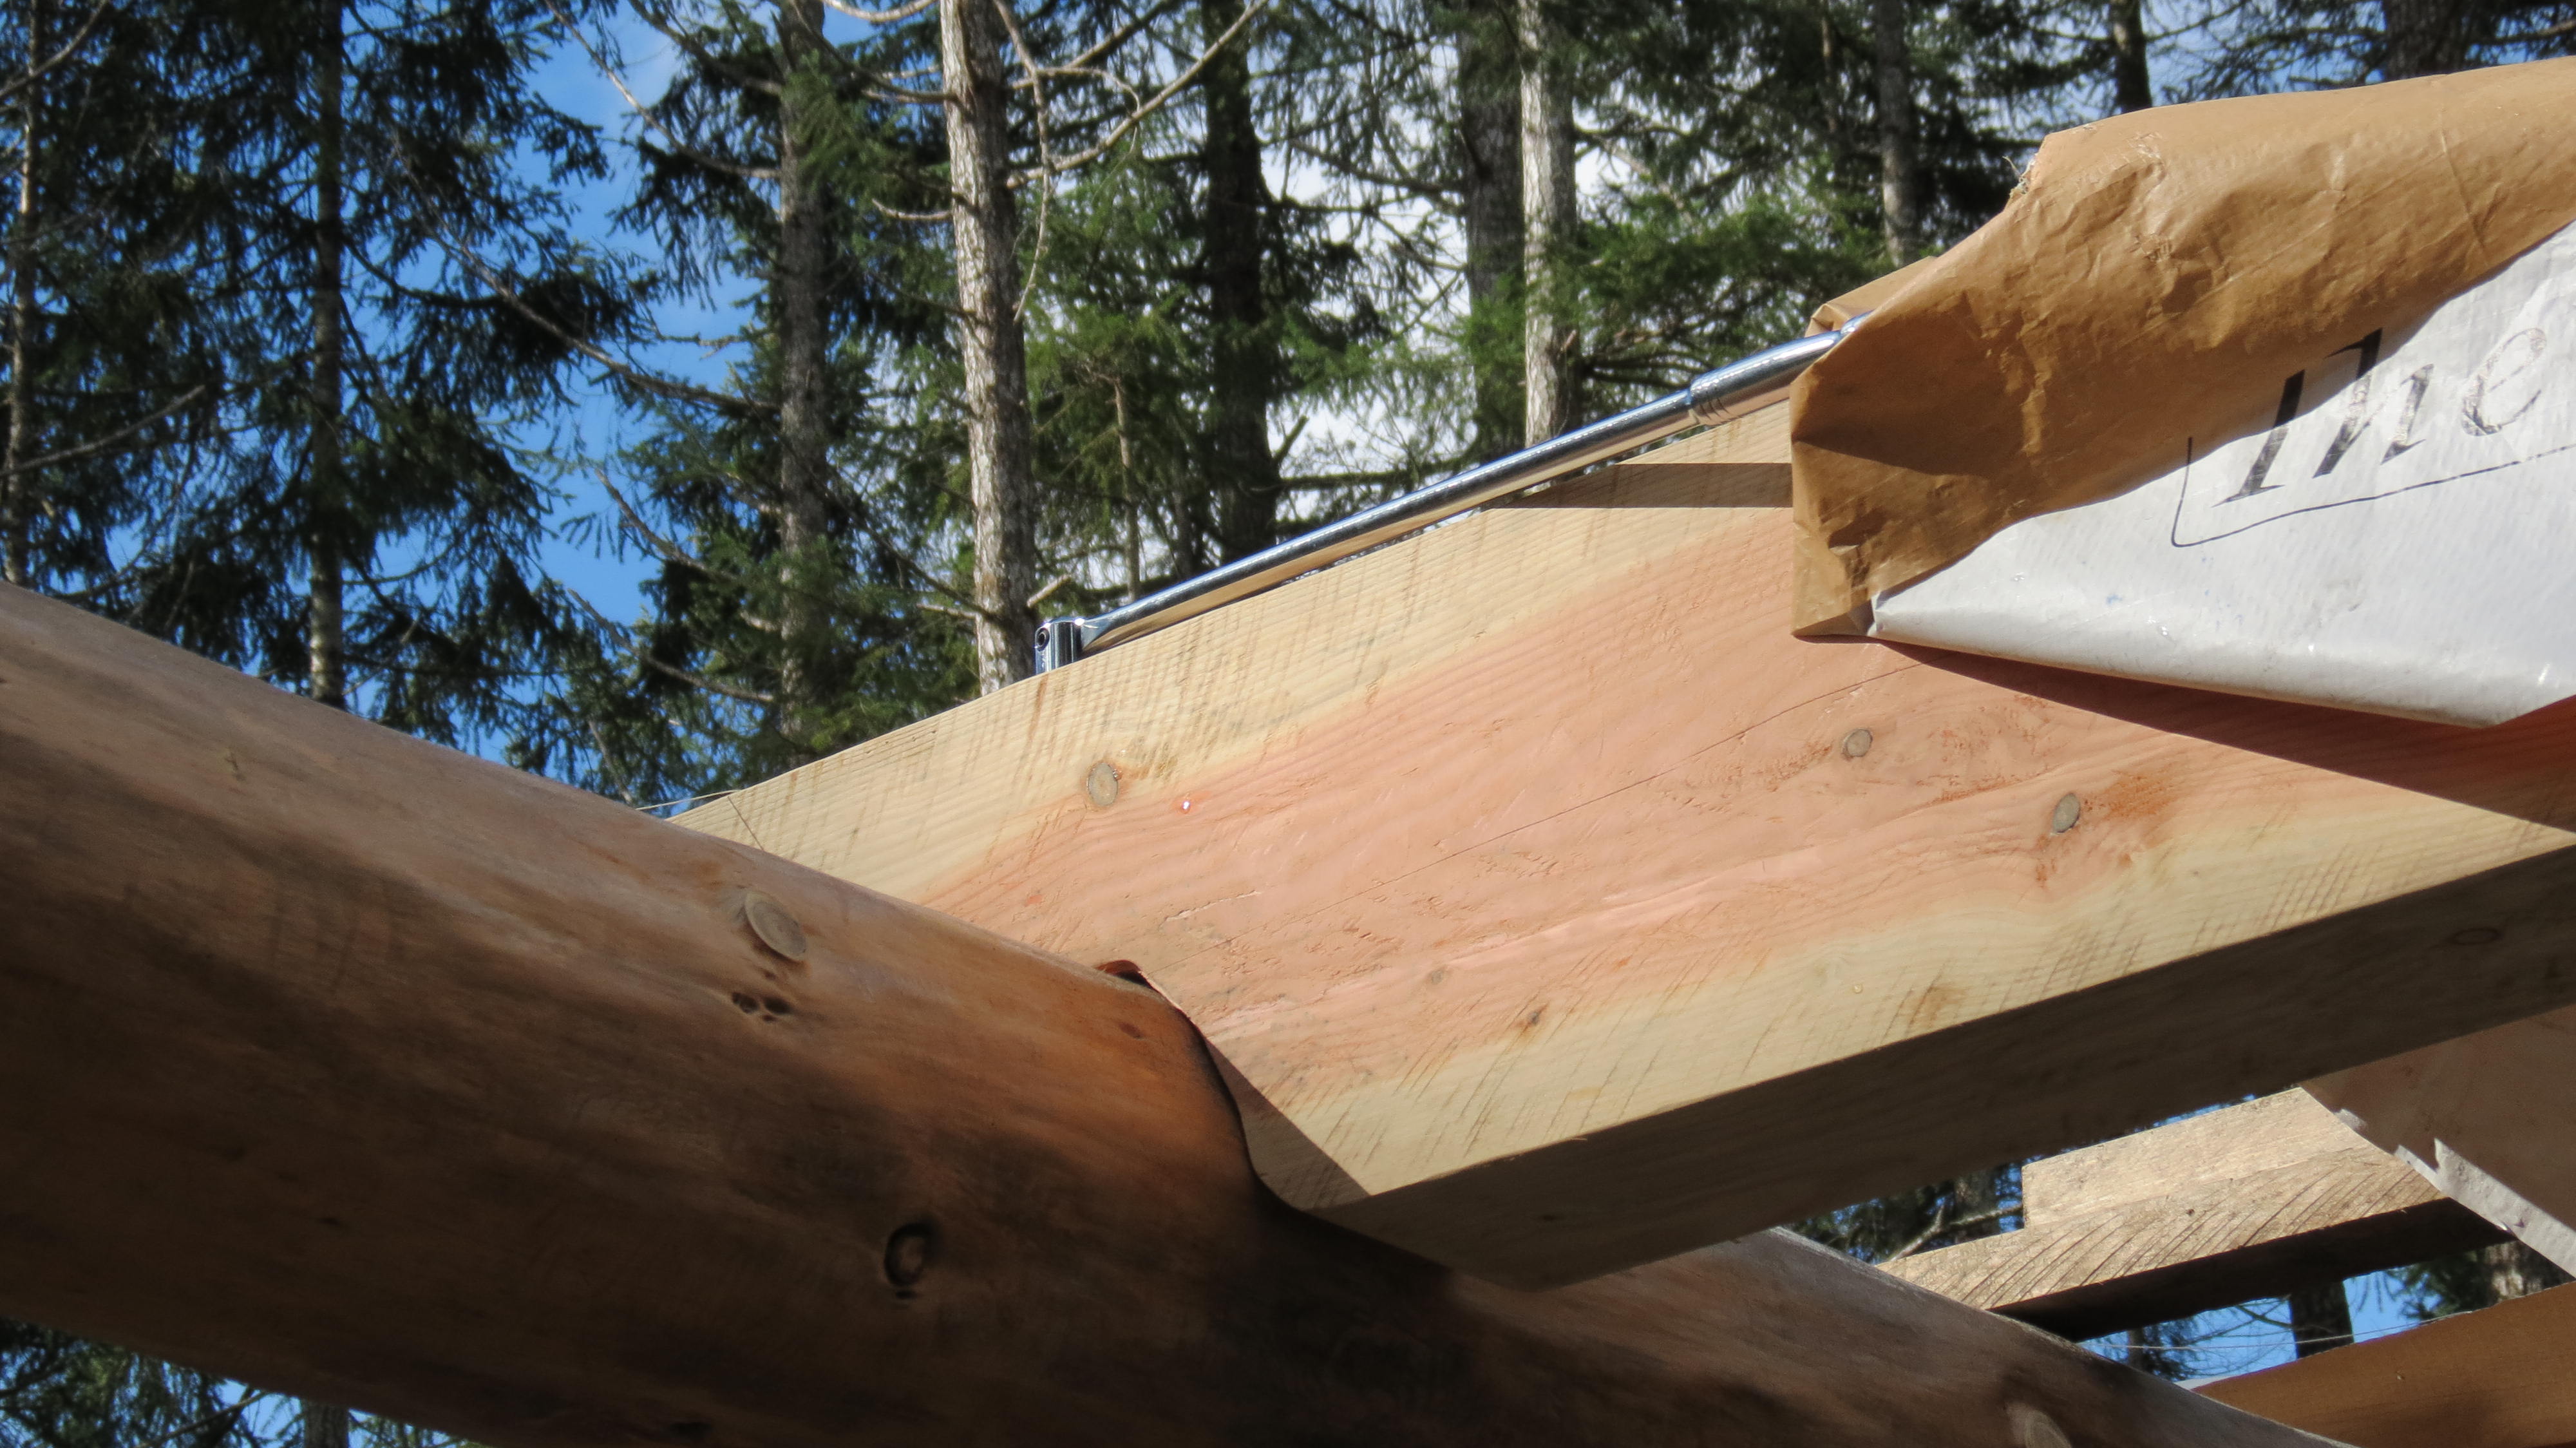
Straddling two ladders, 80 kg of Douglas Fir on my shoulder, I lowered the timber onto a flat spot chiselled on the round beam. A satisfying thunk onto its mark 1 inch (25mm) below the string line, the bones of the upper floor complete.
Time for beer.
For the past two months I’ve been measuring, sawing, chiselling, and sanding the 15 epic joists that will support the most vital bits of our house like our bed and the library for a couple of thousand books.
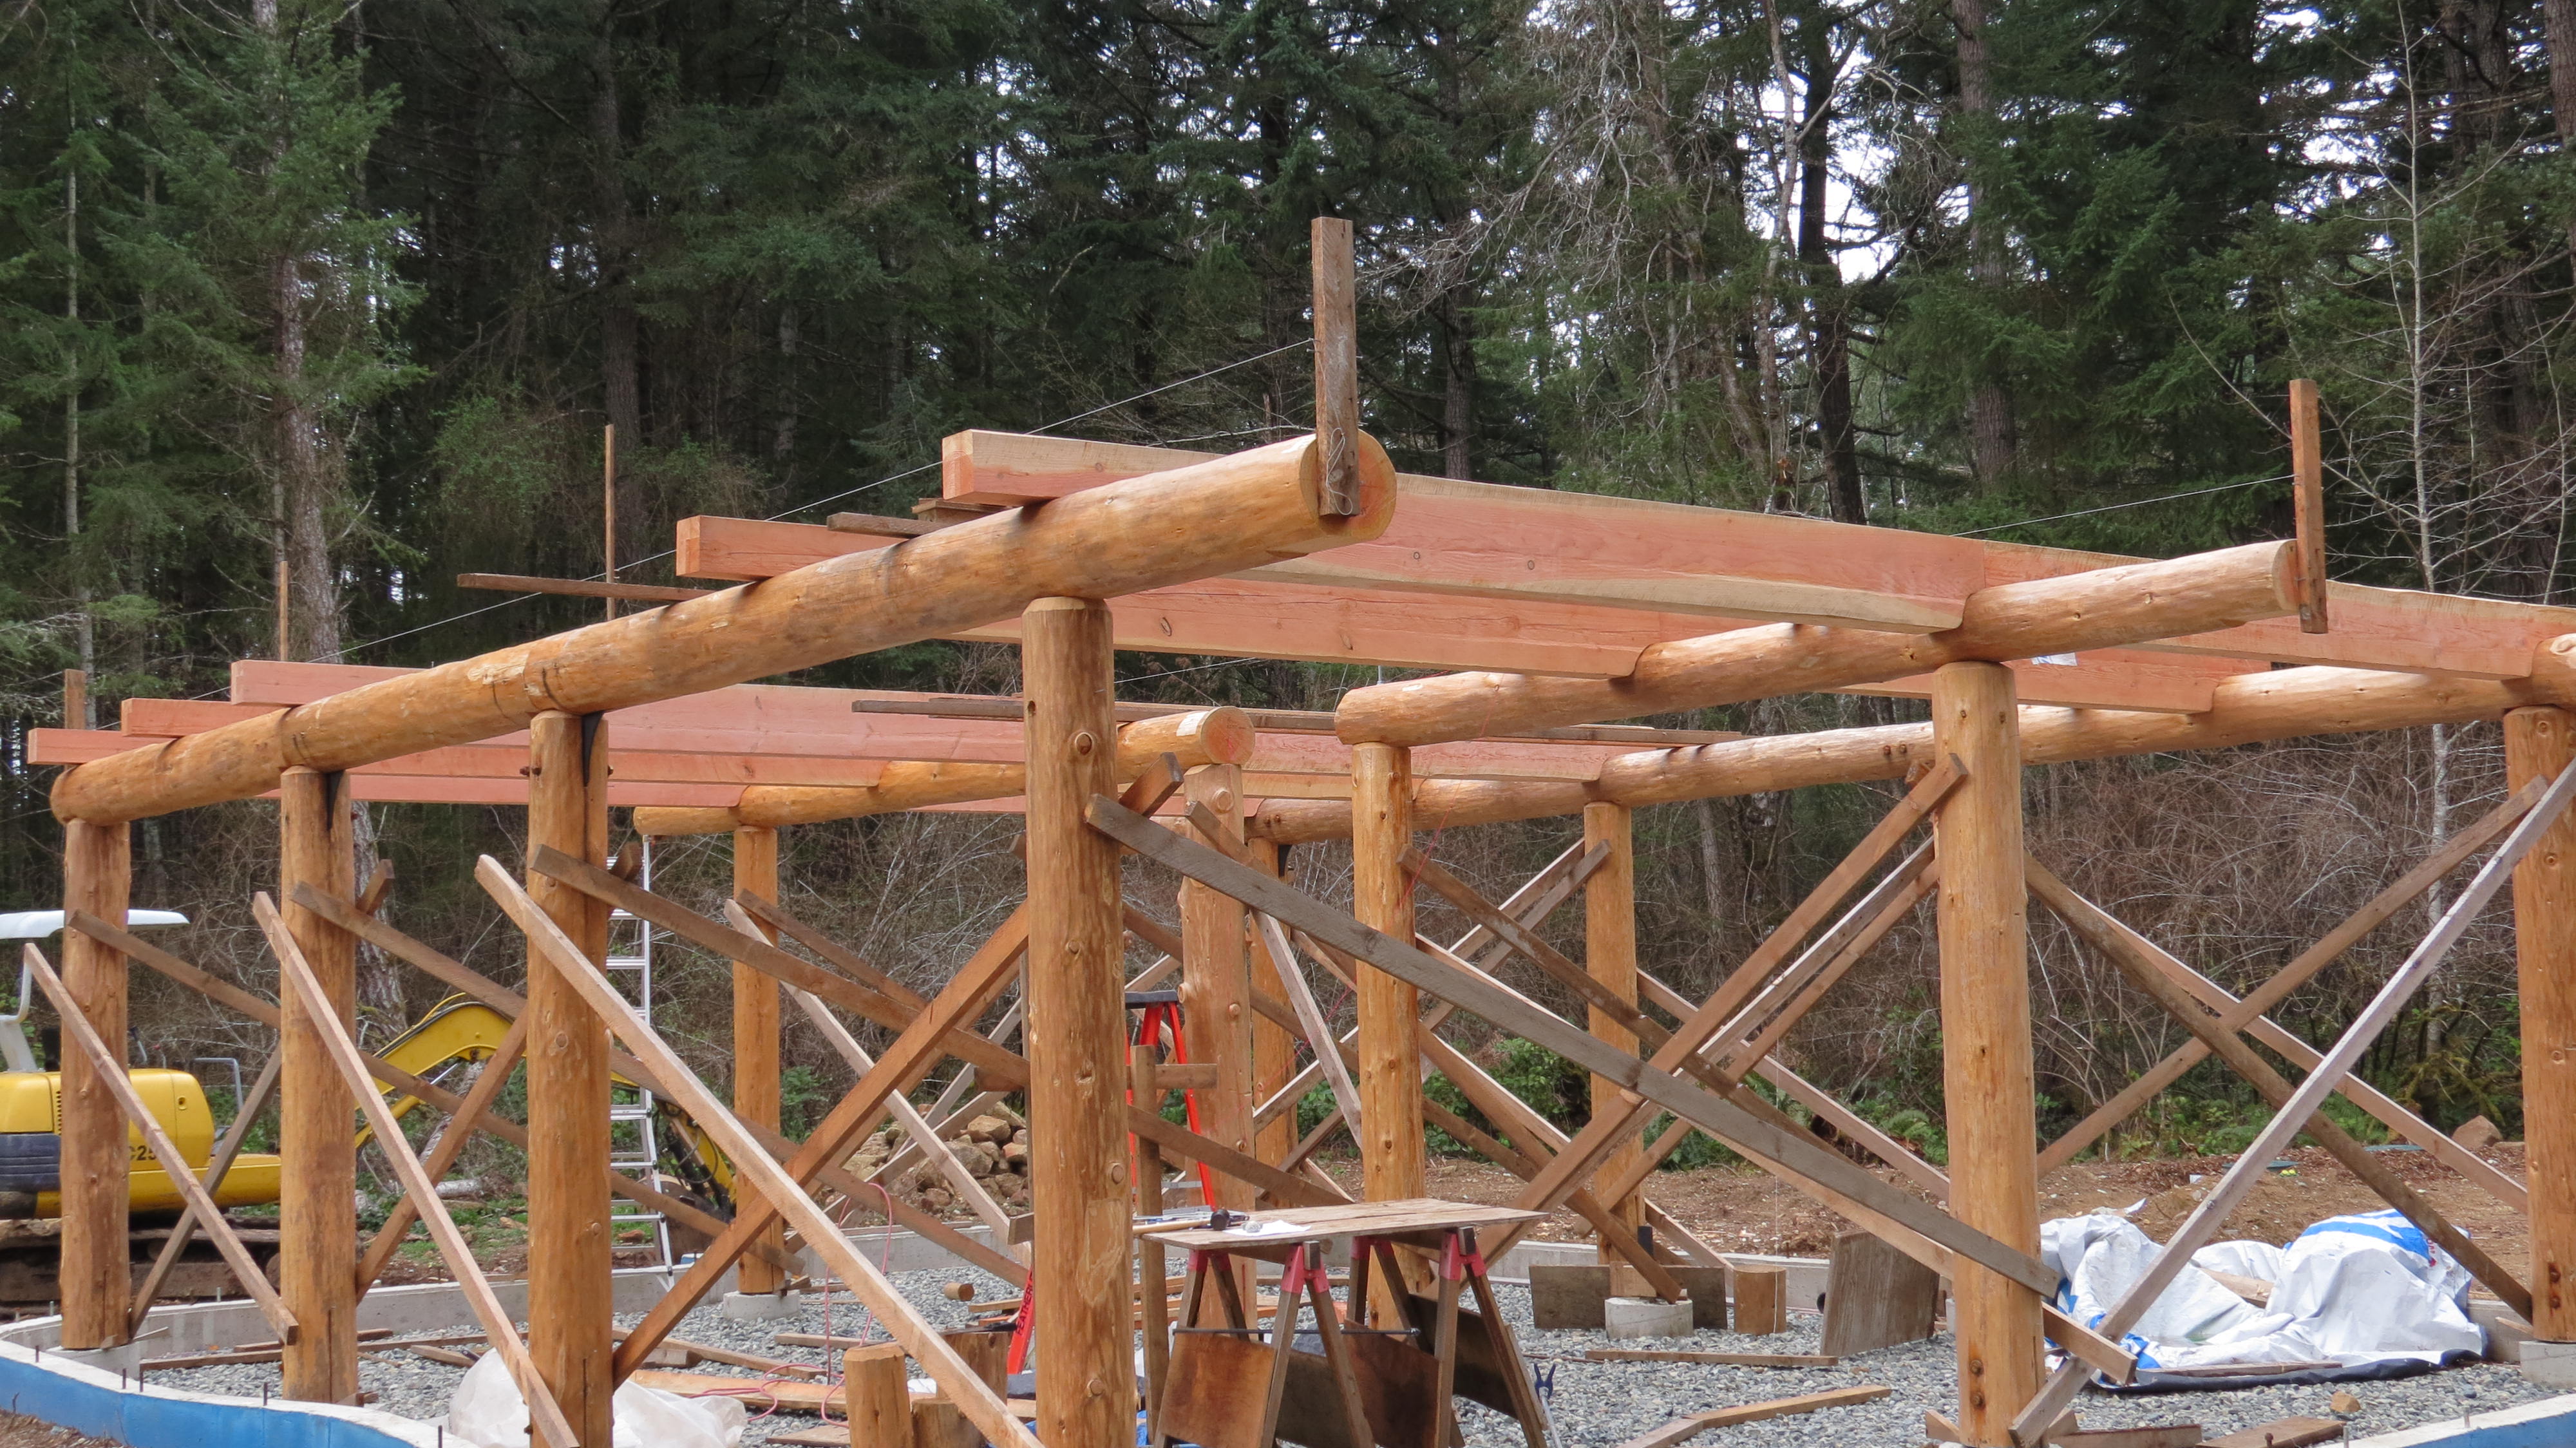
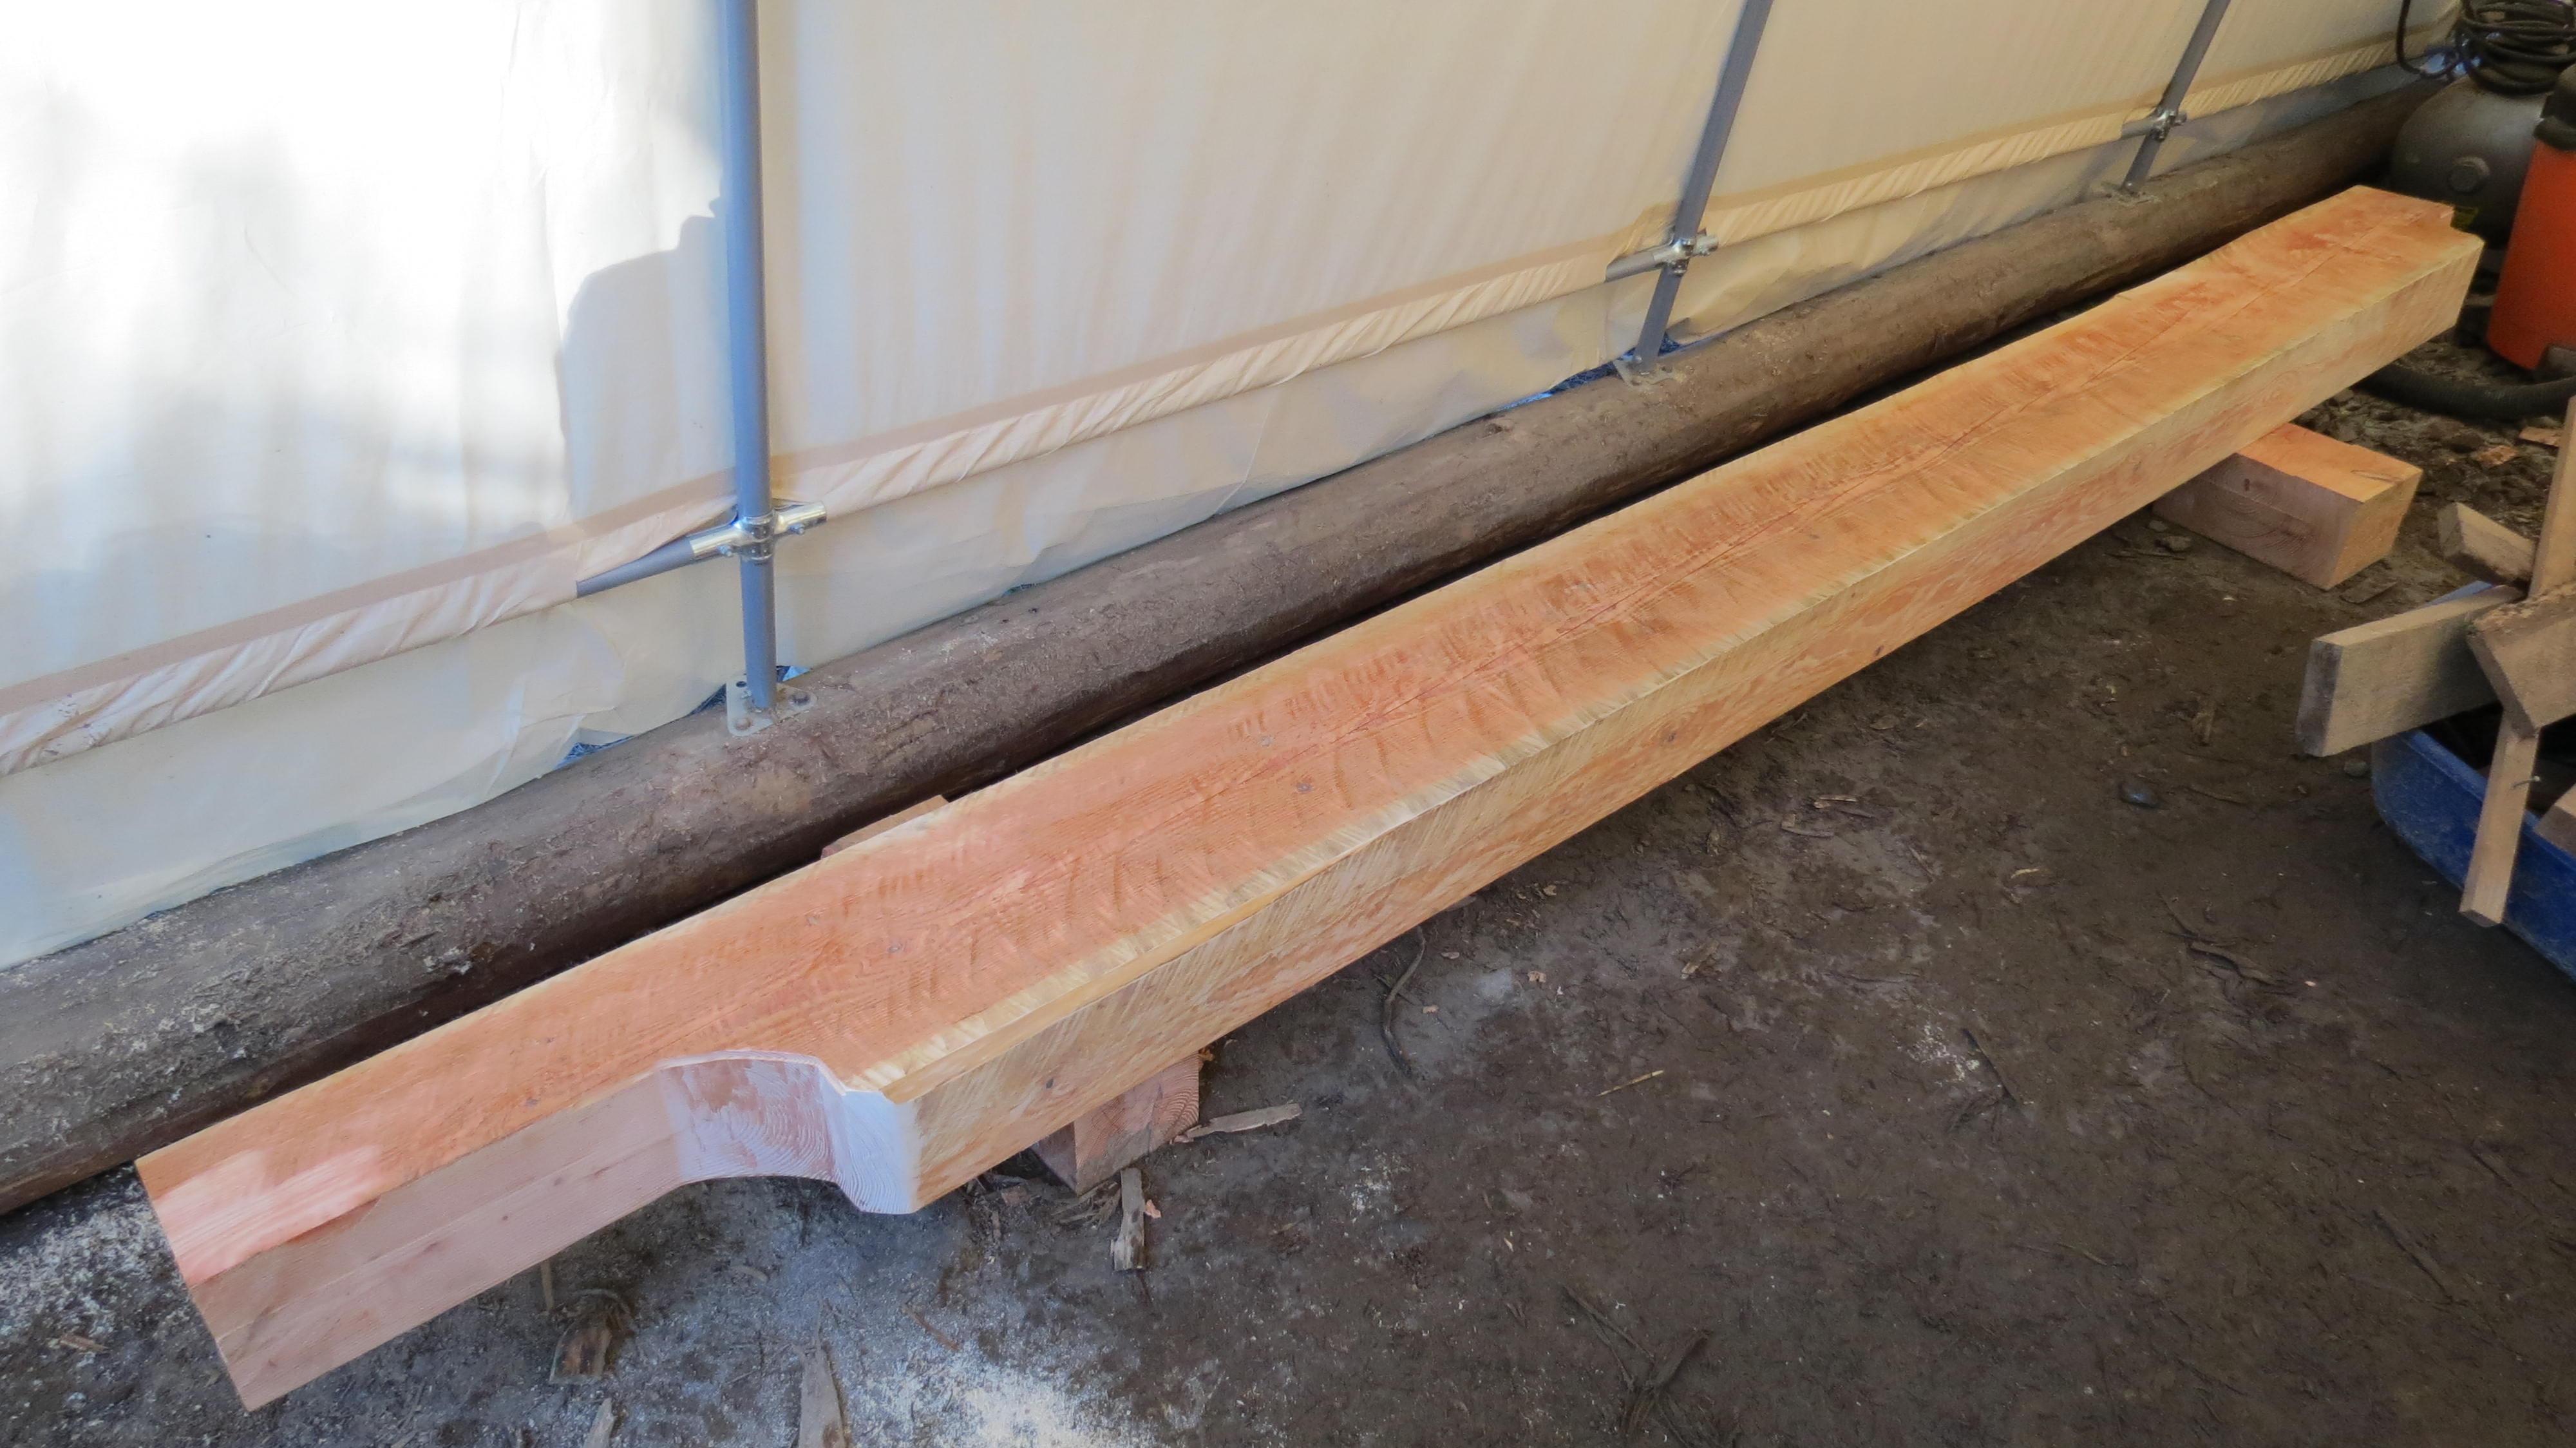
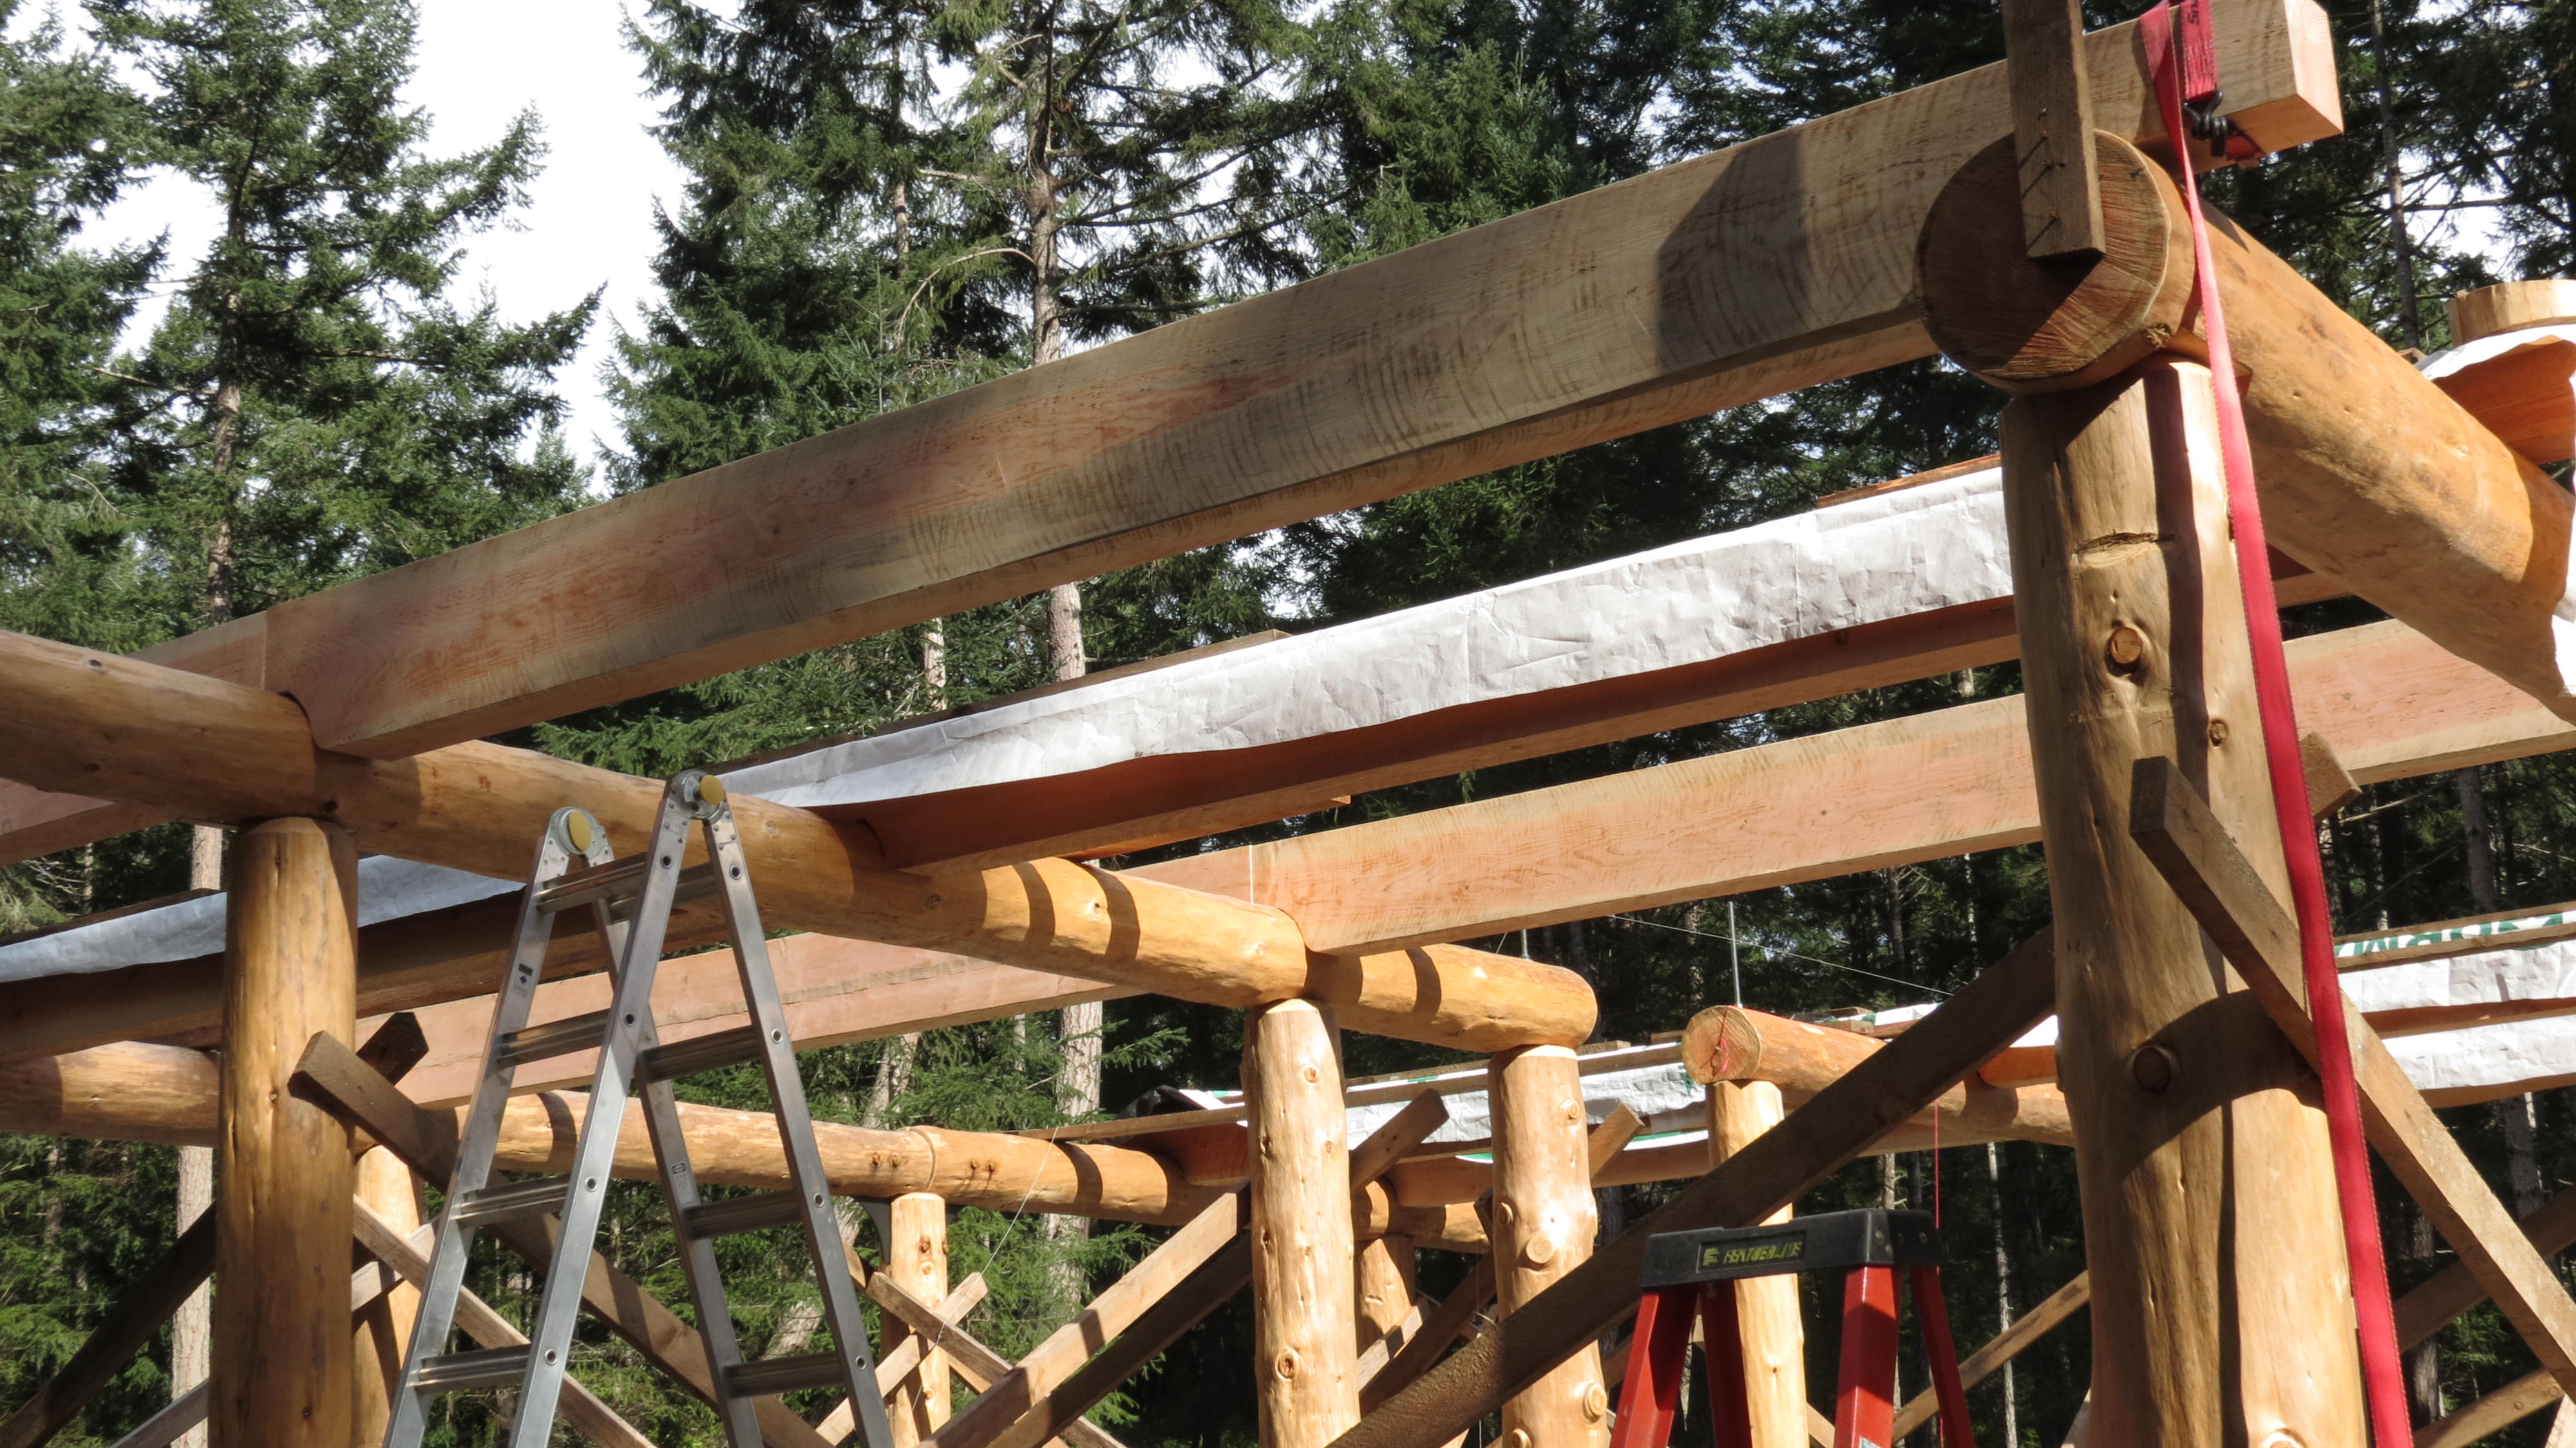
Milled last spring, the 6X12 inch joists run perpendicular to the three parallel rows of round wood beams running through the house.
Each joist interfaces with the round wood at a custom cut curved notch that adds both stability against earthquake racking and enabled me to remove any remaining elevation error caused by the variability and taper of the round wood.
This means that the upper floor of our house should be perfectly level with twin goals achieved; the roof should go on square without any twists and crucially, Mia’s marbles shouldn’t roll across her room and under the bed.
The timbers are still raw with the saw blade marks from milling, juxtaposed against the organic curve of the peeled round wood. Chiselled by hand, lifted by machine, nudged onto their marks with muscle. The interface between the natural and the machine made.
I recommend lifting timbers with your shoulder. It’s the antidote to decades of desk dwelling.
Check out the photos below for the step-by-step in case the urge takes you.

I laid out the string lines with the surveying scope

Chiselled flat and radius on a beam
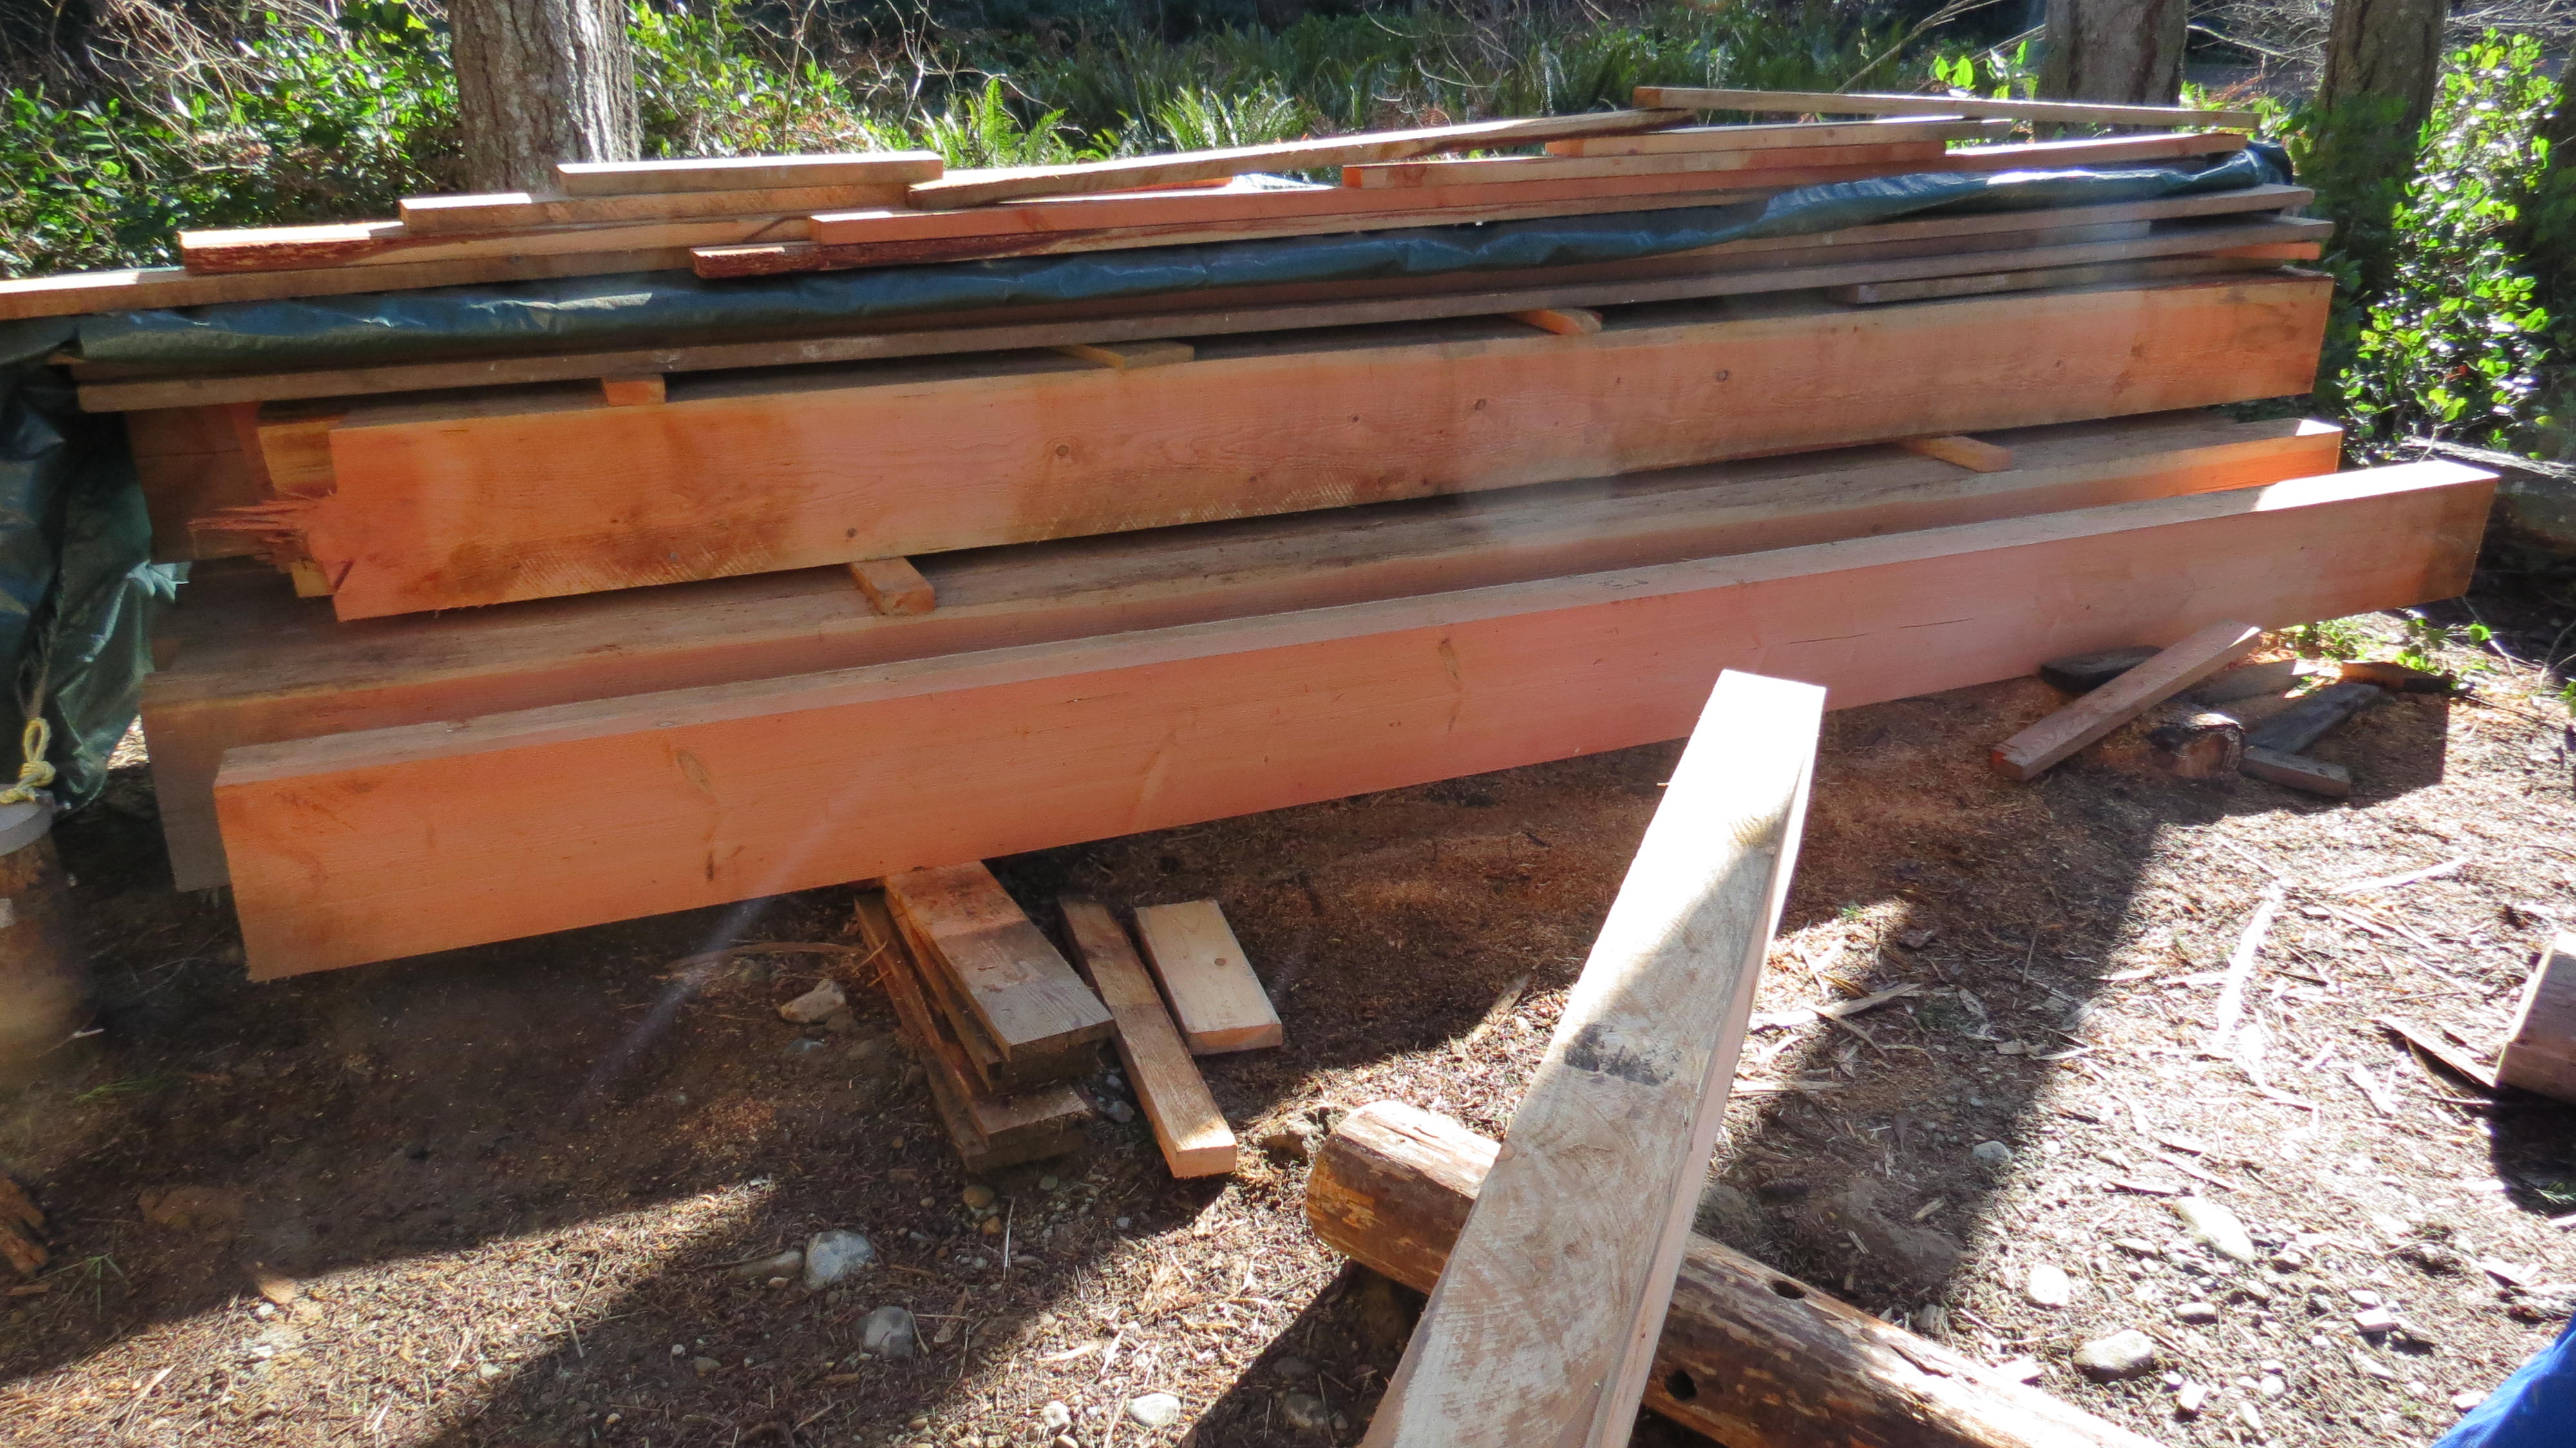
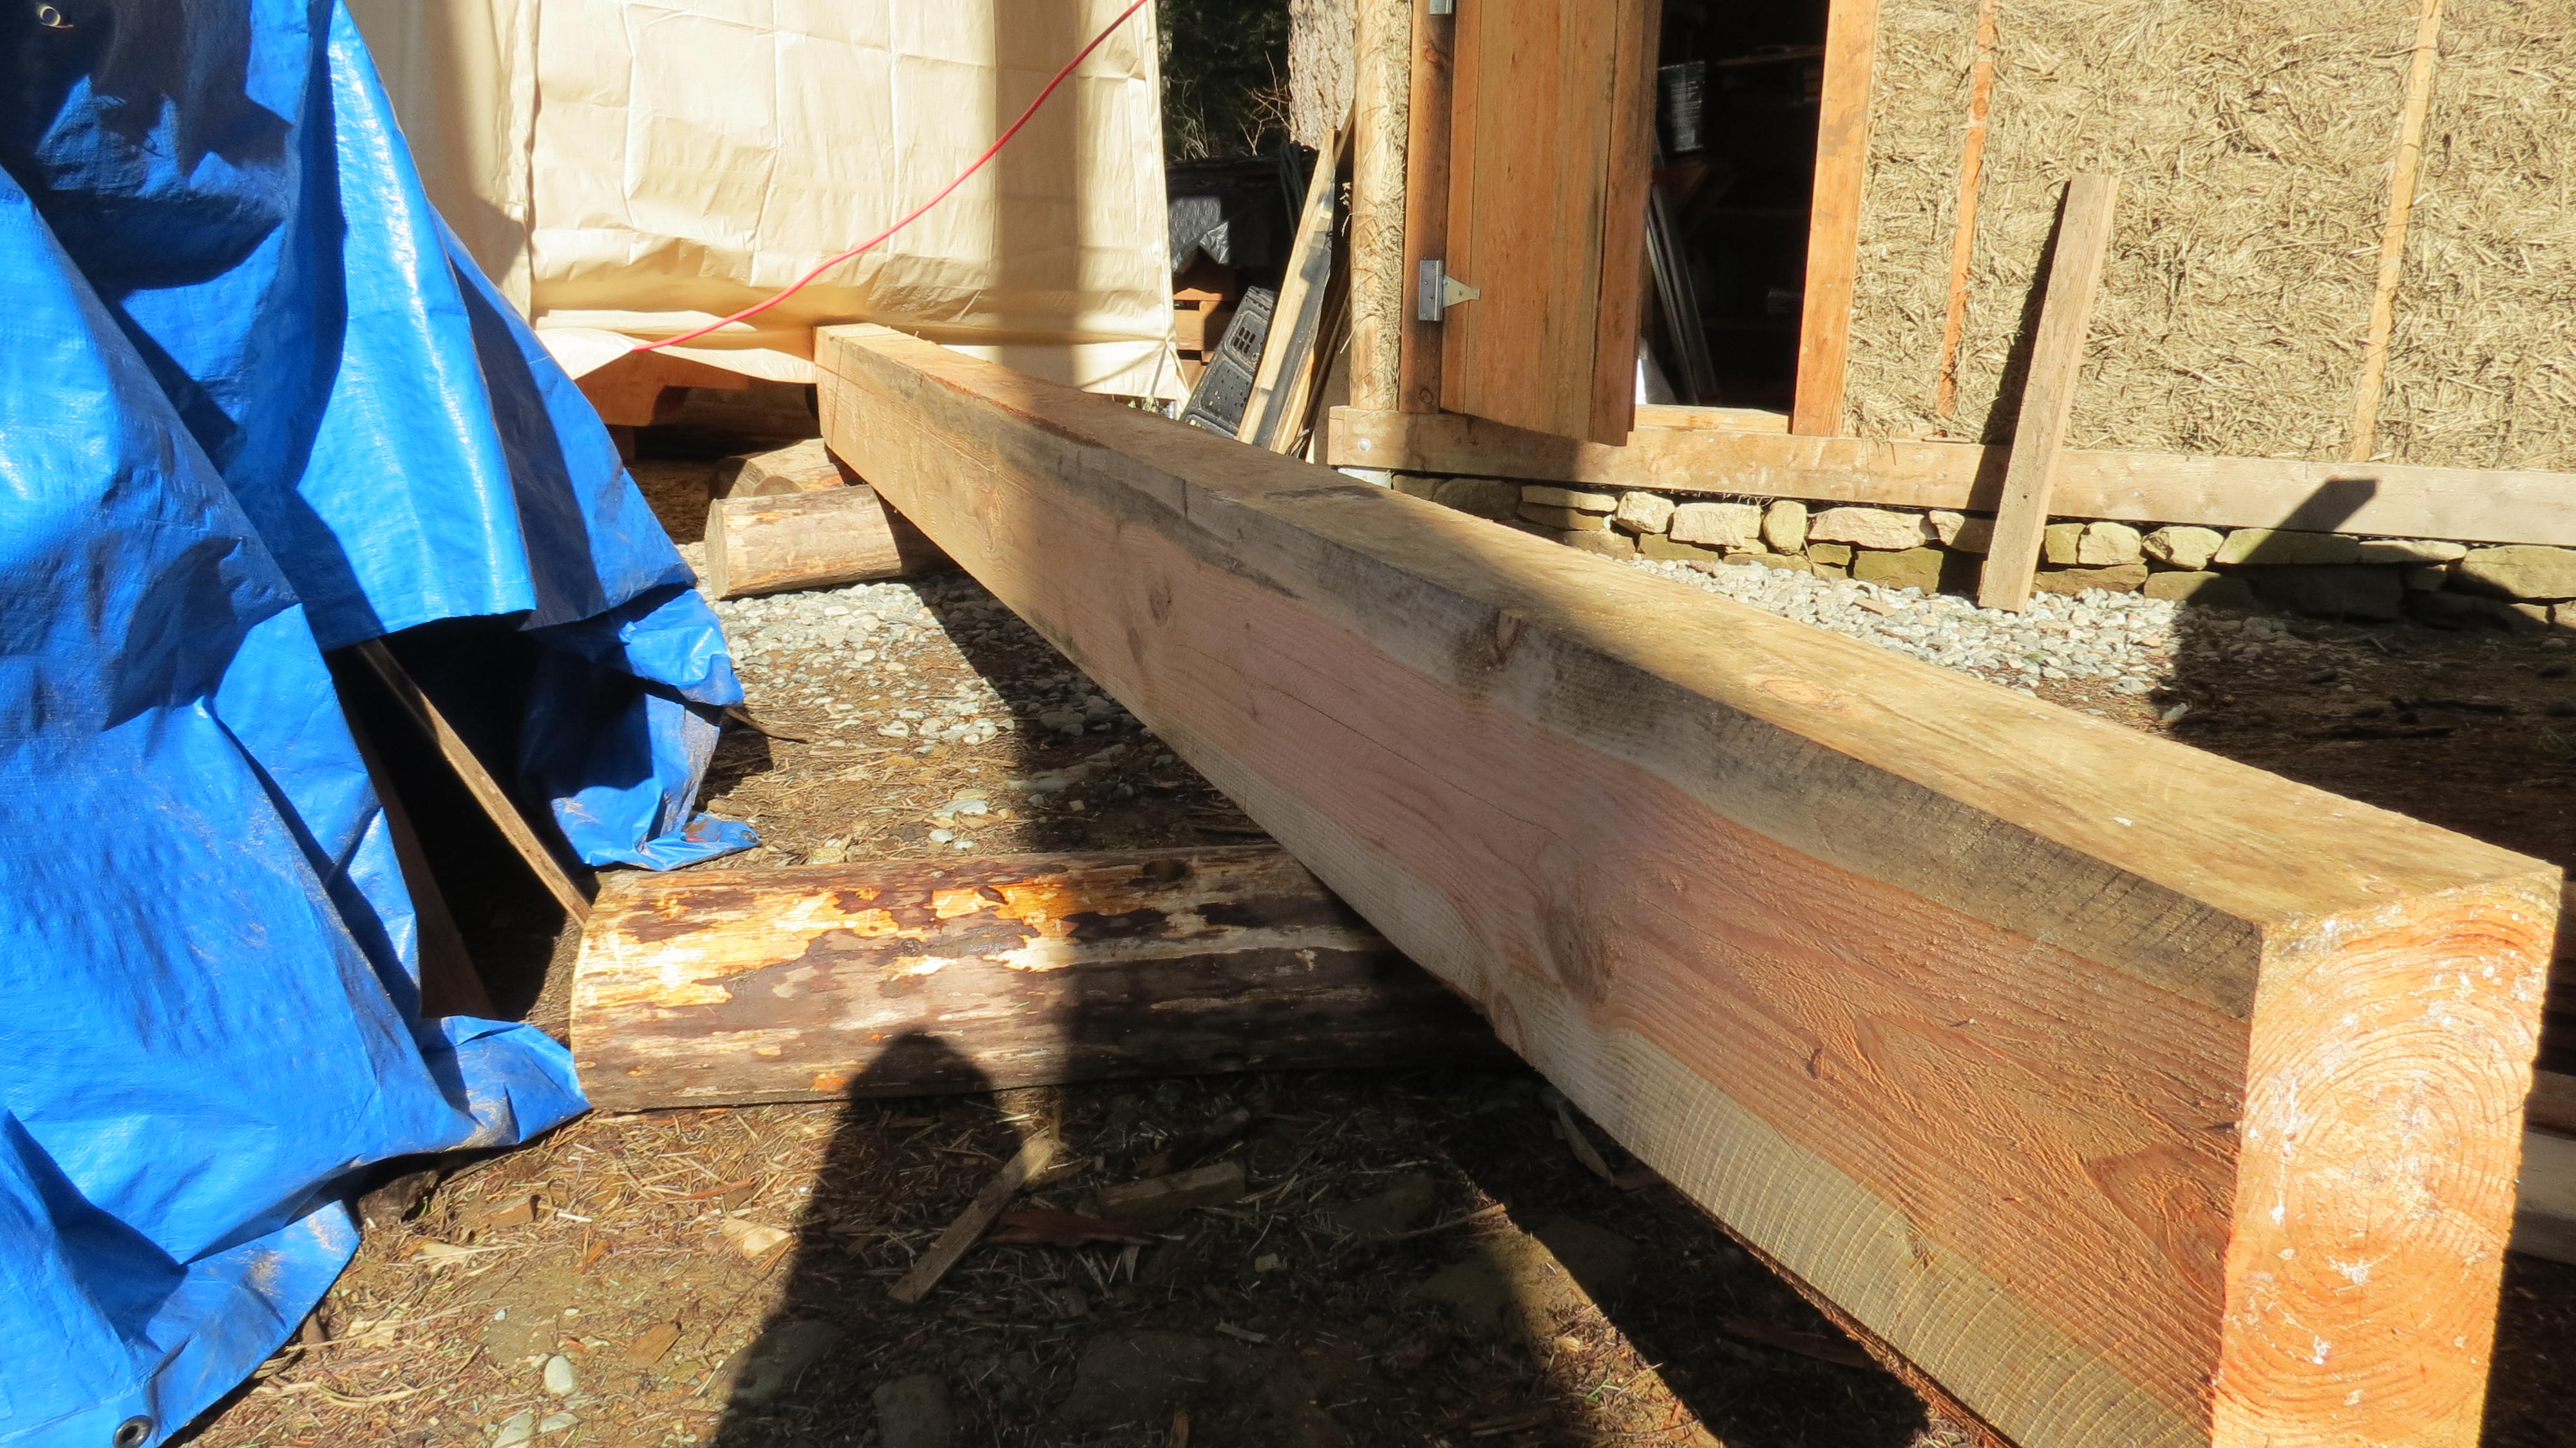
The raw timbers
Rolling a joist into my tent shop
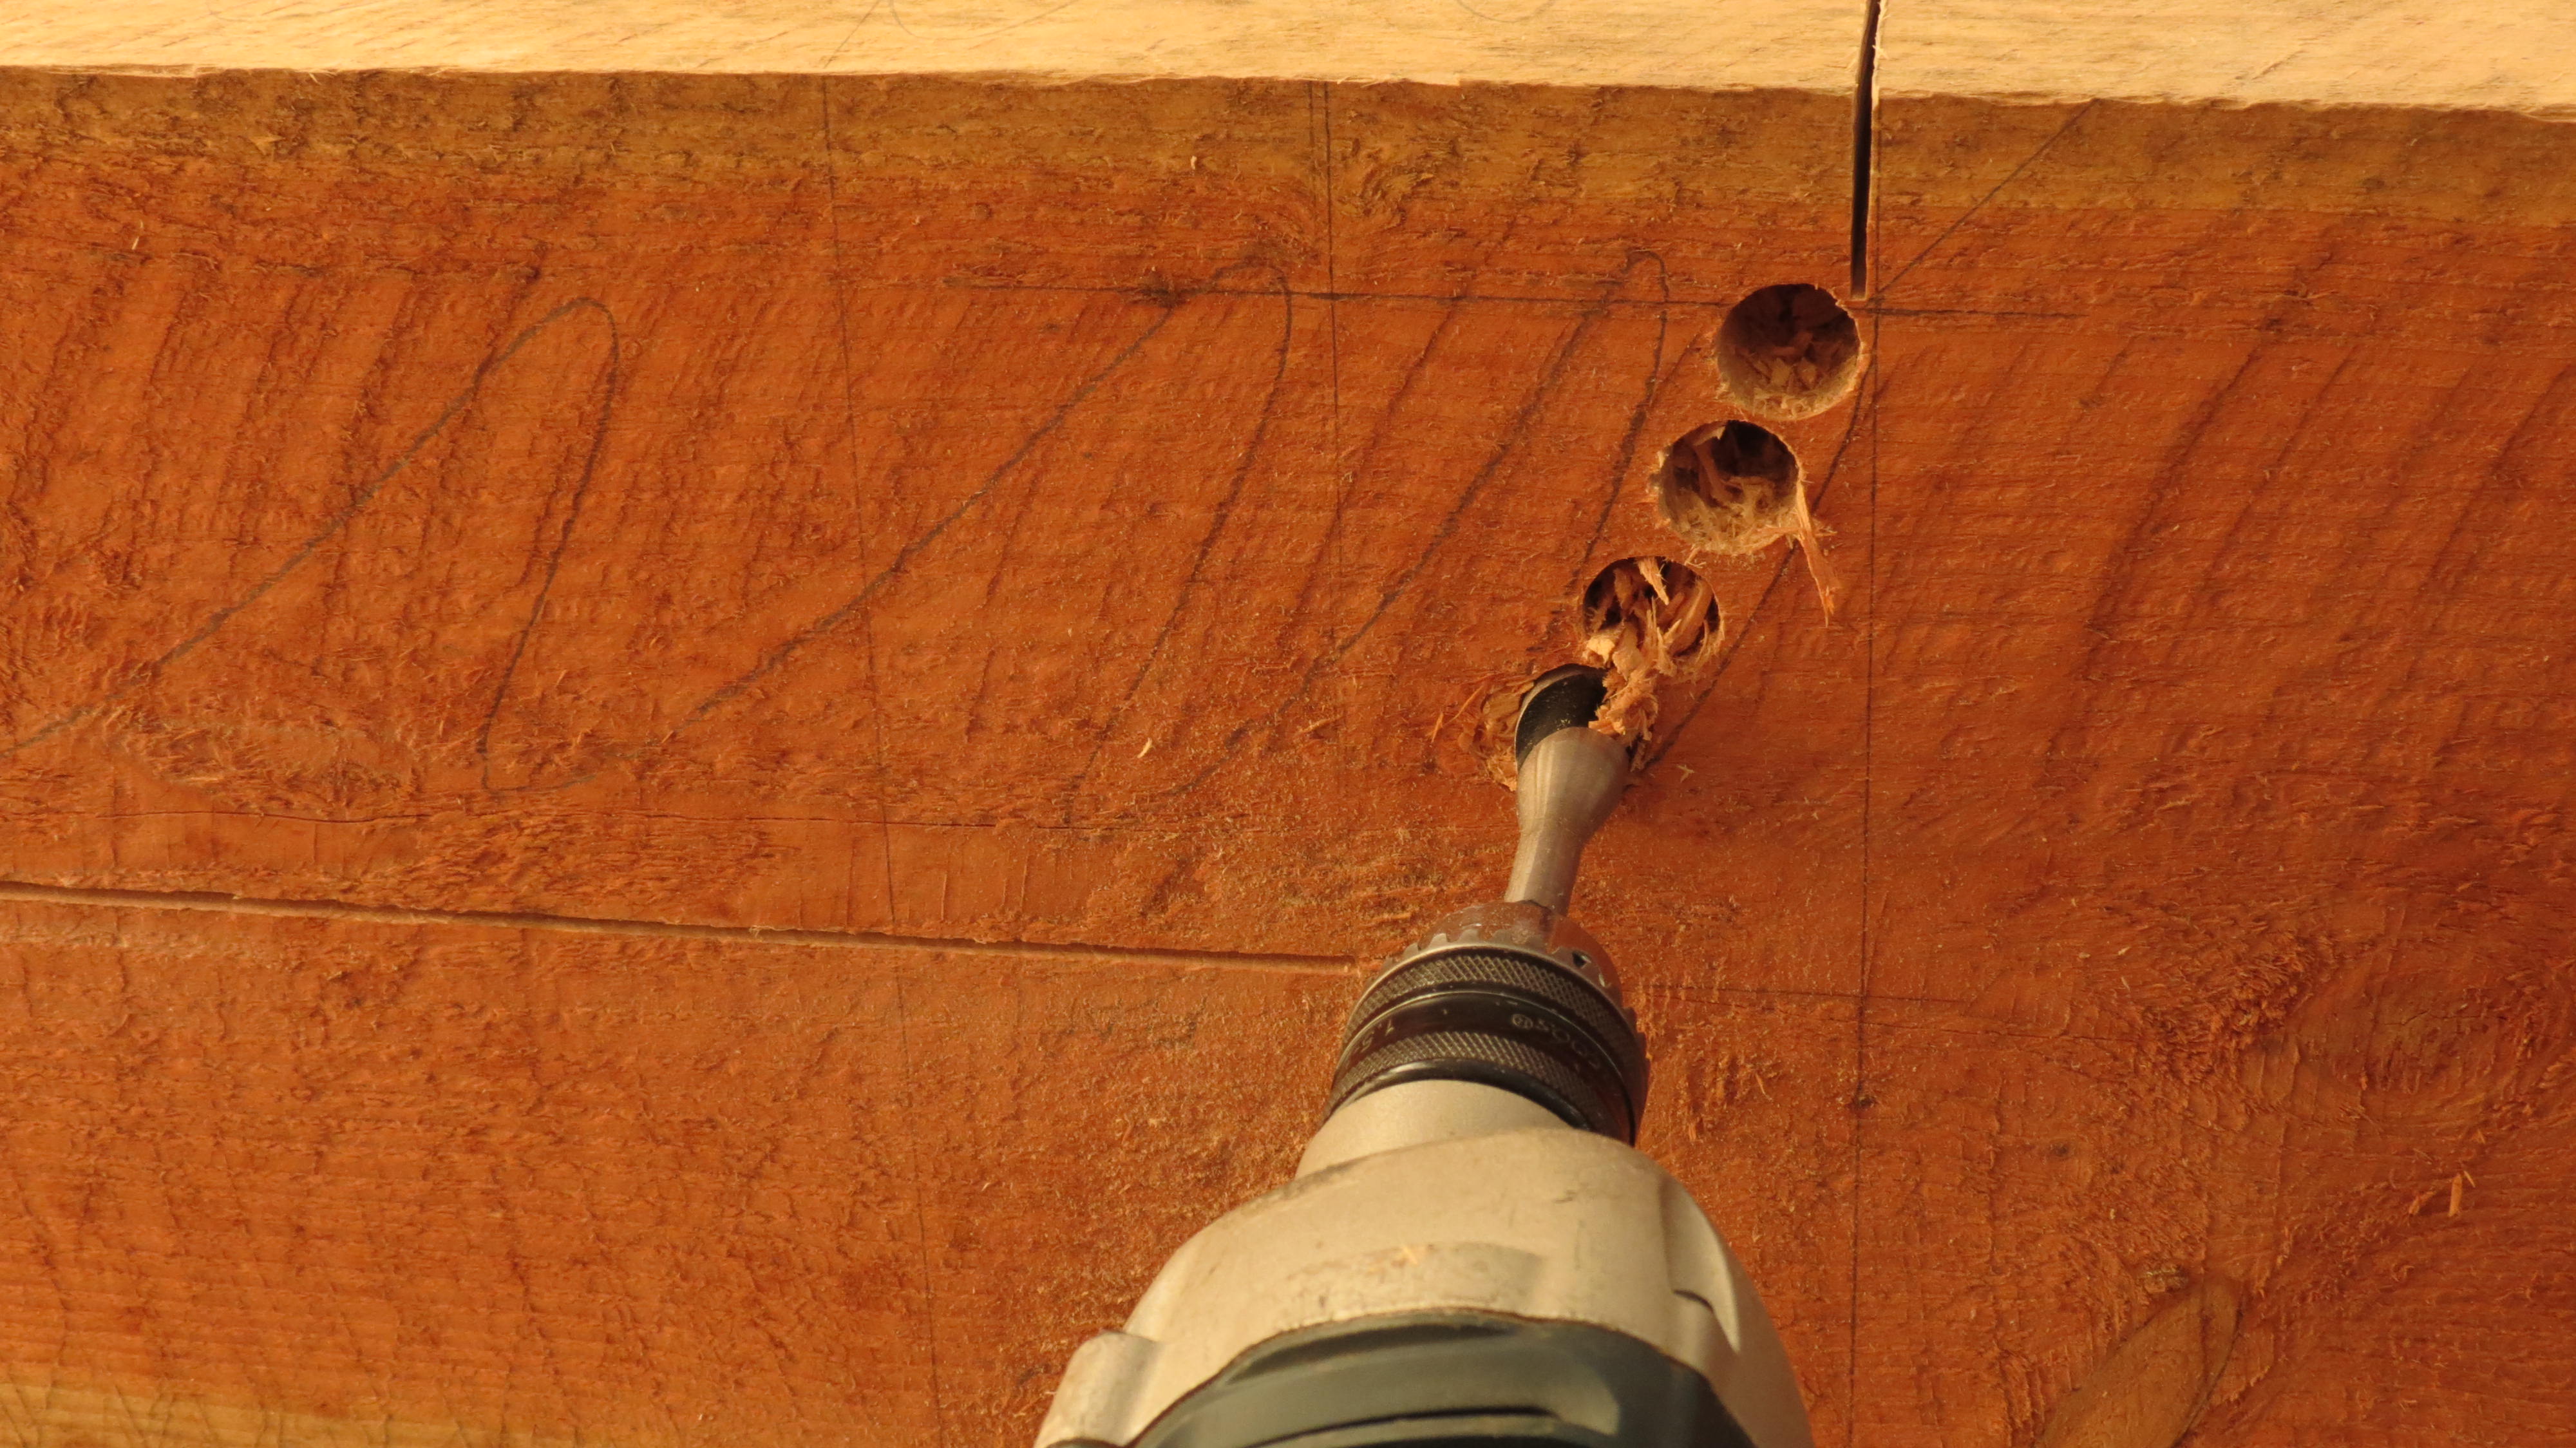
Chewing through the radius line with an auger, obviously after a load of measuring
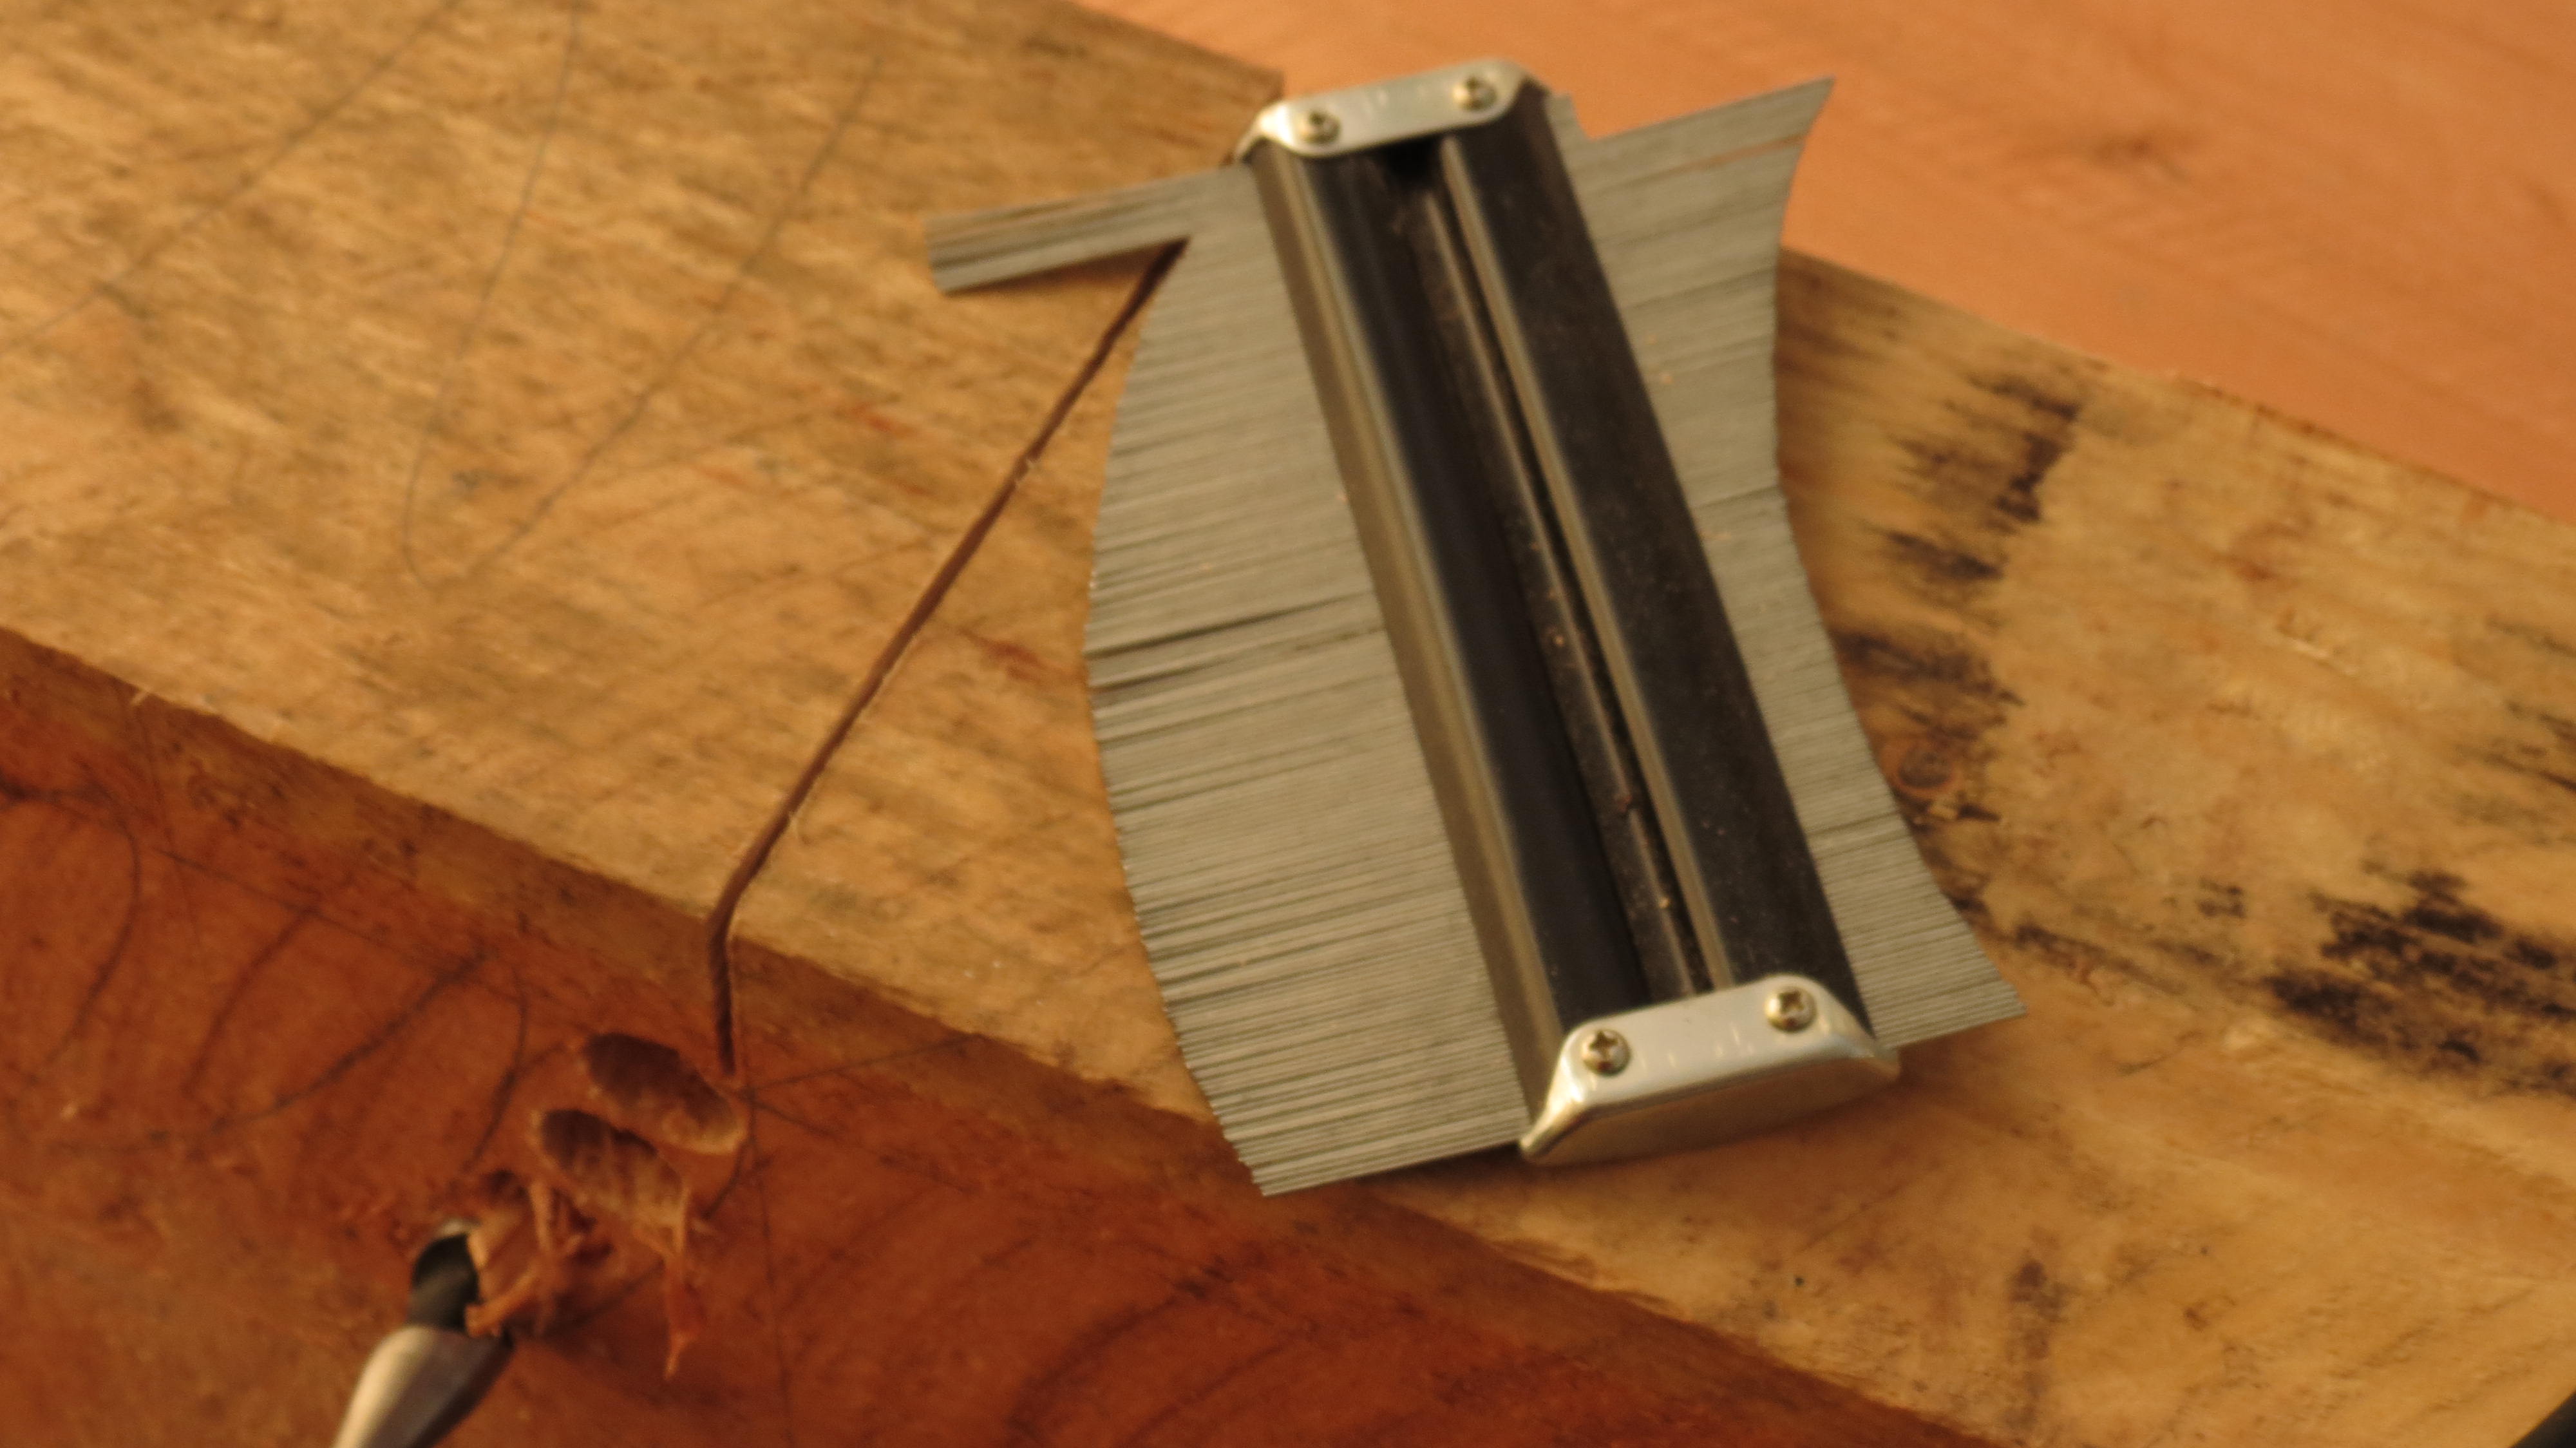
Profile gauge for transferring the radius from the beam to the joist
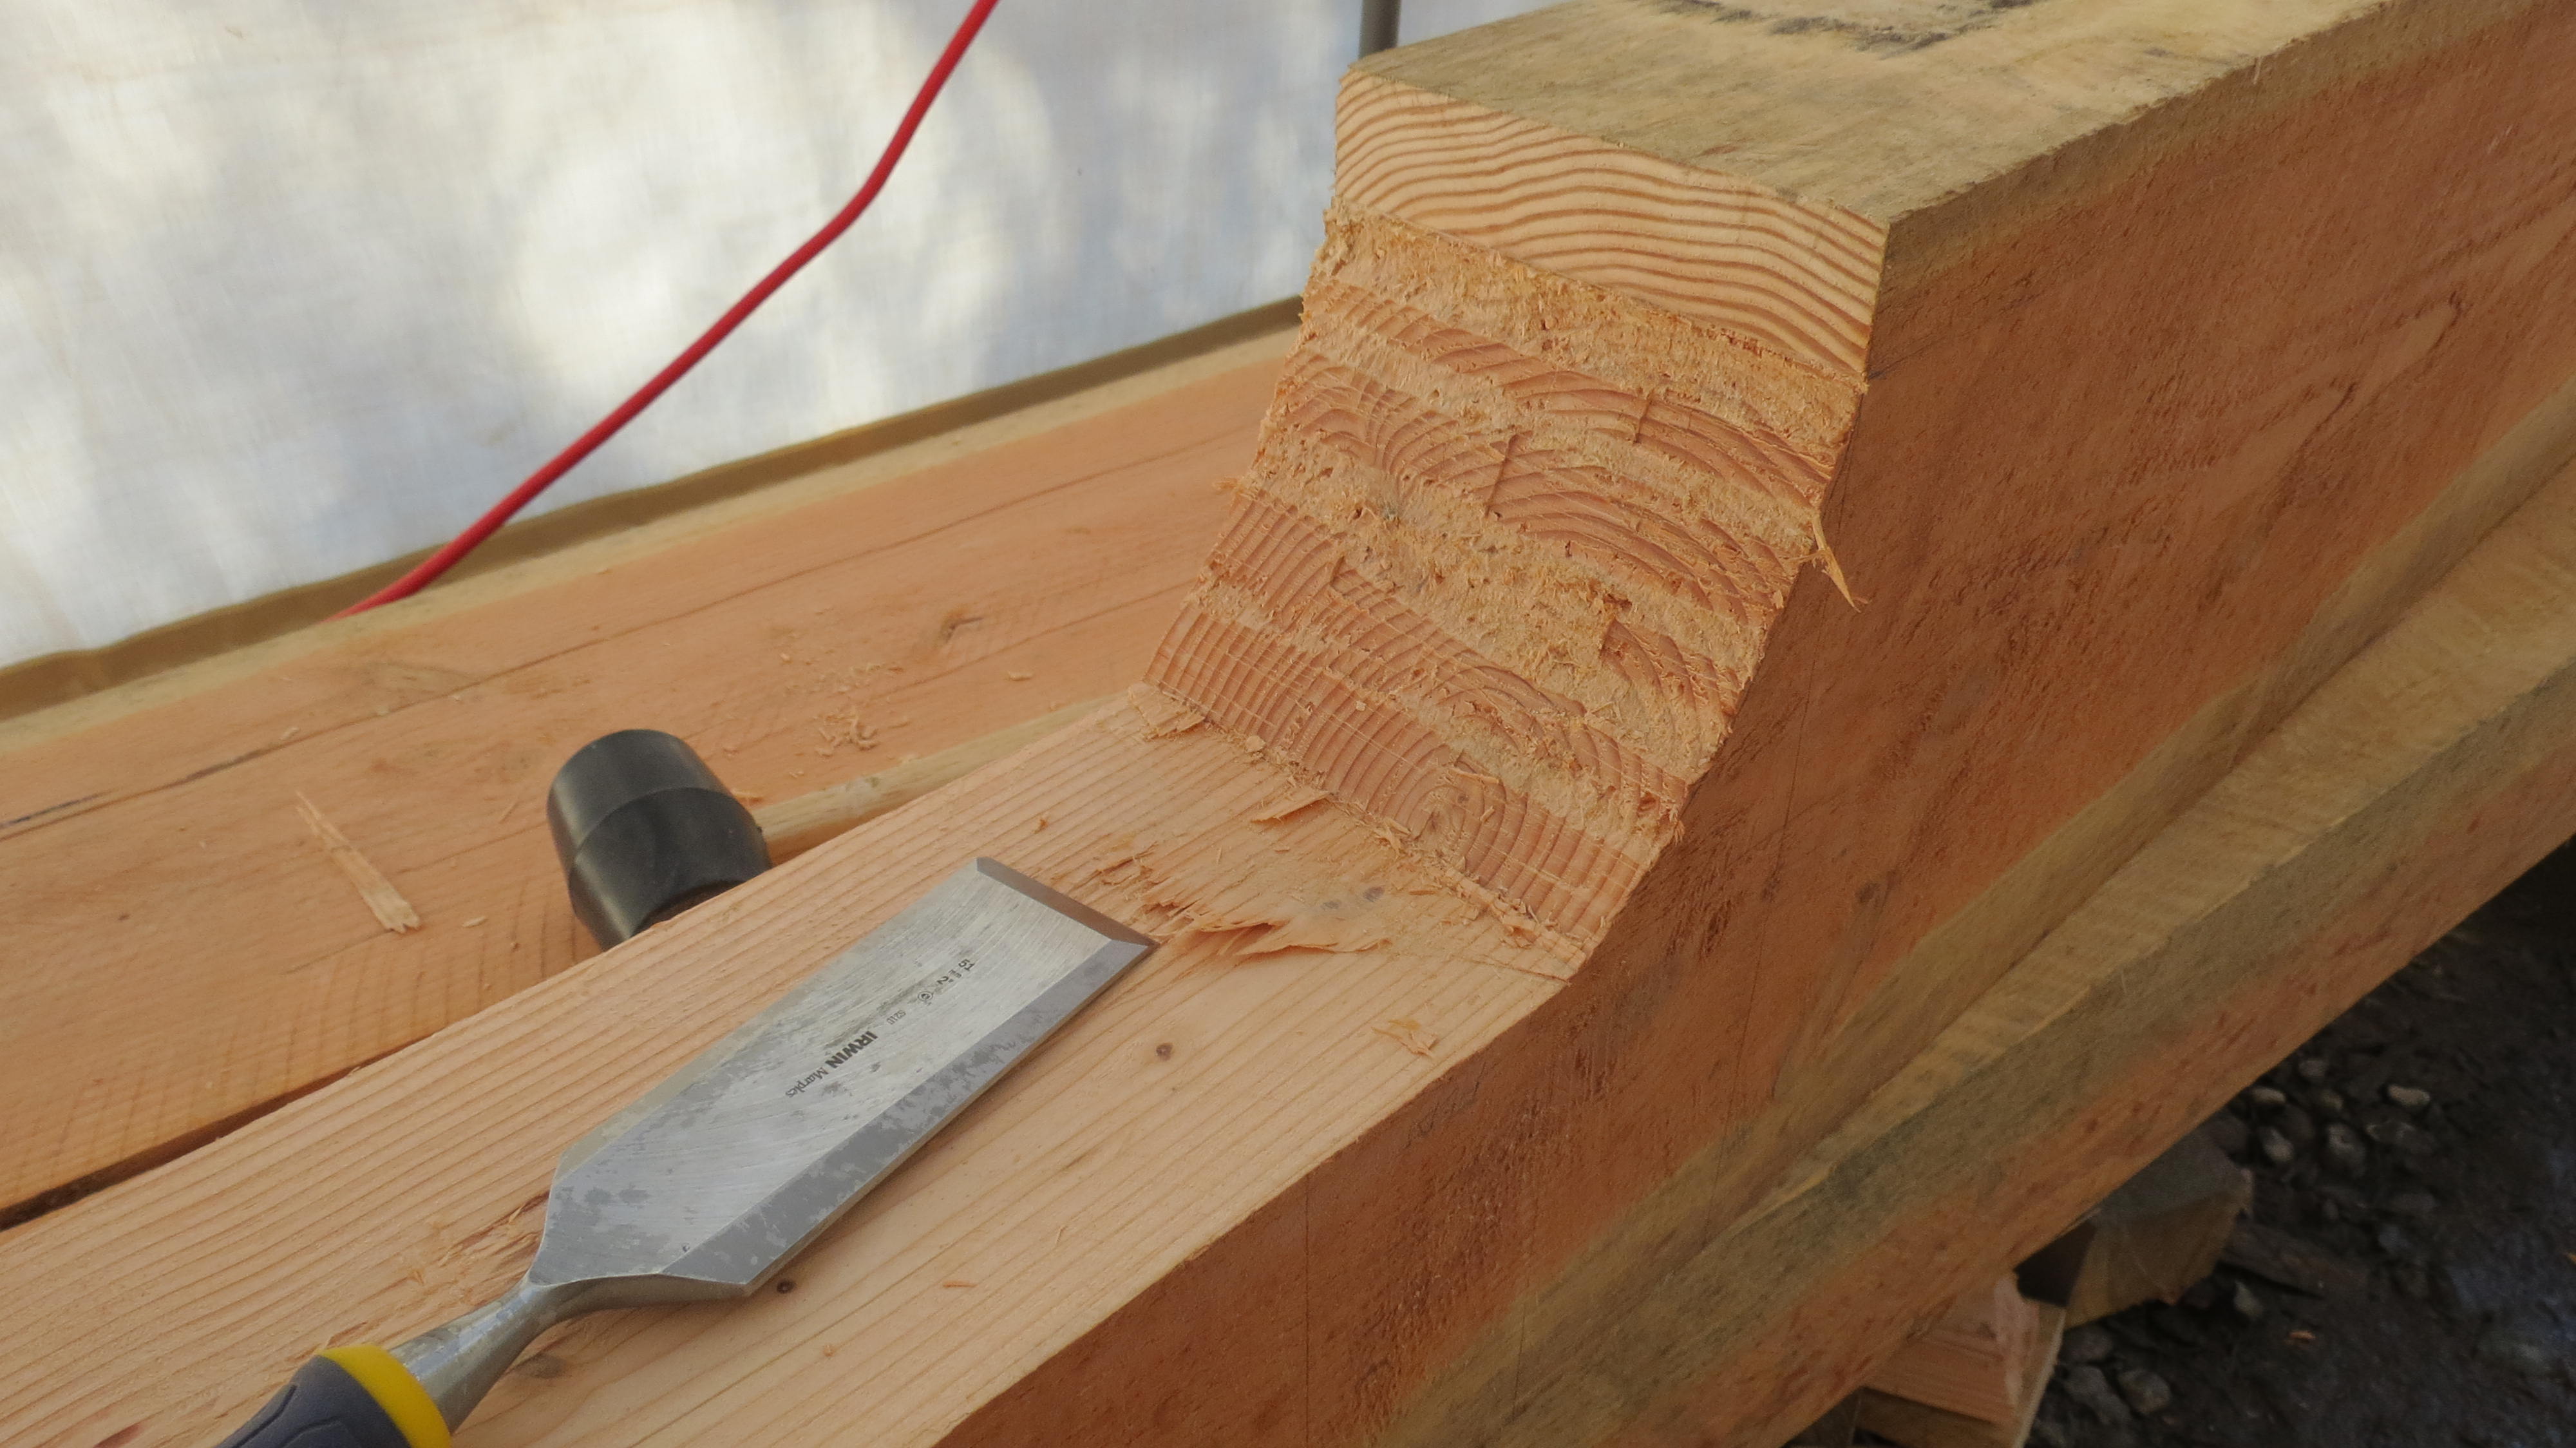
Chiselling the radius after drilling
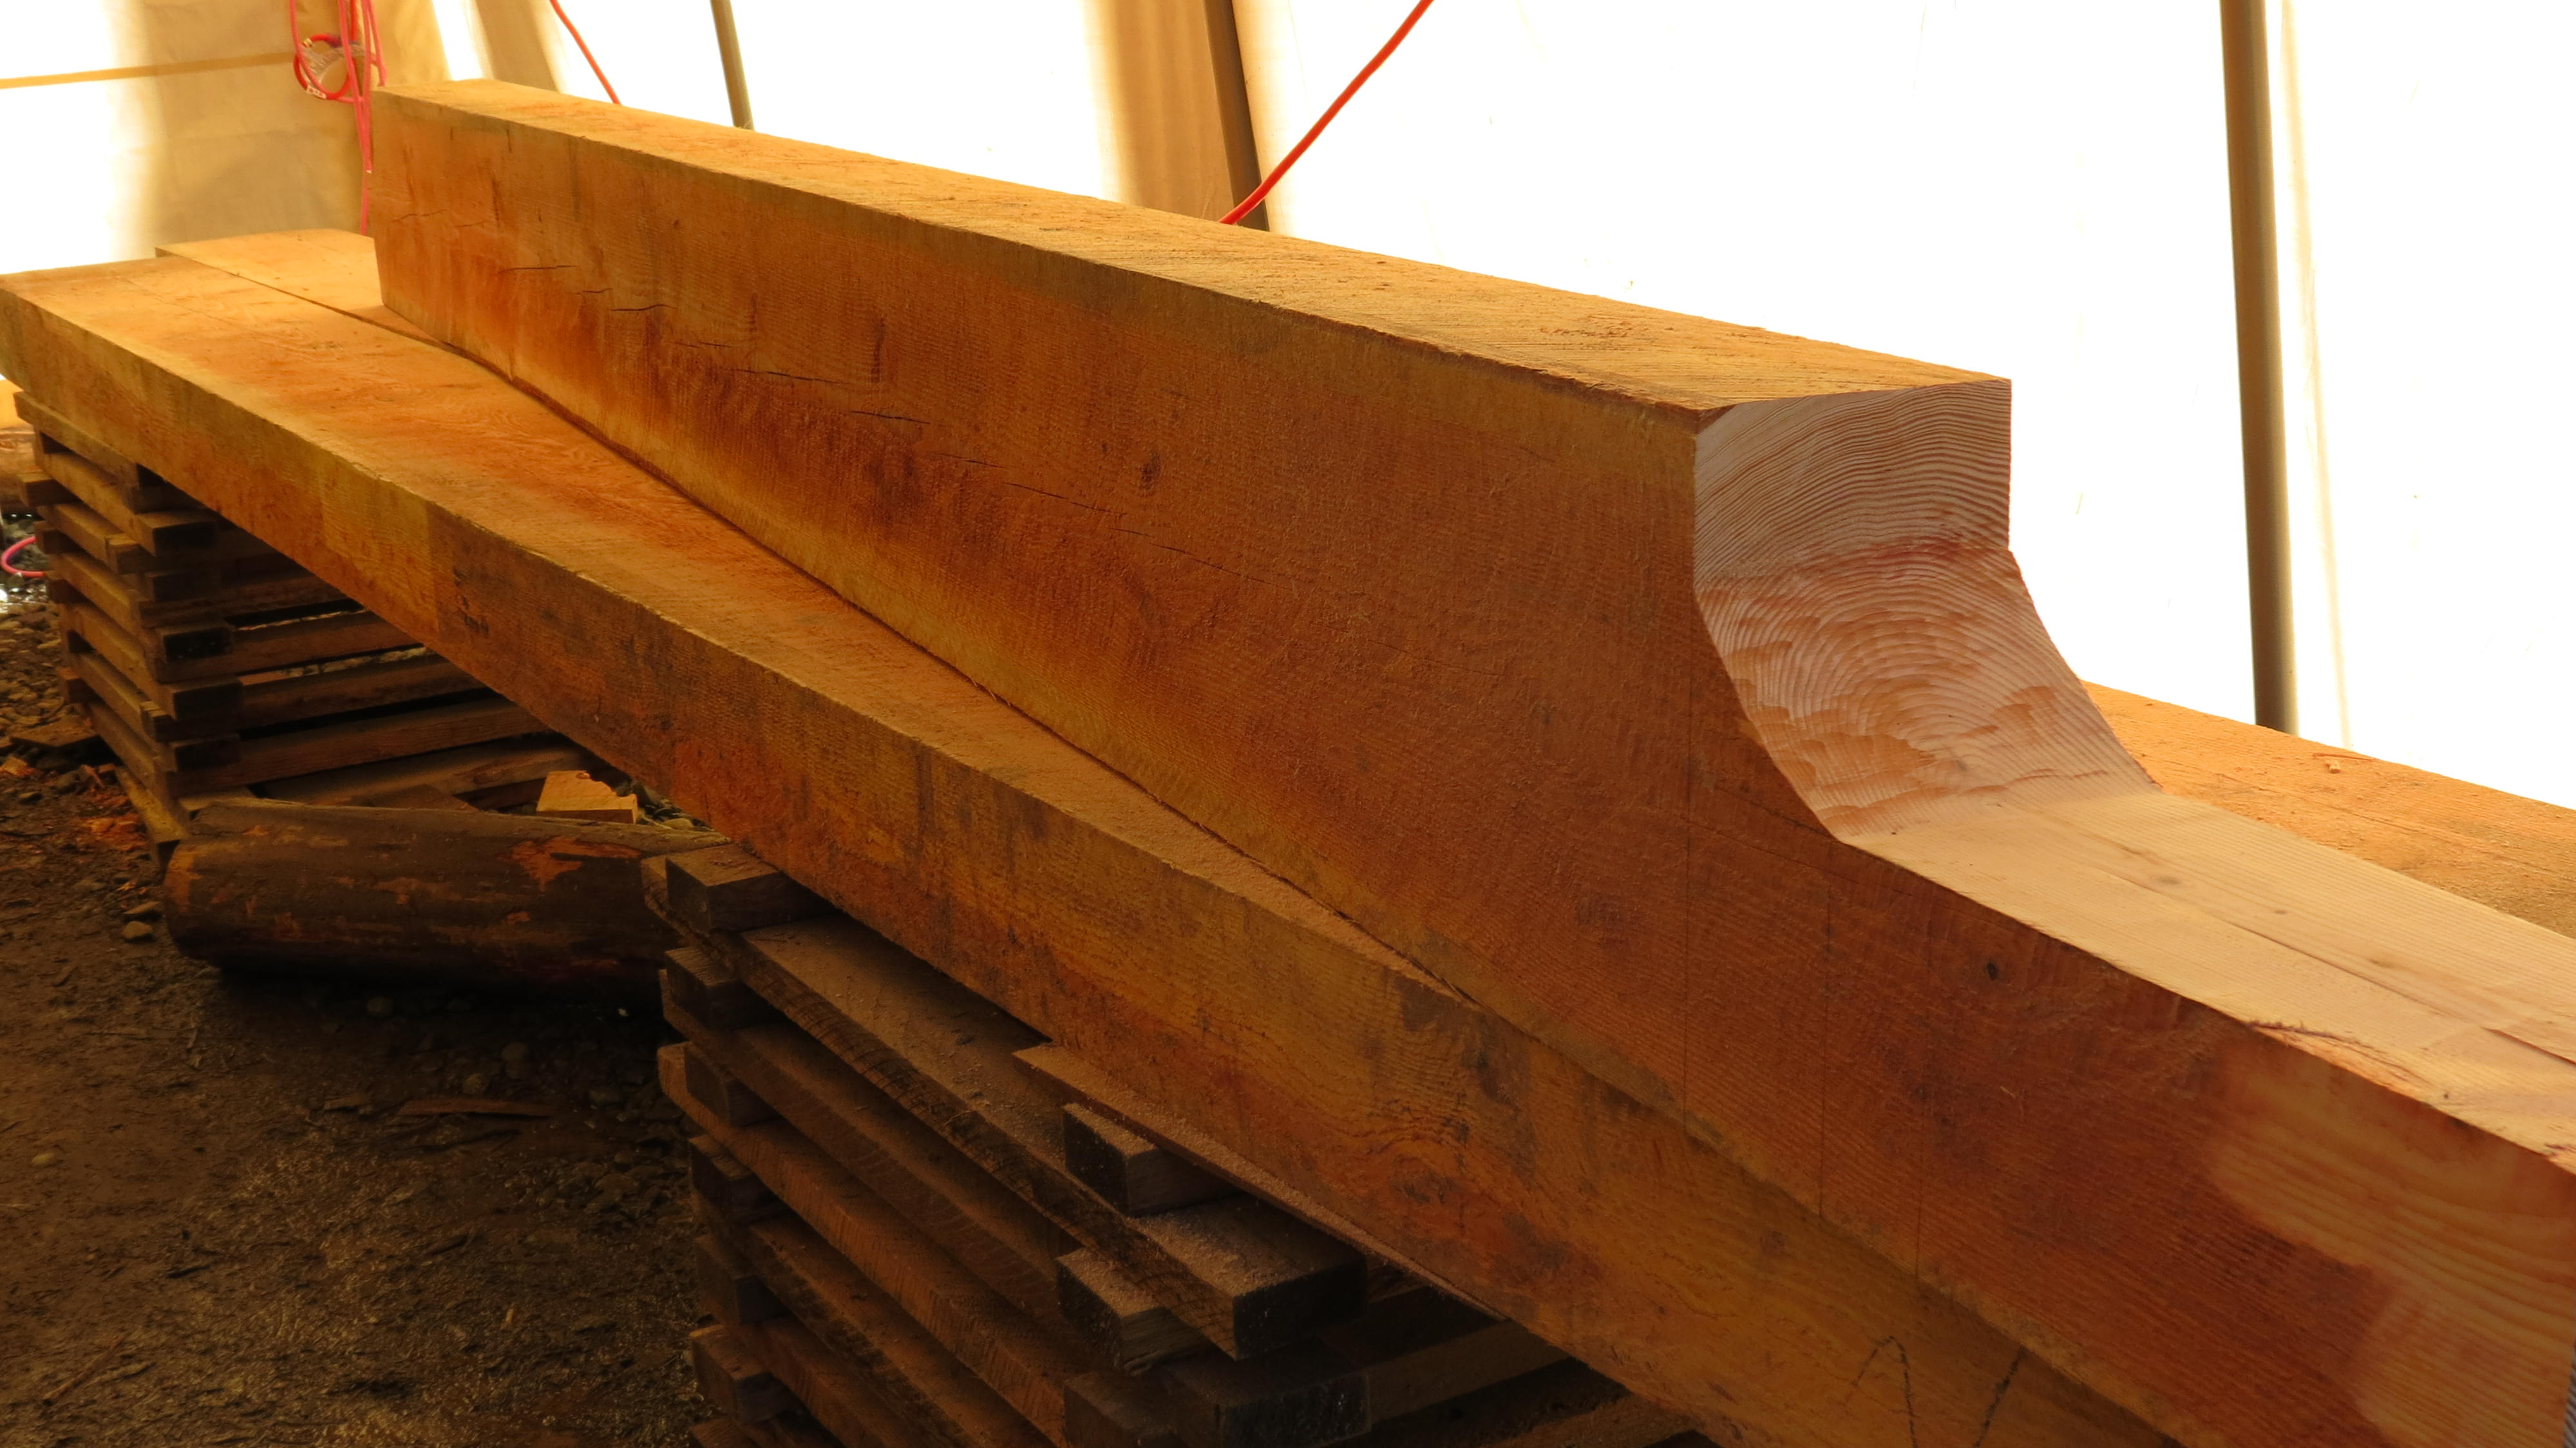
Coming along
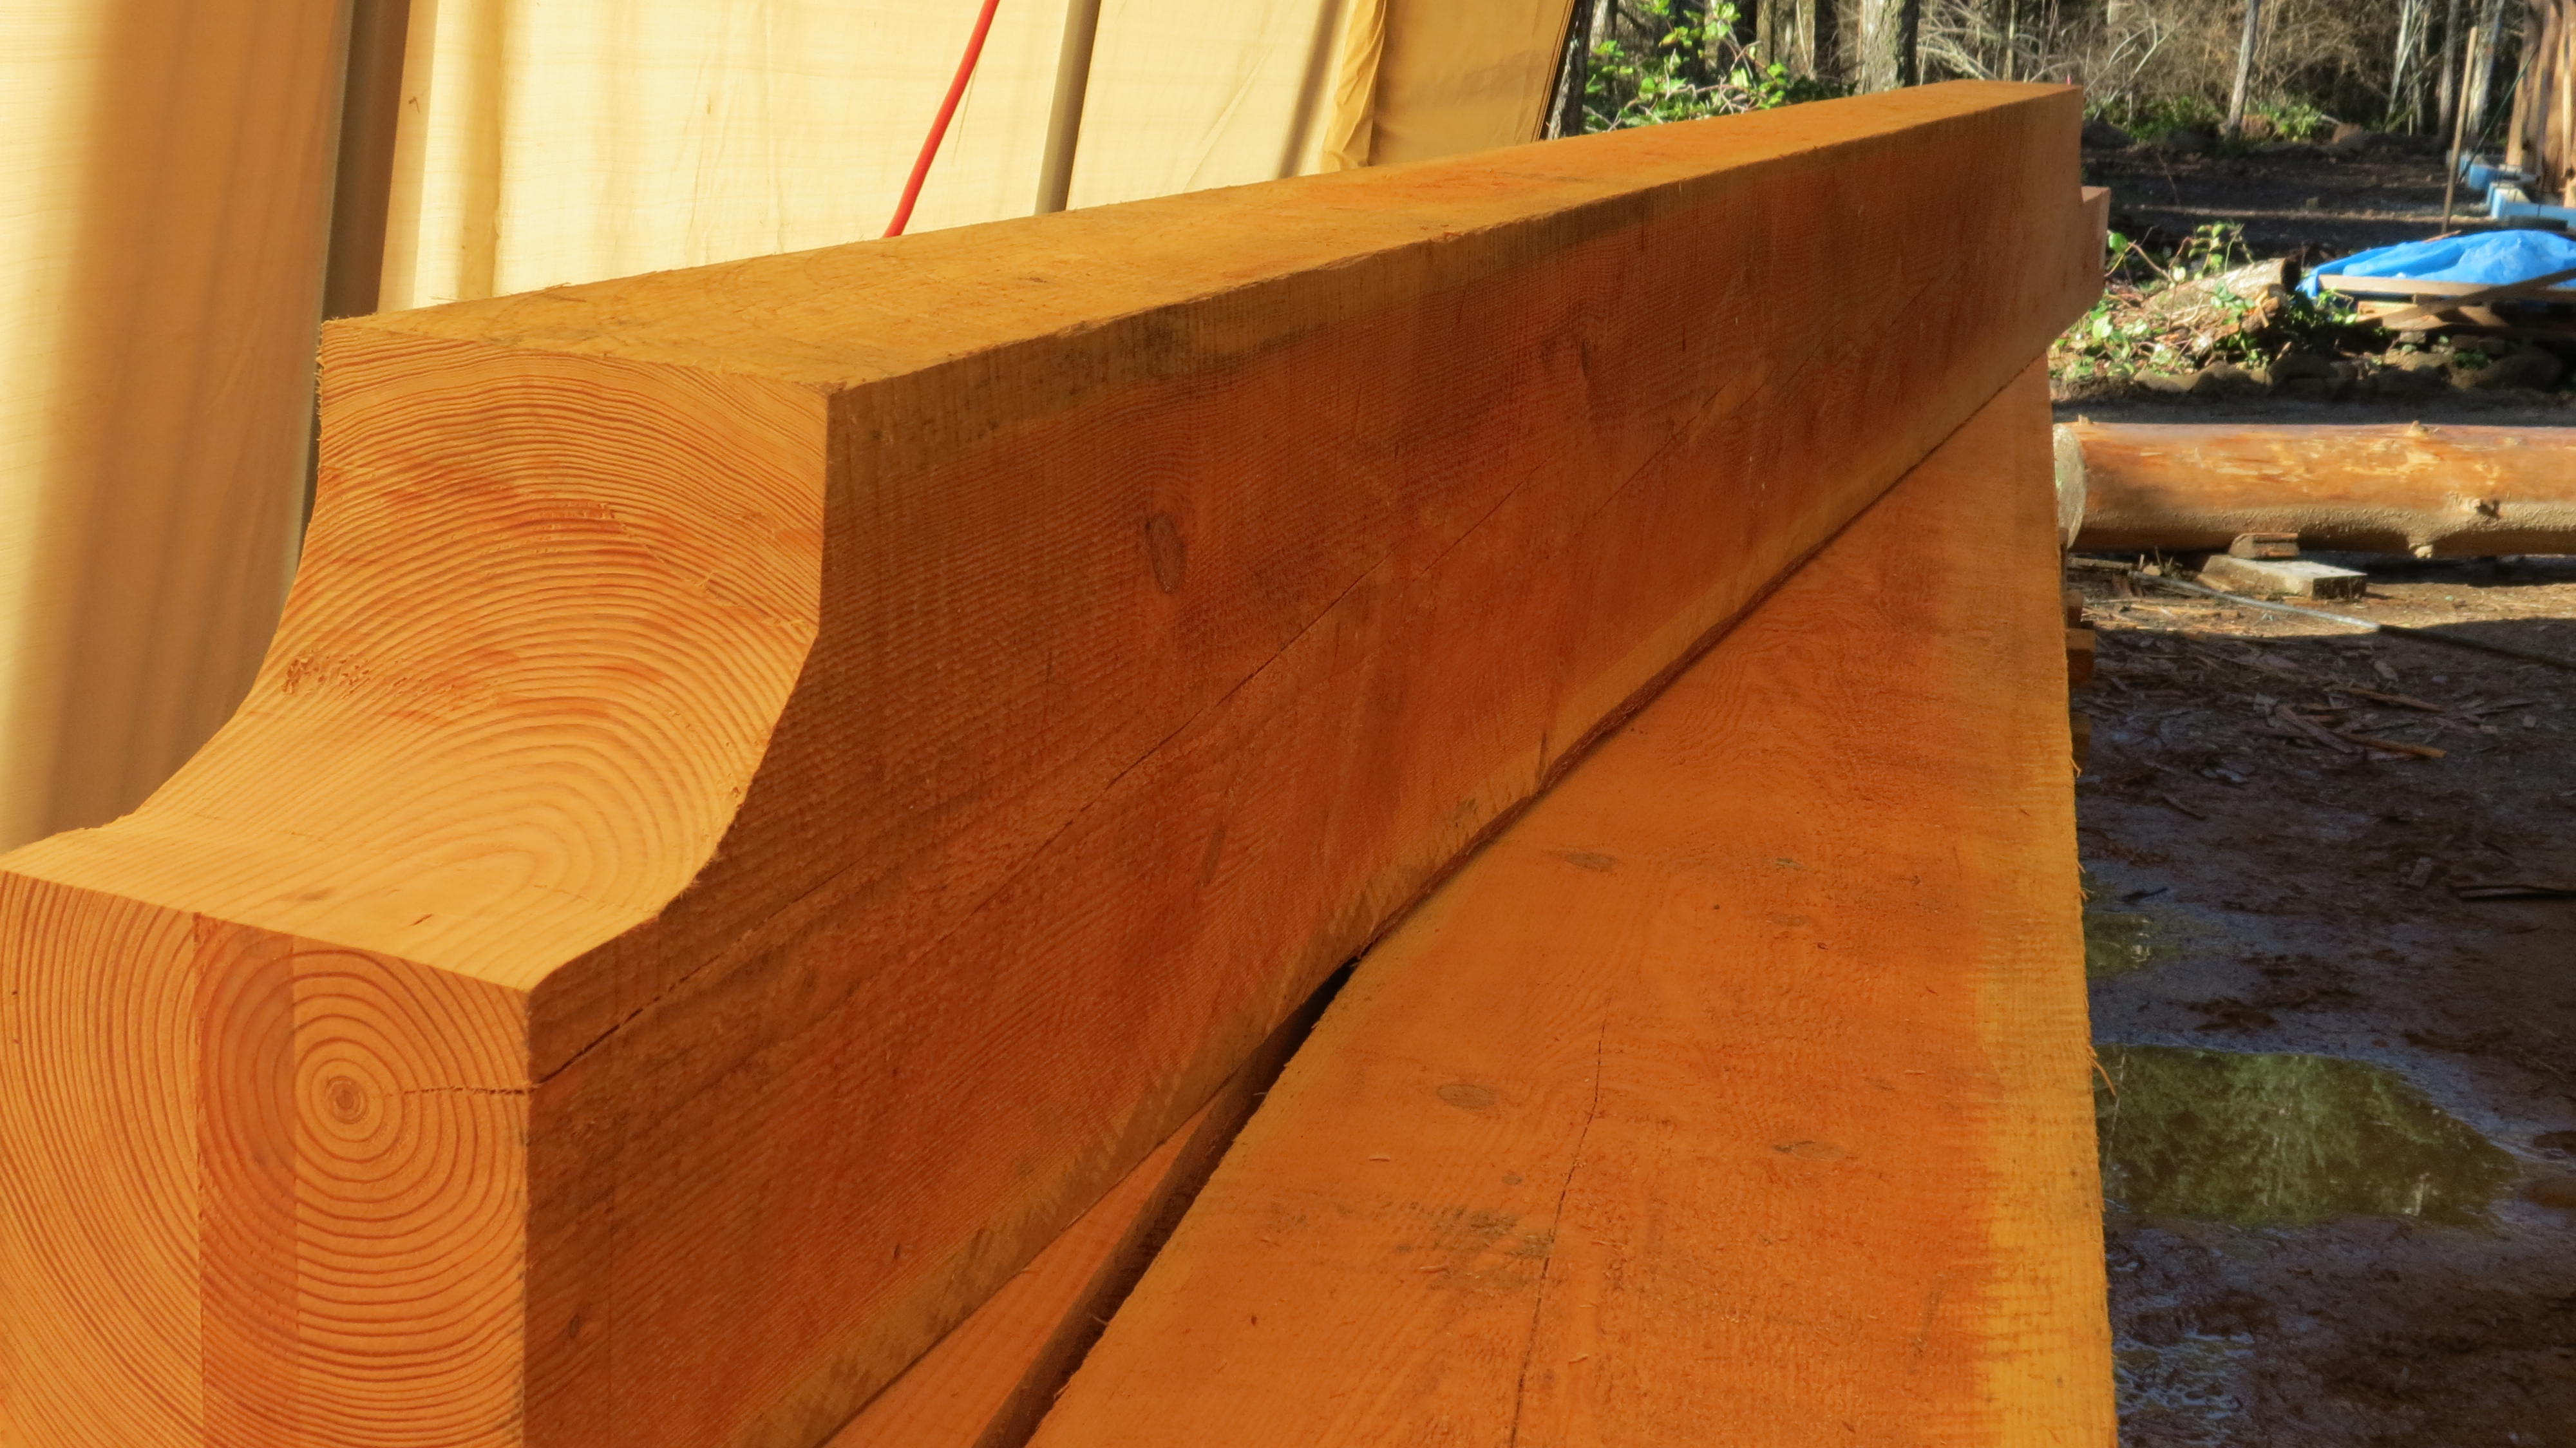

Radius smoothed with a grinding wheel and edged mortised
Lightly sanded and ready to be lifted into place

Popped onto the beams by John on the excavator

Final positioning onto the flats
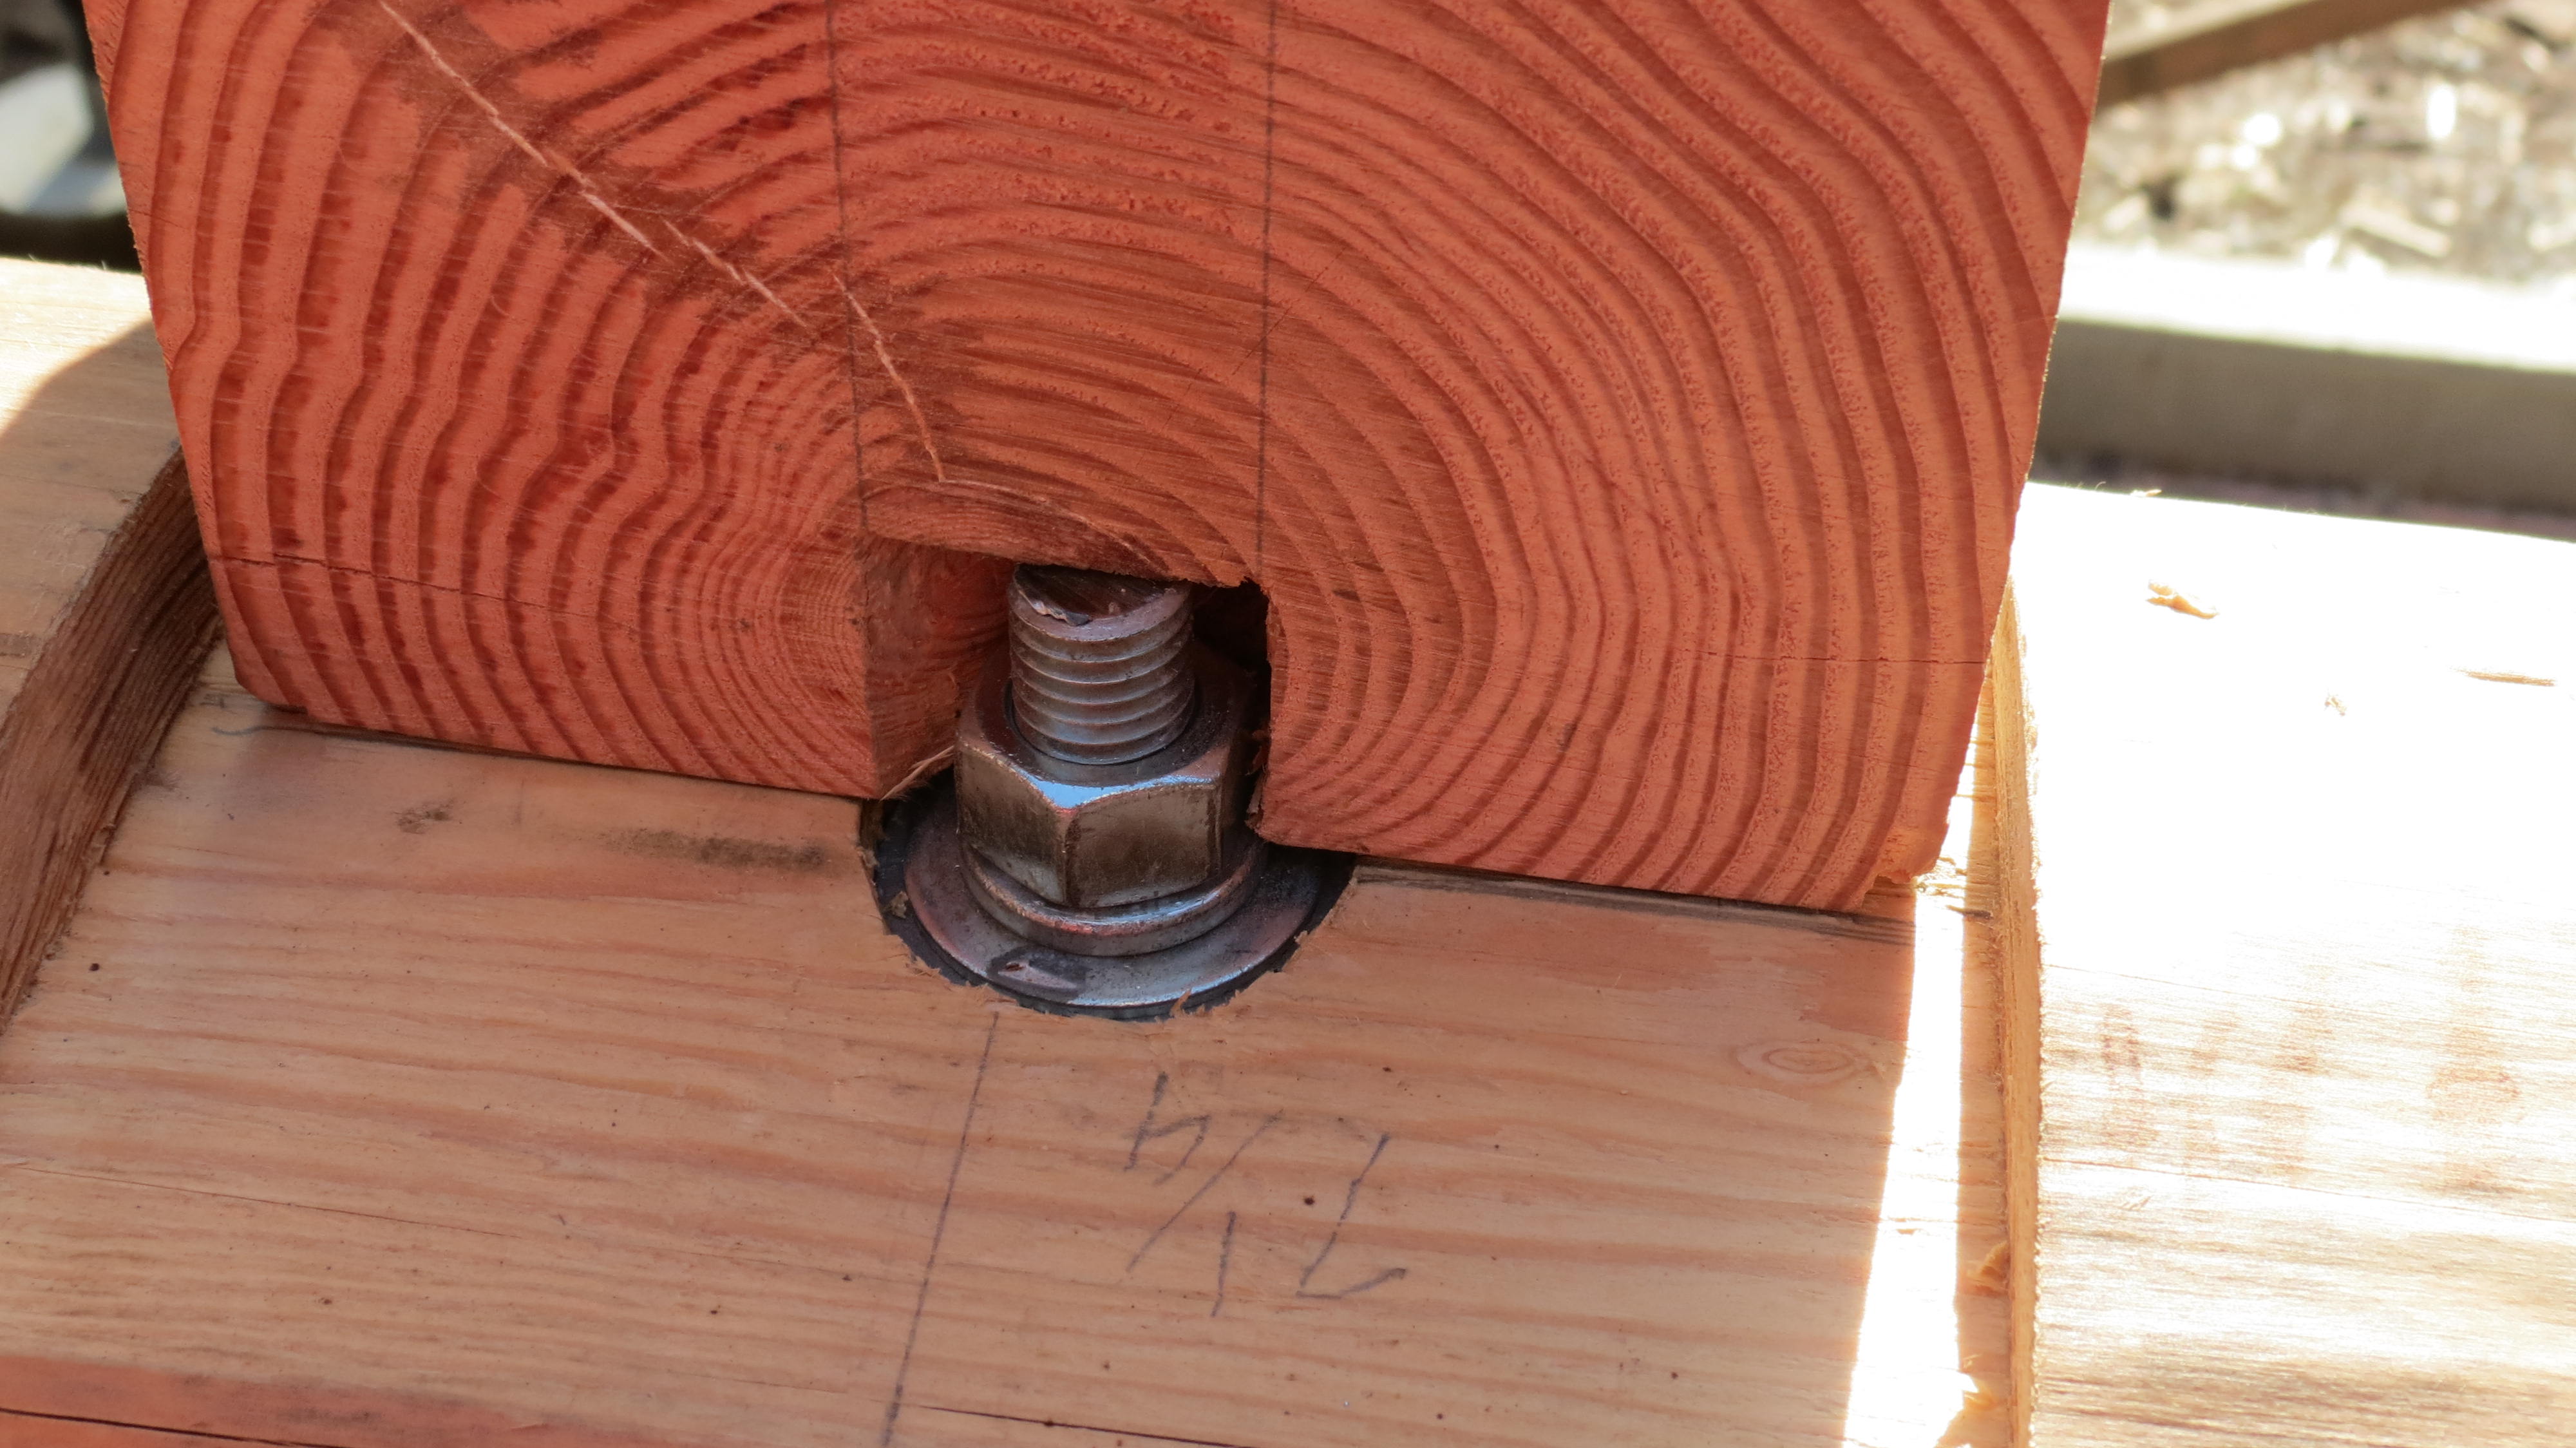
The 5/8″ post-beam connection hidden beneath the joist.
Through bolted into the post-beam connection on one end
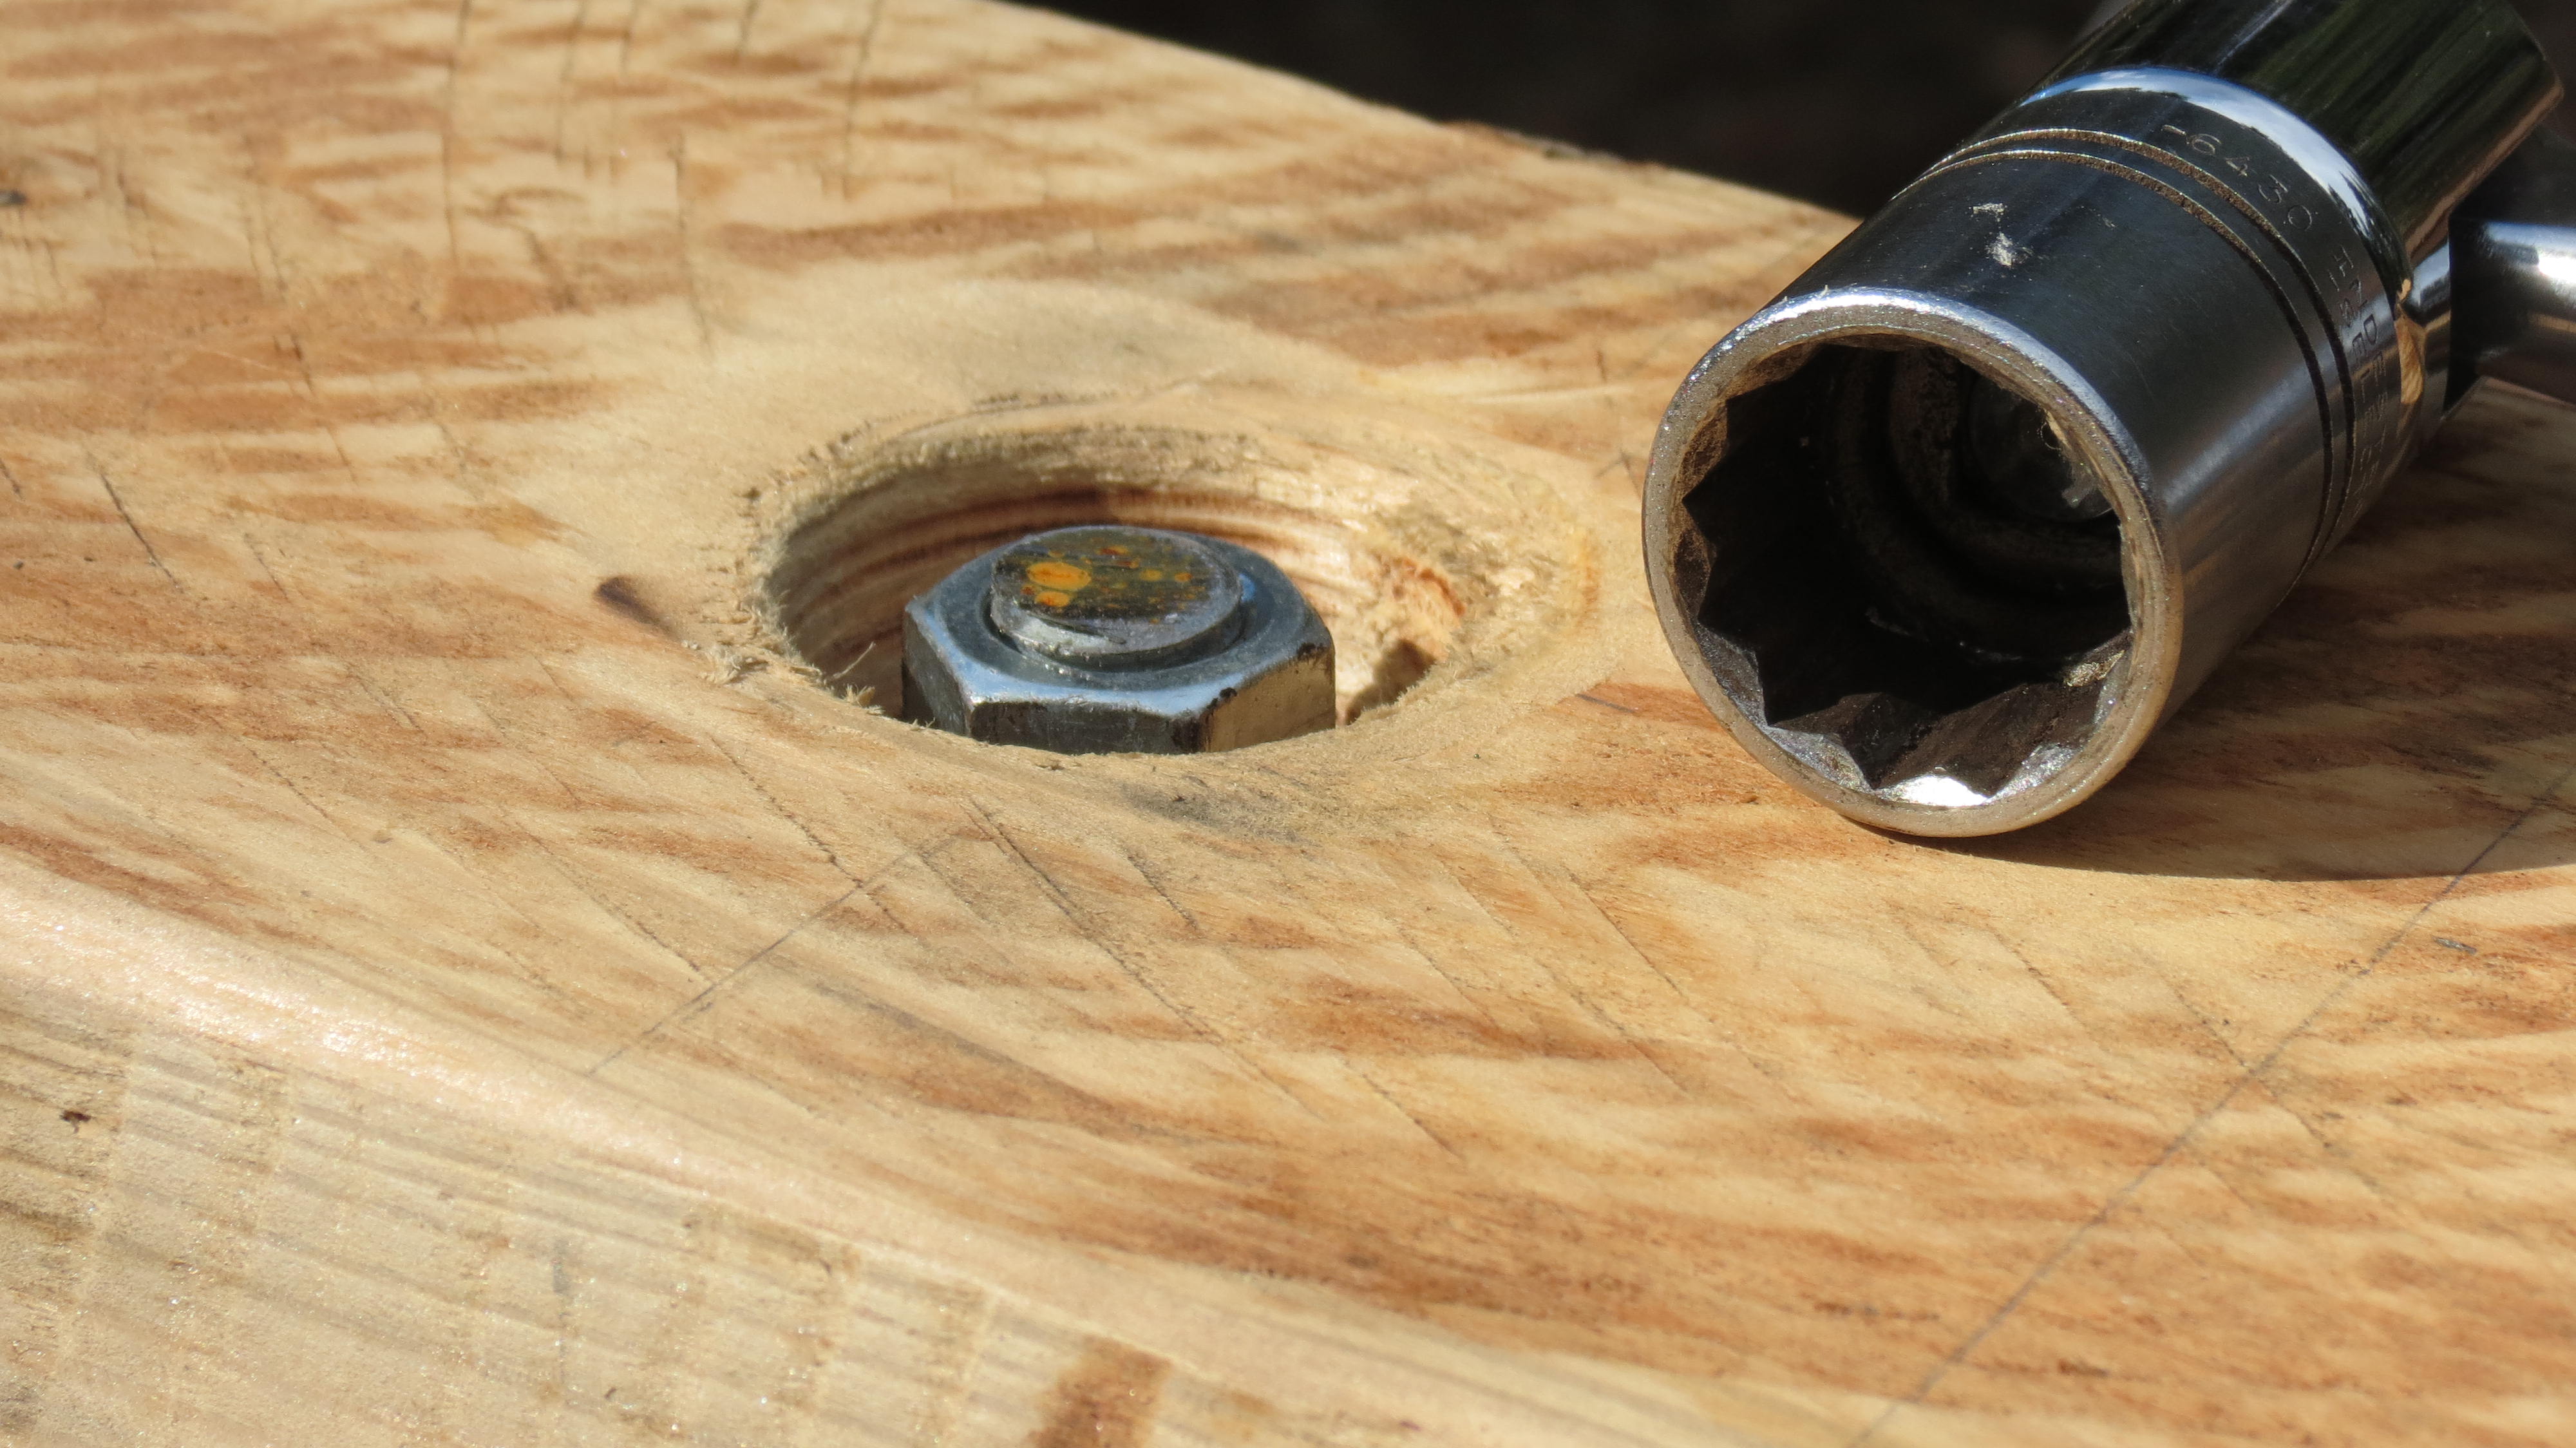
Not one of the finer joist-beam connections but I’ll take it

12″ by 3/8″ GRK structural screws connect the joist to the beam on the other end
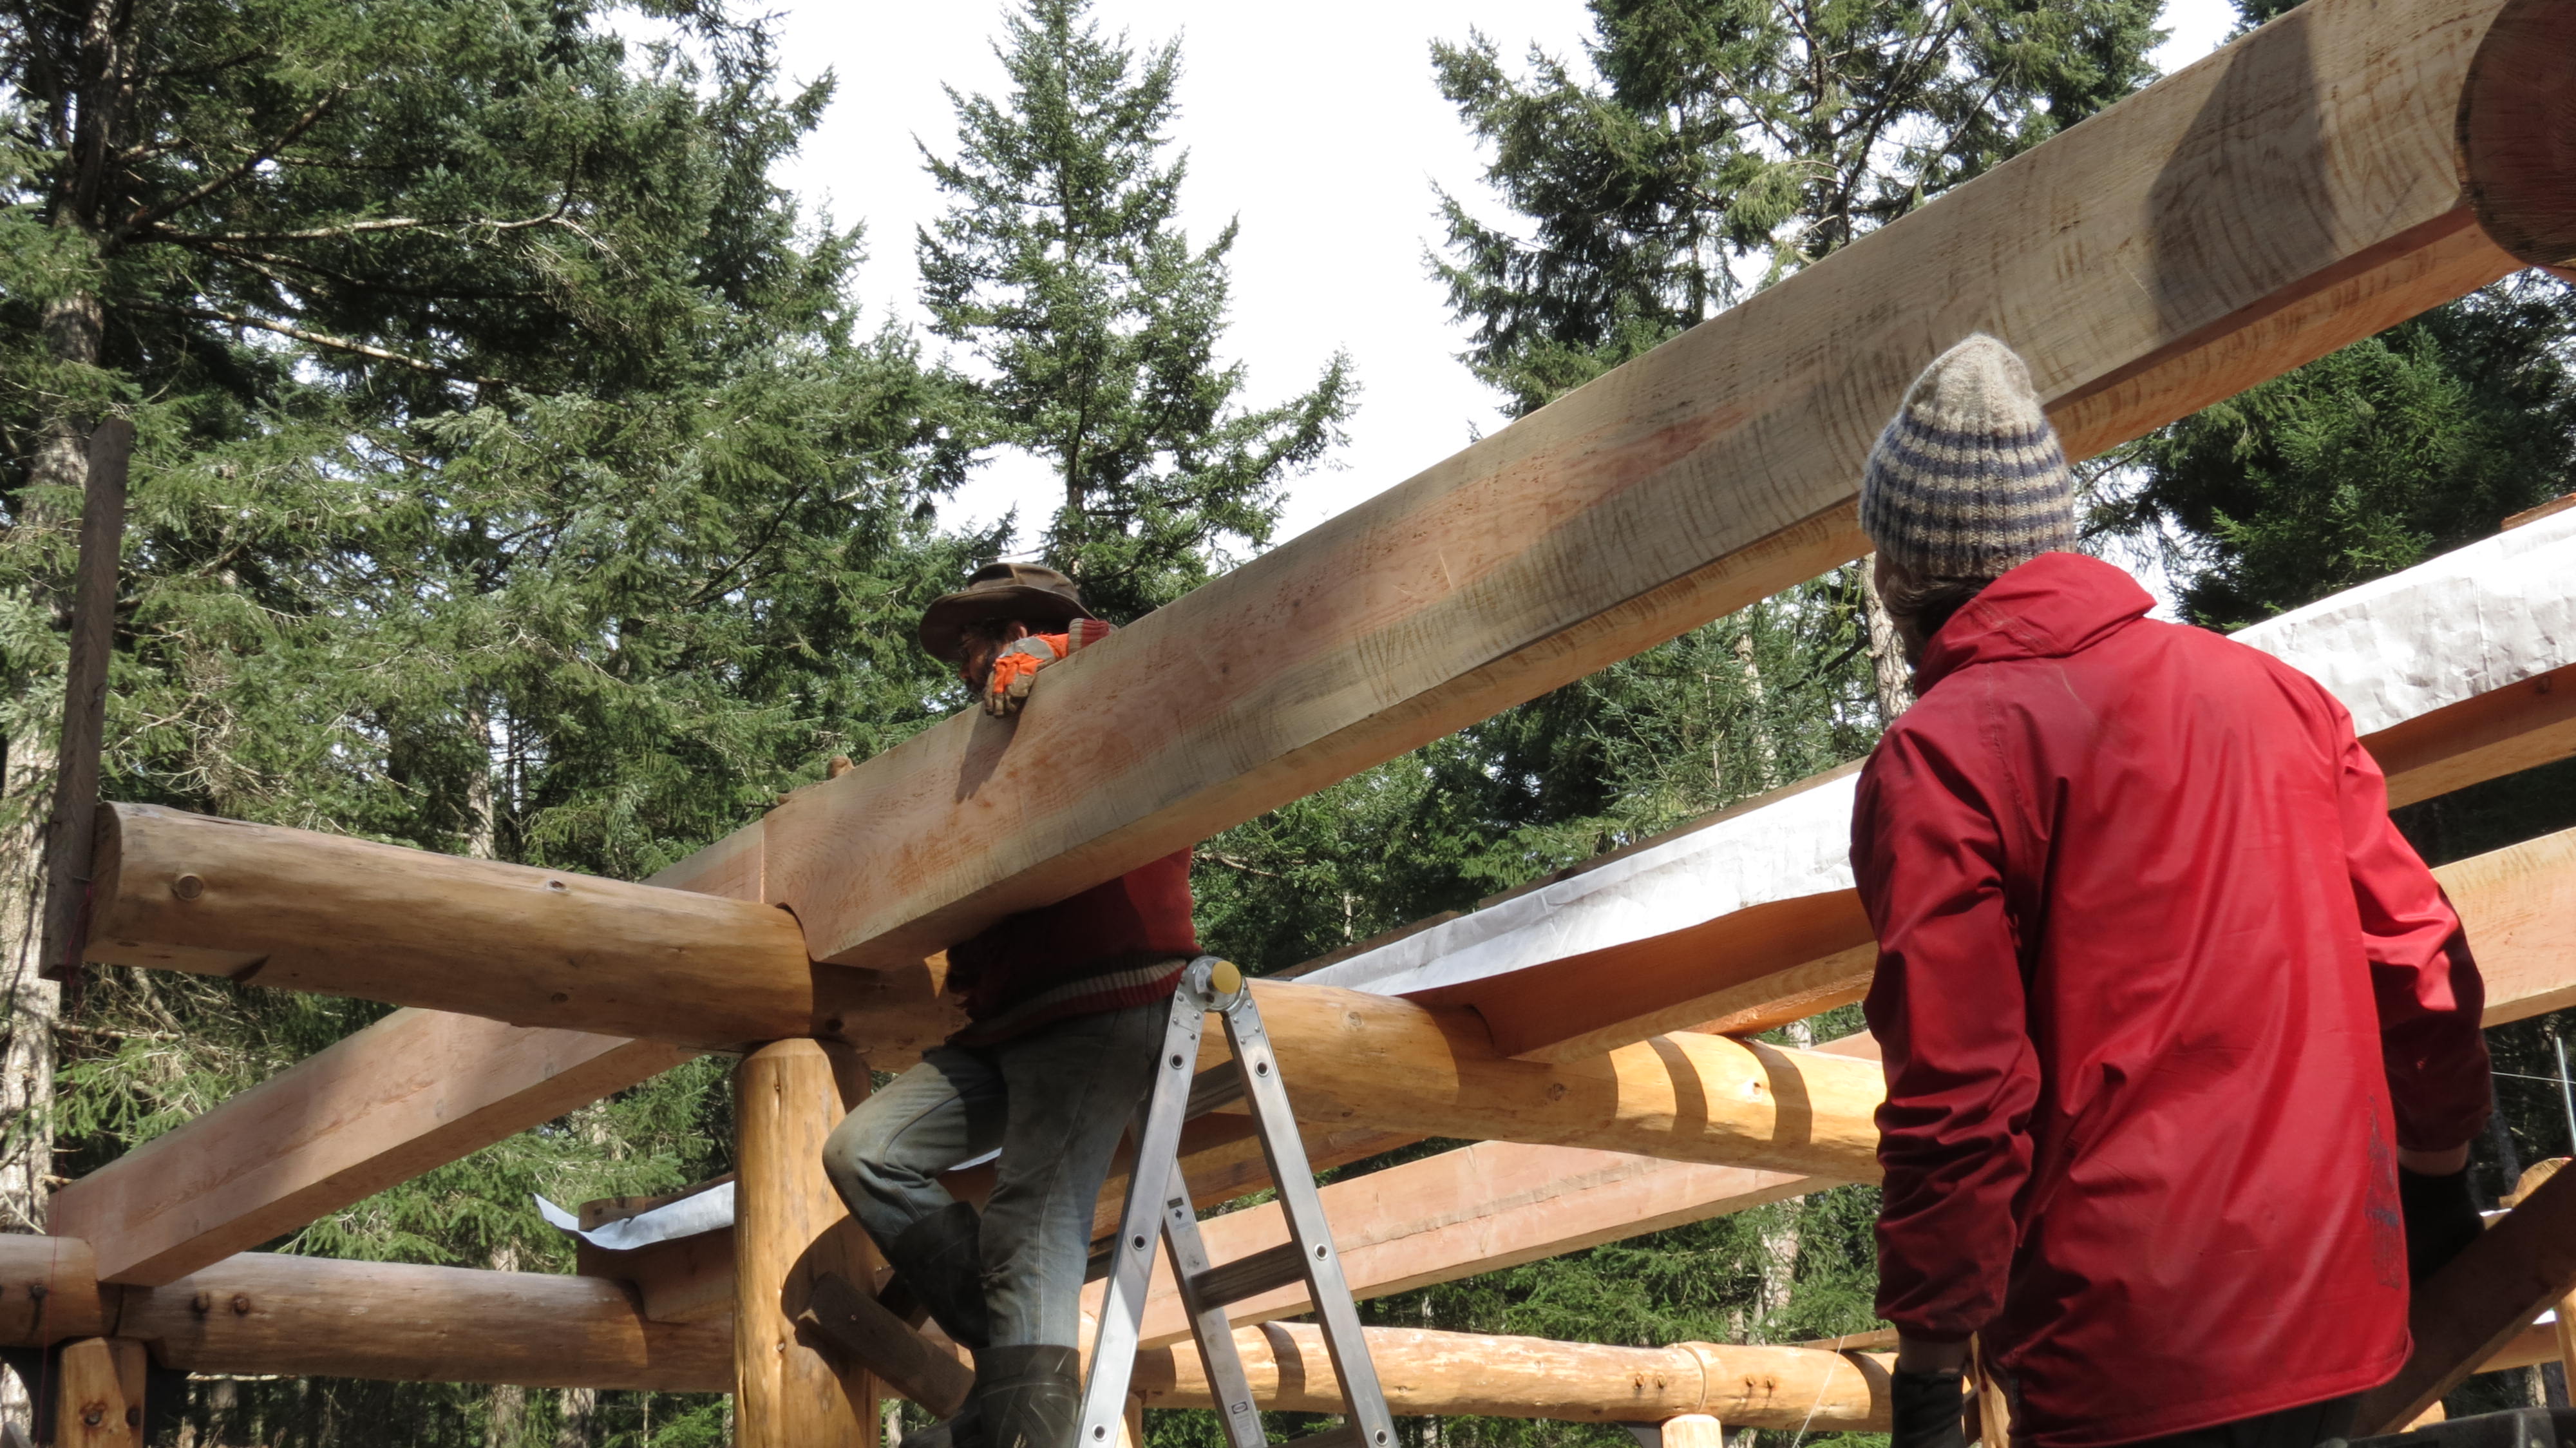
John monkeying around with one end of the joist
There she be!

One happy post and beamer!